
The craze for the gym is at its peak, which is commendable; after all, prioritizing fitness is an essential part of a healthy lifestyle. A key part of this revolves around enhancing one’s biceps.
The desire for strong biceps has gathered considerable attention, which fits perfectly with the overall aim of being healthier and fitter. Among the bicep-centric exercises, ‘Hammer Curls’ are the most in-demand, an exercise for the biceps that makes them look elongated and attractive.
However, in the excitement and desire for fast results, people overlook the significance of using the right techniques for ‘hammer curls.’ Proper techniques matter the most for effective muscle gain and reducing the risk of injury. We bet no one wants an uneven-looking biceps muscle that ruins the personality.
But you don’t need to be afraid; we are here to the rescue. Read on to explore everything about ‘hammer curls,’ from proper techniques, common mistakes, and advantages to maximizing its benefits.
What are Hammer Curls?
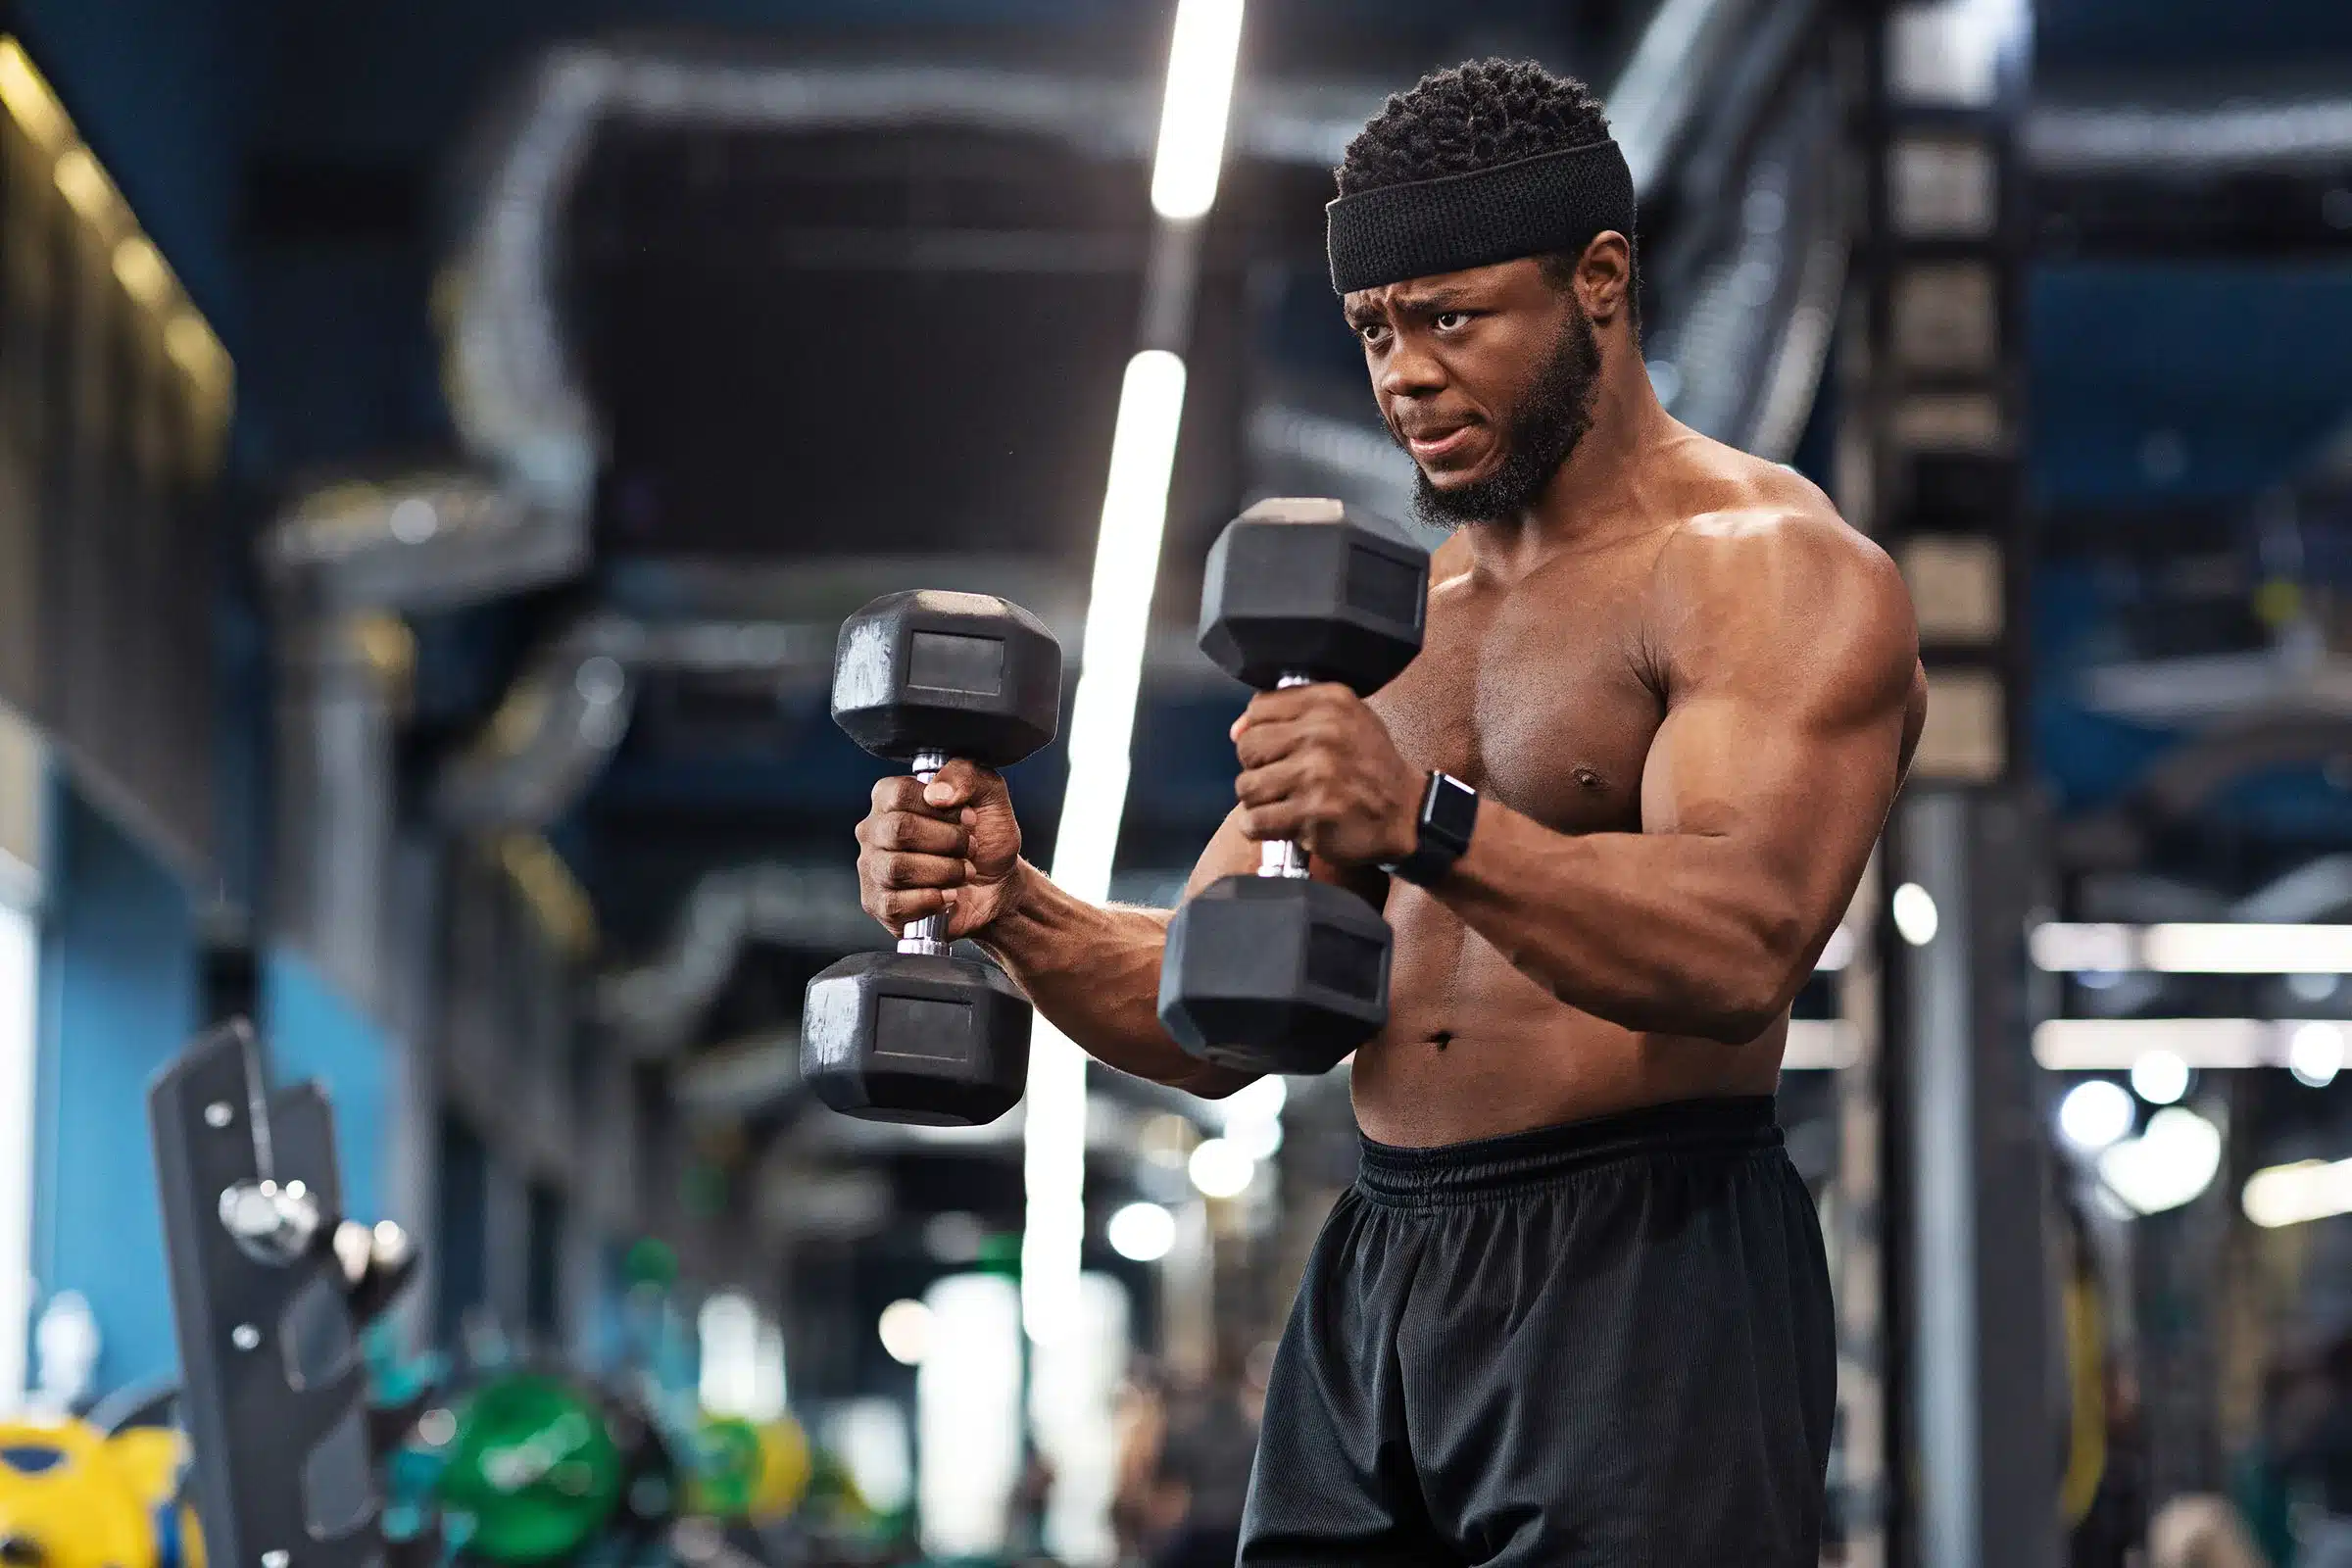
A hammer curl is an isolation exercise primarily targeting the biceps muscles. It is a bicep curl performed using a dumbbell or a resistance band. Apart from the standard curl (bicep curl), where the palm is pushed upward throughout the movement, in a hammer curl, the palm plays no role or faces inwards, just like a hammer grip.
This grip positioning engages the biceps muscle and the brachialis muscles, located beneath the biceps and the brachioradialis muscle in the forearm. Hammer Curls are responsible for the overall arm strength and size, affecting both the upper and forearm muscles.
Further, they add to the functional strength that helps in workouts involving gripping and lifting. However, proper forms and repetitions are necessary to reap these benefits and minimize the risk of injury.
Common Mistakes While Performing Hammer Curls

Now that you know what hammer curls are, here is the list of the most common mistakes that people frequently make while performing them:
1. Hammer Curl Form Correction
- Wrist Deviation: People generally allow their wrists to bend excessively while doing hammer curls. Due to this, the wrists may tilt outward or inward, hence deviating from the neutral position. This misalignment places unwanted pressure on the wrist joints, reducing the efficacy of curls for the targeted muscles.
- Shoulder Swinging: While performing hammer curls, many let their shoulder or upper body swing; this makes it difficult to target the biceps and the intended muscles. Further, it reduces the effectiveness of the exercise and poses a threat to your shoulder and lower back.
- Incomplete Motion: This is the most common mistake people make. The incomplete motion during hammer curls restricts growth and muscle engagement. Think about it: if the muscles are not fully lowered down or raised to the top position, they will not be affected effectively throughout the contraction and extension.
- Grip Strength Imbalance: Holding the dumbbells improperly or with different levels of force leads to an imbalance in grip strength. This inequity can inhibit the proper or balanced development of the muscles in the arms and forearms.
2. Enhancing Hammer Curl’s Effectiveness
- Elbow Flaring: In this, the elbows are allowed to move outward during the contraction; this shifts the tension away from the biceps to the shoulders and forearms. Hence, improper elbow positioning minimizes the effect of hammer curl, posing discomfort or strain to the shoulder. This flaring can be reduced when using an arm-fit blaster.
- Jerky and Fast Movements: Carrying out hammer curls with jerky or fast movements reduces control and increases the chances of injury. Therefore, smooth and controlled repetitions are essential to effectively target the intended muscle and boost growth.
- Overarching Lower Backs: Excessively arching the lower back generally happens when exercising with heavier weights. This sacrifices the spine’s stability, which may lead to lower back pain or even serious injury. However, arching can be minimized using a gym back belt.
- Neglecting Core Engagement: Failing to target the core muscles during hammer curls can lead to a lack of stability and improper form. A strong body helps maintain proper posture and supports the body throughout the exercise.
- Improper Breathing: Inconsistent breathing can disturb the proper oxygen supply to the targeted muscle, impeding effectiveness. Therefore, a proper breathing technique, such as exhaling during the lifting, is essential, enhancing endurance and overall effectiveness.
- Rapid Reps: Performing hammer curls reps too quickly reduces the tension, which is necessary for proper muscle growth. Fast repetitions minimize muscle pressure, hence deviating from the maximum benefits.
- Neglecting Warm-Up: Warm-up sets, when not done, increase the chances of injury. Because your muscles and joints are unprepared, gradually increasing weights and focusing on proper form is essential during warm-up for a safe and effective workout.
Right Way To Execute Hammer Curls

Now that you know the common mistakes, you can focus on the proper form and technique of executing hammer curls, which enhances muscle engagement, promotes balanced development, and minimizes the chances of injury. So, what is the right way of doing a hammer curl? Here we present you the steps that will help to form hammer curl properly and with ease:
Equipment and Posture Preparation

- Equipment Setup: Ensure you choose the appropriate equipment. In the case of hammer curls, dumbbells, bands, or cables will work effectively. Choose a weight that challenges your muscles, i.e., not too light or heavy. Stand up straight with the dumbbell in each hand, arms fully extended in parallel with your sides and palms facing your body.
- Neutral Grip Position: Make sure you position your palms in a neutral grip, facing your body. This grip is just like when holding a hammer with thumbs upwards. Maintain this grip throughout the sets to properly target the intended muscles.
- Proper Posture: Stand with your feet in alignment with the shoulder width for stability. Keep your back straight and shoulders relaxed, and engage core muscles to maintain a proper posture.
Proper Technique and Execution

- Initialize the Movement: Keeping your upper arms fixed, exhale, and raise the dumbbells, contracting your biceps. Monitor the movement of your elbows and continue to raise the dumbbells until your biceps get fully contracted, and the dumbbells match the shoulder level. If you face issues with elbow movement, a waist-fit arm blaster can help make it proper when used regularly.
- Holding at the top: Hold briefly while fully contracting the biceps to maximize muscle engagement. Maintain control over the weights to prevent swinging or using momentum.
- Lowering Down: Inhale and gradually lower the dumbbells to the original position, maintaining the neutral grip. Note that your wrists don’t move, and your upper arm is fixed, allowing the bicep to stretch but not completely relax.
- Full Range of Motion: Ensure that you complete the full range of motion, i.e., fully allowing the dumbbells to extend your arms during the lowering phase and fully contracting the biceps when pushing upwards. This backs up proper muscle stimulation and boosts growth.
- Controlled Reps: Maintain controlled and deliberate motion through each rep and refrain from using momentum or swinging your body. Further, focus on engaging the biceps and maintaining proper tension throughout the set.
- Breathing Technique: During the raising phase, i.e., as you curl the dumbbell up, exhale and inhale as you lower them back to the original position. This will help supply proper oxygen to the muscles, boosting performance and stamina.
- Reps and Sets: Execute the desired number of sets, but the advisable one limits you to 3-4 sets with 10, 12, or 15 repetitions each. After each set, remember to increase the weight to what your body allows.
- Cool Down and Stretch: Once completed with the sets, perform cool-down exercises that stretch your biceps and forearms. This will help elevate flexibility and minimize muscle tension.
Benefits of Proper Hammer Curls

The hammer curls have many benefits that help fitness enthusiasts develop the desired arm. Further, it promotes balanced and functional arm strength, enhancing grip strength and forearm power.
- Complete Arm Development: As stated, hammer curls stress the bicep muscle and the brachialis and brachioradialis muscles in the forearms. This pressure leads to well-rounded arm development and balanced muscle growth.
- Boost Forearm Strength: The neutral grip during hammer curls places significant pressure on the brachioradialis muscle, improving forearm strength and stability. This improved strength helps in several gripping and lifting activities like deadlifts and pull-ups.
- Functional Benefits: The improved strength of the biceps and forearms has practical advantages, like carrying groceries, lifting objects, and other manual tasks.
- Muscle Definition and Size: Hammer Curls contribute to biceps and surrounding muscle growth, increasing muscle definition and size. This provides a sculpted and aesthetic look to the arms.
- Injury Prevention and Joint Stability: Balanced arm development through hammer curls helps prevent muscle imbalances, reducing the risk of injuries. Further, the strengthened muscles contribute to joint stability and overall joint health.
- Versatile Workout Option: Hammer curls can be added to various workouts, like upper body lifts, arm-focused exercises, and backs, making them a versatile choice for muscle targeting.
- Joint-Friendly Alternative: For individuals who face certain wrist or shoulder issues, hammer curls are a more friendly option as the neutral grip minimizes joint stress.
- Increased Muscle Engagement: The unique grip of hammer curls pressurizes muscles differently than normal bicep curls. This increased muscle engagement helps break plateaus and stimulate new and better muscle growth.
Final Words
Hammer Curls are a must-have workout for defined and larger biceps that look elongated and add to the rounded dimension well.
It enhances the forearm strength, which adds to the grip strength essential for many lifting exercises. You only need to focus on performing it with proper technique, repetitions, and sets.
Don’t think or hesitate any longer; the abovementioned techniques will add value, give a defined look to the biceps, and increase the overall arm strength.
Include hammer curls in your routine, and let your personality talk for you. Let us know below how long it took for you to encounter the growth and whether you find the technique effective.


