Do you struggle with knowing when your pork ribs are perfectly cooked? Overcooked ribs can be dry and tough, while undercooked ribs may be unsafe.
Fortunately, there are several reliable methods to ensure your ribs come out juicy and flavorful every time.
In this guide, we’ll share expert tips and tricks to help you determine when your pork ribs are done to perfection.
You’ll learn the most accurate ways to check for doneness from using a meat thermometer to performing the bend and toothpick tests.
We’ll also discuss the ideal internal temperatures for different pork ribs and provide helpful advice on preparing and cooking them.
By the end of this article, you’ll be equipped with the knowledge to grill or smoke pork ribs like a pro.
Comprehensive Guide: How to Tell When Pork Ribs are Done
Achieving perfect doneness in pork ribs goes beyond just following a timer or looking at the color.
These factors can be misleading, so using more reliable methods to ensure your ribs are cooked to perfection is essential.
Variations in rib size, type, and cooking method impact these parameters, making them less reliable indicators of doneness.
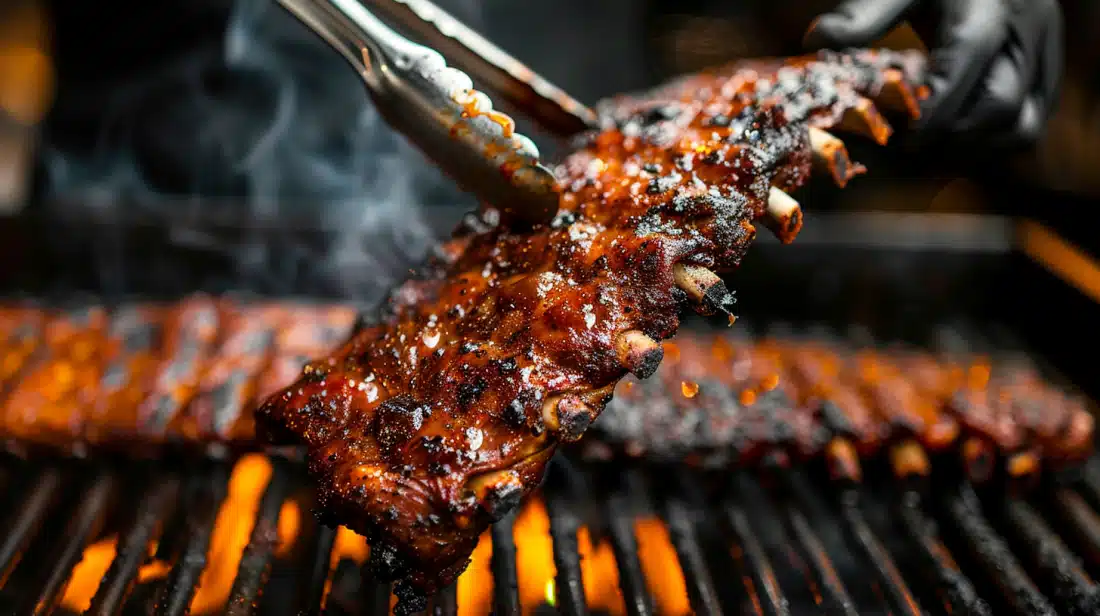
1. The Bend Test
- Description: Lift one end of the rib rack with tongs to perform the bend test. The ribs should flex under their weight and start to crack on the surface.
- Interpretation: If the ribs bend too much without cracking, they may need more cooking. If they crack excessively or the meat begins to fall off, they might be overcooked.
2. The Toothpick Test
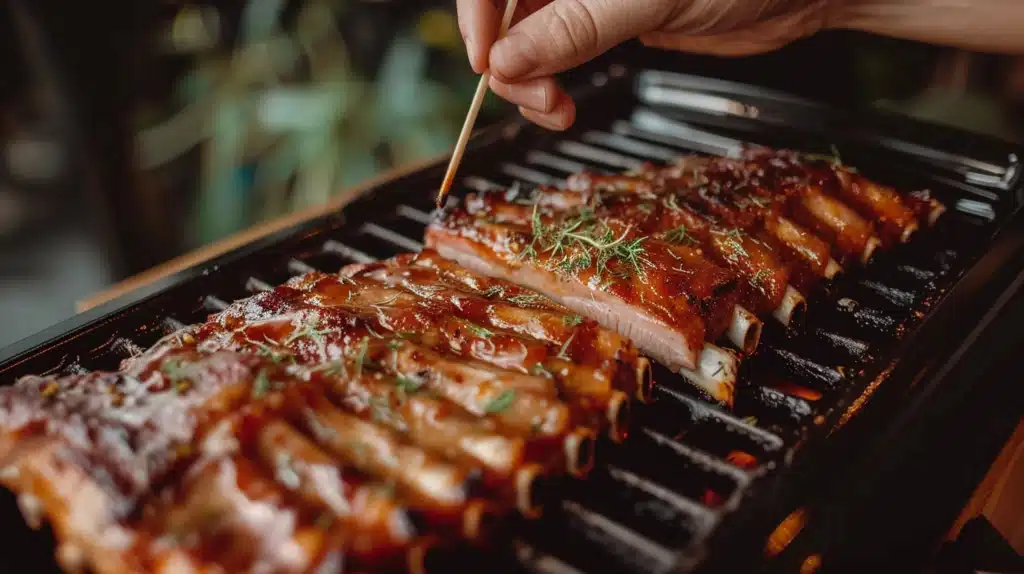
- Description: Insert a toothpick between the rib bones to check for doneness.
- Interpretation: If the ribs are done, the toothpick should slide in with little resistance; if there’s significant resistance, more cooking is needed.
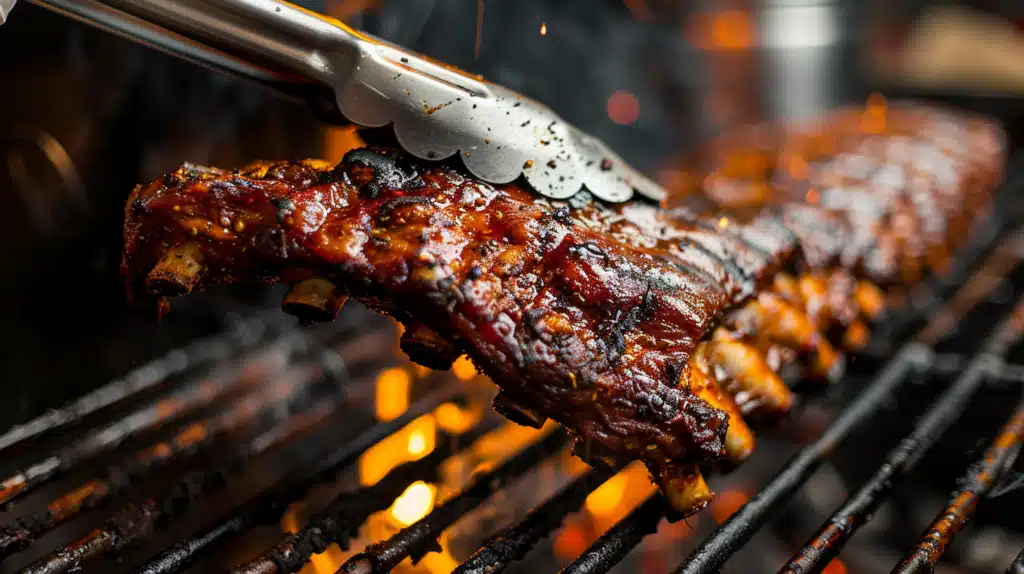
3. The Twist Test
- Description: To perform this test, twist a bone in the middle of the rack.
- Interpretation: If the bone turns easily and starts to separate from the meat, the ribs are likely done. If the bone feels firmly attached, the ribs need more cooking time.
4. Visual Indicators
- Description: Observe the pull-back of meat from the bones, looking for about ½ inch of bone exposure.
- Interpretation: Some visible bone indicates doneness, but different cuts may show varying degrees of pull-back.
Tips for Using Multiple Methods Together
- Combining Methods: Use several methods to confirm doneness, especially if you’re a less experienced cook.
- Experience Over Time: Develop your sense of doneness by practicing these methods and noting the results. With time, you’ll become more confident determining when your ribs are perfectly cooked.
Using a Meat Thermometer Correctly For Pork Ribs
A meat thermometer is critical in ensuring pork ribs are cooked safely and to the desired level of doneness.
- Correct Placement: For an accurate reading, insert the thermometer probe into the thickest part of the meat, away from bones and fat.
- Depth: Push the probe until the sensor (usually 1-2 inches from the tip) is fully embedded in the meat.
- Reading the Thermometer: Wait a few seconds for the thermometer to stabilize before reading the temperature.
- Digital vs. Dial: Digital thermometers generally provide more accurate and faster readings than analog thermometers.
Potential Pitfalls in Temperature Measurement
- Rib Size Variability: The size and thickness of the ribs can affect where the thermometer should be placed to avoid inaccurate readings.
- Proximity to Bones: Bones conduct heat differently than meat and can give a false high reading. Ensure the probe is in the meaty area for an accurate reading.
- Fat Layers: Inserting the thermometer into fat rather than meat can lead to incorrect temperature readings, as fat heats up differently.
Tips for Successful Temperature Measurement
- Multiple Measurements: Take the temperature in several places to ensure the ribs are evenly cooked.
- Calibration: Periodically check your thermometer’s calibration using boiling water to ensure accuracy at high temperatures.
Understanding Pork Rib Type and Their Characteristics
Pork ribs come in several varieties, each with unique characteristics that affect cooking methods and outcomes.
Knowing the differences between spare ribs, St. Louis, baby back ribs, and country-style ribs will help you choose the best cooking techniques and temperatures for each type.
- Spare Ribs: These ribs are larger and fattier than other types, making them ideal for slow-cooking methods that render the fat and break down the connective tissues for a tender finish.
- St. Louis Spare Ribs: Trimmed down from spare ribs, St. Louis spare ribs are more uniform in shape, allowing for even cooking and better presentation.
- Baby Back Ribs: Leaner and smaller than spare ribs, baby back ribs require a shorter cooking time to prevent them from drying out.
- Country-Style Ribs: Despite their name, these are not true ribs but are cut from the pork shoulder. They are meatier and thicker than other rib types, making them suited for slow cooking or braising.
Impact of Pork Rib Type on Cooking and Temperatures
The fat content and thickness of each rib type influence the choice of cooking temperature and technique.
Fattier, thicker ribs benefit from lower temperatures and longer cooking times, while leaner, thinner ribs cook faster at slightly higher temperatures.
- Spare Ribs: Cook at low temperatures around 225°F for several hours to slowly break down the fat and connective tissues.
- St. Louis Spare Ribs: Similar to spare ribs, but may cook slightly faster due to their trimmed size.
- Baby Back Ribs: Cook at slightly higher temperatures, around 275°F, for a shorter period to prevent drying out.
- Country-Style Ribs: Require a longer cooking time at low temperatures or can be braised to enhance tenderness.
Selecting the Right Pork Ribs: Essential Before Cooking
Proper preparation is key to ensuring the best cooking results for pork ribs. Selecting the right ribs and preparing them correctly will yield tender, flavorful meat that your family and friends will love.
- Quality Check: When choosing ribs, look for a good balance of meat and fat. The meat should be fresh, not discolored, and have a nice pink hue.
- Type Selection: Consider the different types of ribs (spare ribs, St. Louis spare ribs, baby back ribs, and country-style ribs) and choose based on your cooking plans and flavor preferences.
Preparing Pork Ribs for Cooking
1. Defrosting Ribs
- Safe Thawing: For the safest method, thaw ribs in the refrigerator for 24-48 hours, depending on their thickness, to prevent bacterial growth.
- Quick Thawing: If you’re short on time, use the cold water method. Place the ribs in a leak-proof bag and submerge them in cold water, changing them every 30 minutes until thawed.
2. Membrane Removal
Why Remove: Removing the membrane (silverskin) on the back of the ribs allows seasonings to penetrate deeper, resulting in more tender cooked ribs.
How to Remove:
- Flip the ribs to show the bone side.
- Slide a dinner knife under the membrane at one end of the rack.
- Lift to loosen the membrane, and use a paper towel for a better grip.
- Pull the membrane off in one piece, if possible.
3. Additional Preparation Tips
- Trimming Excess Fat: Trim any excess fat that might burn or cause flare-ups during cooking, but leave some for flavor and moisture.
- Pre-Cooking Seasoning: To enhance the flavor of your ribs, apply a dry rub or marinade at least an hour before cooking, or even overnight.
Recommended Cooking Methods for Each Pork Rib Type
1. Spare Ribs
- Smoking: Ideal for slow cooking that enhances flavor through smoke absorption.
- Grilling: Suitable for those who prefer a crispy exterior.
2. St. Louis Spare Ribs
- Smoking: Recommended for even cooking and flavor enhancement.
- Grilling: Good for achieving a caramelized crust.
3. Baby Back Ribs
- Grilling: Perfect for quick cooking that retains moisture.
- Oven Baking: An alternative when outdoor grilling isn’t possible maintaining a controlled temperature.
4. Country Style Ribs
- Braising: Best method for tenderizing the meaty and thicker ribs.
- Slow Cooking: Ideal for breaking down tough fibers without drying out the meat.
Final Steps: The Importance of Resting Pork Ribs Before Cutting
Proper resting and serving techniques are crucial for enhancing the flavor and texture of cooked ribs.
Taking the time to let your ribs rest and cutting them correctly will ensure that your hard work pays off with delicious, tender results.
- Purpose of Resting: Resting allows the juices in the ribs to redistribute throughout the meat, which helps maintain moisture and tenderness when cut.
- Recommended Resting Time: Let your ribs rest for at least 10 minutes under foil to keep them warm while the juices settle.
Best Practices for Cutting Pork Ribs
- Tools Needed: Use a sharp knife that can cleanly cut through the meat without tearing.
- Direction of Cutting: Cut between the rib bones, perpendicular to them, for neat, even slices.
- Support: Stabilize the ribs with tongs or a fork to keep them in place while cutting.
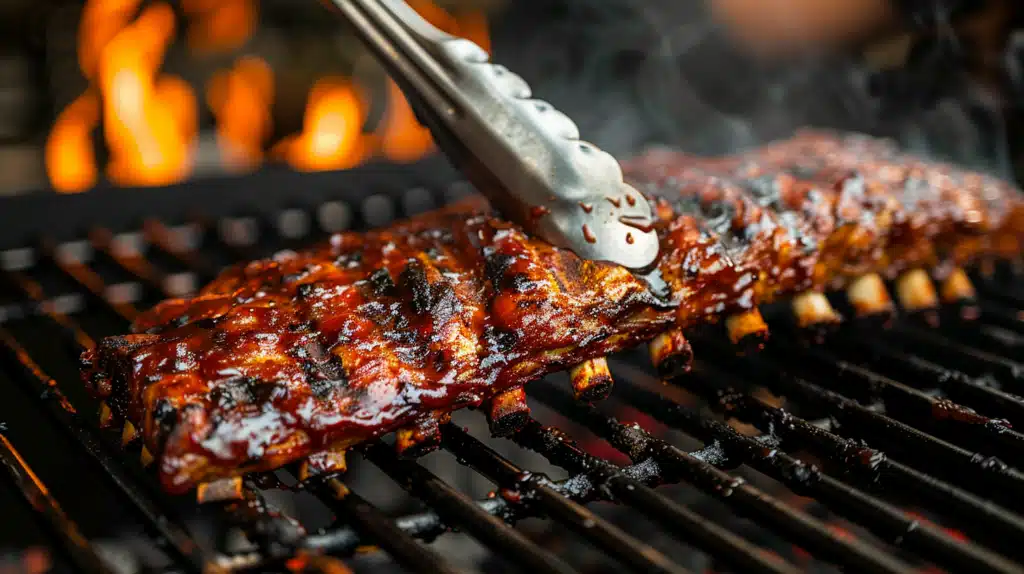
Tips for Application of Sauce on Pork Ribs
- Choosing a Sauce: Choose a sauce that complements the flavor profile of your ribs, such as sweet, spicy, or tangy barbecue sauce.
- When to Sauce: You can apply sauce during the final minutes of cooking to allow it to caramelize or brush it on after resting for those who prefer a fresher, more distinct sauce flavor.
- Technique: Use a brush to evenly coat the ribs, ensuring all surfaces are covered if saucing after cooking.
Troubleshooting Common Issues: Cooking Pork Ribs
Quickly identifying and correct common issues when cooking ribs, such as undercooking or overcooking, is crucial for achieving the best results.
By knowing what to look for and how to address these problems, you can save your ribs from being a disappointment.
1. Addressing Undercooked Pork Ribs
Identification: Recognize undercooked ribs by their lack of pull-back from the bones, a rubbery texture, and tough meat.
Immediate Solutions:
- Continued Cooking: Return the ribs to the heat source, whether a grill or an oven, and continue cooking at a moderate temperature to avoid drying out the exterior.
- Use of Foil: If the ribs need significantly more time, wrap them in foil to help retain moisture and evenly distribute heat.
2. Addressing Overcooked Pork Ribs
Identification: Signs of overcooked ribs include meat excessively falling off the bone, dryness, and a burnt exterior.
Rescue Techniques:
- Moistening with Sauces: Brush the ribs with a sauce or a mixture of apple juice and vinegar to add moisture back to the meat.
- Wrapping to Rest: Wrap overcooked ribs in foil with added liquid and let them rest to redistribute whatever moisture remains.
Conclusion
In conclusion, mastering the art of cooking pork ribs to perfection requires combining knowledge, technique, and practice.
By understanding the different types of ribs, their ideal cooking temperatures, and the various methods for checking doneness, you’ll be well on your way to creating succulent, fall-off-the-bone ribs that will impress your family and friends.
Remember to use a meat thermometer for accuracy, and don’t be afraid to experiment with different cooking methods and flavor profiles to find your perfect rib recipe.
With these expert tips and tricks, you can confidently tackle any rib challenge that comes your way.
So fire up the grill, grab a rack of ribs, and put your newfound knowledge to the test. Happy cooking!


