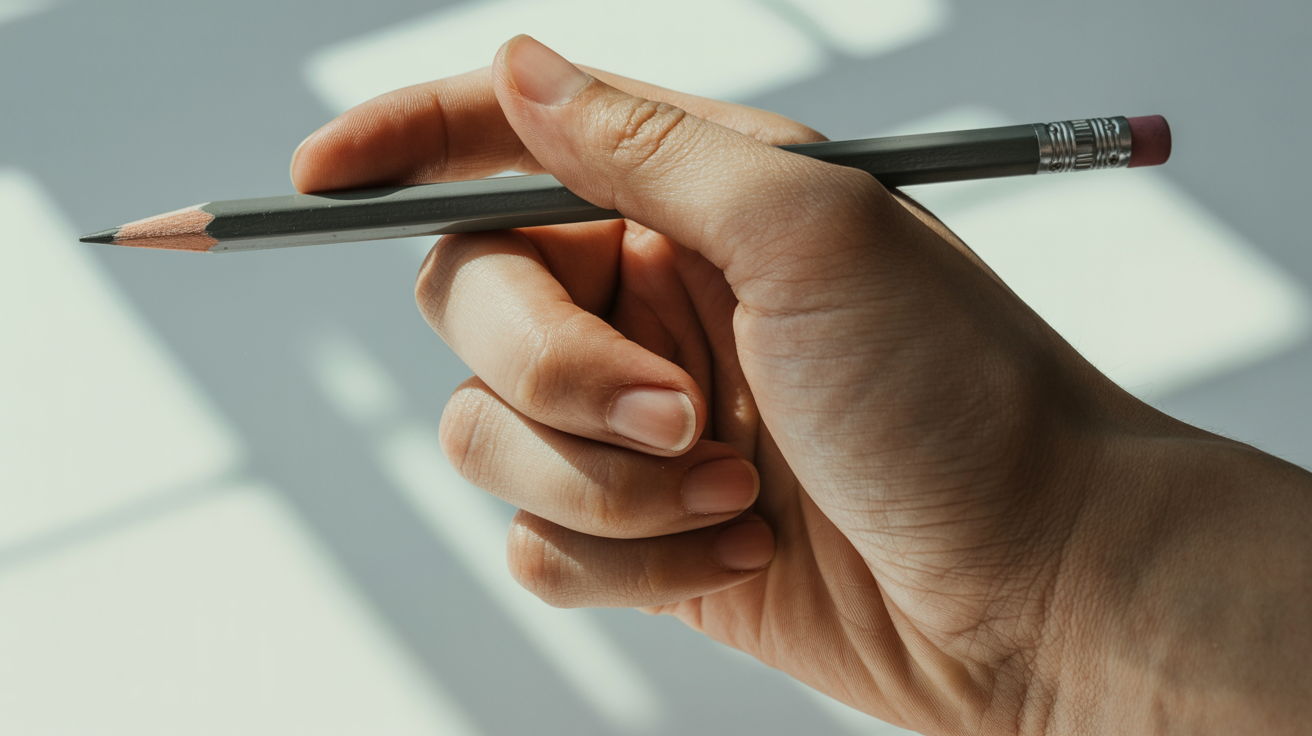
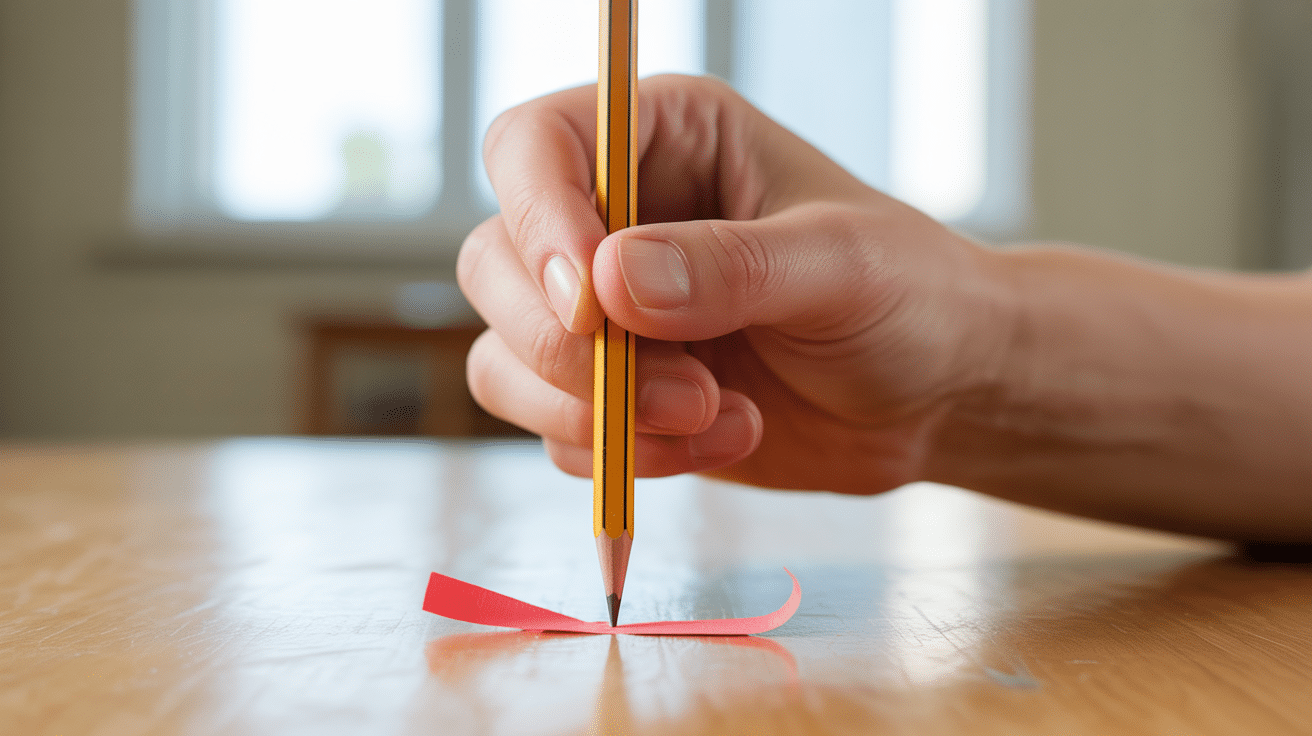
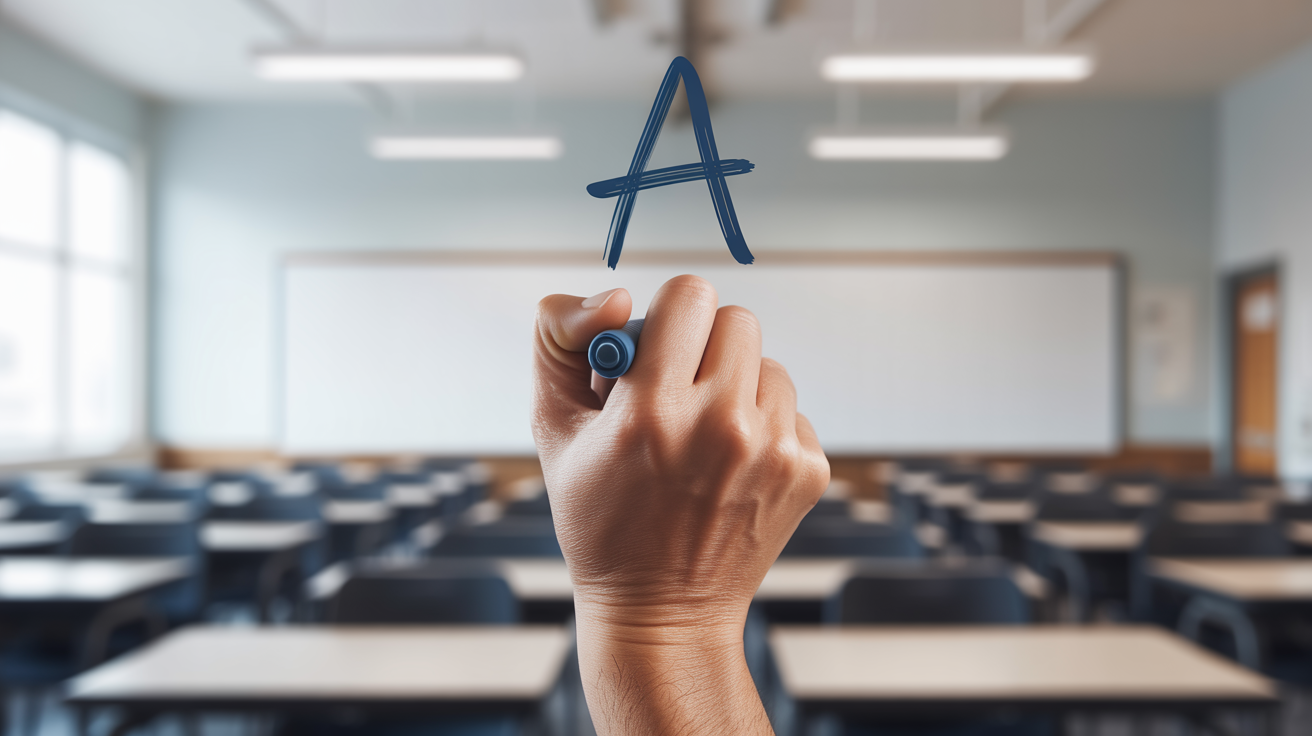
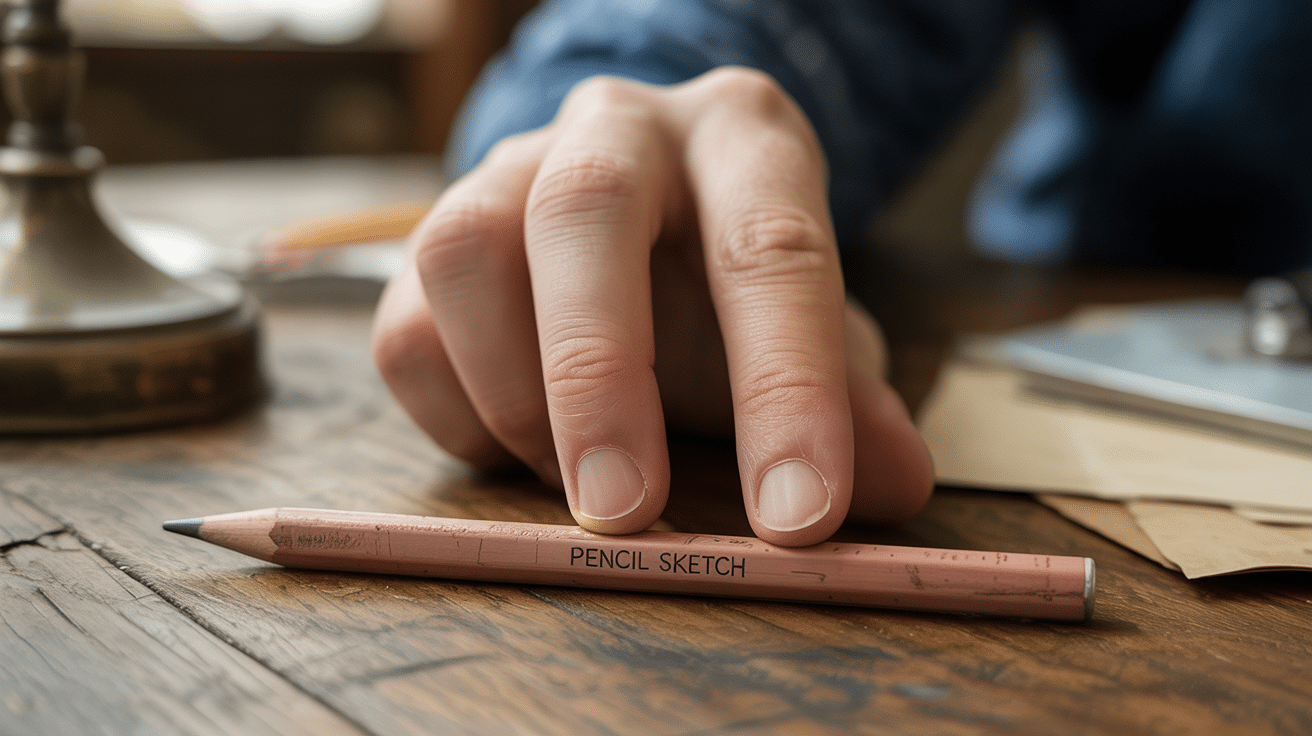
Have you ever watched a child try to write with a pencil clutched in a tight fist, fingers turning white from pressure?
Many students struggle with the wrong ways to hold a pencil, which can cause real problems.
With the right tips and practice, these grip issues can be fixed. This blog post will show you the seven most common ways to hold a pencil and share simple, effective ways to fix each one.
Each solution is easy to try at home or in the classroom. Are you ready to help students improve their writing comfort and skills? Let’s get started!
What Causes Poor Pencil Grip?
The wrong ways to hold a pencil often stem from several hidden factors rather than simple stubbornness. Many children have delayed fine motor skills due to less pre-writing play with toys that build hand muscles.
Others lack early practice with crayons, chalk, and markers before facing pencils in school.
Physical issues, such as weakness in small hand muscles or loose joints (hypermobility), make proper grip maintenance harder.
Sensory processing challenges can cause children to press too hard or too lightly when writing. Left-handed writers face unique obstacles with standard right-handed desk setups and writing direction.
Level 1: The Most Common Offenders

These three wrong ways to hold a pencil show up most often when students learn to write. Spotting and fixing them early can make a big difference in writing comfort and skill.
1. The Thumb Wrap Grip
What it is: The thumb wrap happens when a child’s thumb crosses over their index finger while holding a pencil. This creates a closed position where fingers can’t move freely.
Why it’s wrong:
- Creates unwanted muscle tension in the hand
- Blocks natural finger movements needed for smooth writing
- Often leads to hand cramps during longer writing tasks
Fix:
With simple methods, students can learn to create the proper “open web space” between their thumbs and index fingers. A pencil gripper helps keep the thumb correctly positioned for many writers.
The “pinch-and-park” method works well for classroom practice. Students first pinch the pencil with their thumb and index finger, then rest it on their middle finger.
Teachers can demonstrate this technique in small groups. Regular practice of this basic movement helps students form muscle memory for proper grip without causing hand strain or fatigue.
2. The Fist Grip
What it is: The entire fist wraps around the pencil, with the point sticking out from the bottom of the closed hand.
Why it’s wrong:
- Shows that fine motor skills aren’t fully developed
- Gives poor control over the pencil tip
- Makes it nearly impossible to make small, careful marks
Fix:
Teachers and parents can fix this grip problem with several practical methods. Short, broken crayons or mini-pencils work well since they cannot fit into a full fist, forcing proper finger placement.
Children benefit from finger-strengthening games that build control and dexterity. Activities like picking up small beads or buttons with tweezers help refine pincer grasp. Daily practice opening and closing clothespins builds the exact muscles needed for correct pencil control.
3. The Five-Finger Grip
What it is: All five fingers touch the pencil at once, creating a crowded grip where the pencil rests against the palm.
Why it’s wrong:
- Puts strain on hand muscles
- Makes it hard to see what is being written
- Often leads to pressing too hard on the paper
Fix:
To fix incorrect pencil grips, teachers can use visual cues like bright stickers that show exactly where fingers should be placed.
The “OK” sign method works well for many students. They start by making an “OK” sign with their thumb and index finger, then place the pencil through this circle. The pencil rests naturally on the middle finger, creating the ideal tripod grip.
Level 2: Sneaky Yet Harmful

These pencil grips might not look wrong at first glance, but they cause real trouble with writing speed, hand fatigue, or messy handwriting.
4. The Index Finger Over Grip
What it is: The index finger hooks or presses heavily over the top of the pencil while writing. This grip puts too much pressure on one finger instead of sharing the work.
Why it’s wrong:
- Creates painful finger cramps after short writing sessions
- Causes wrist tension that spreads up the arm
- Slows down writing speed over time
Fix:
To fix this problem, students should practice tracing on vertical surfaces such as whiteboards or paper taped to walls. This position helps naturally reduce finger pressure.
During writing sessions, students should take short breaks to shake out their hands, preventing muscle fatigue before it starts.
These simple steps can change an uncomfortable grip into a more natural one within weeks.
5. The Too-High Grip
What it is: The student holds the pencil far from the tip, sometimes several inches above the point where the pencil meets the paper.
Why it’s wrong:
- Greatly reduces fine control over the pencil tip
- Results in shaky, uneven handwriting
- Requires more arm movement, causing faster fatigue
Fix:
To fix a too-high pencil grip, teachers and parents should place a small sticker or colorful rubber band at the correct grip point on the pencil. This visual marker helps students remember where their fingers belong.
Short golf pencils work well as temporary training tools since their length naturally forces a lower grip.
Level 3: Rare but Restrictive Grips

These uncommon, wrong ways to hold a pencil may not be seen as often in classrooms, but they can create serious barriers to writing success. Students with these grips usually fall behind if the issues aren’t fixed quickly.
6. The Palm-Up Grip
What it is: This unusual grip involves holding the pencil with the palm facing upward toward the ceiling. The writer often angles their entire arm in an odd position to make marks on the page.
Why it’s wrong:
- Forces the wrist into an unnatural, twisted position
- Creates an odd writing angle that makes consistent letter formation nearly impossible
- Makes it difficult to see what’s being written.
Fix:
To correct the palm-up grip, educators should first ensure proper desk and chair heights match the student’s body size, as ill-fitting furniture often contributes to this problem.
Having students practice on vertical surfaces like dry-erase boards naturally encourages better wrist positioning.
7. The Over-Extended Grip
What it is: The fingers stretch too far apart along the pencil shaft. This creates a tense, spread-out hand position rather than a relaxed grip.
Why it’s wrong:
- Puts constant strain on small hand muscles
- Blocks smooth, flowing writing movements •
- Makes quick note-taking very difficult
Fix:
Teachers can fix over-extended grip problems by providing shorter pencils or golf pencils that physically prevent fingers from spreading too far apart.
Regular modeling of the proper relaxed tripod grip gives students a clear visual reference to copy.
For extra help, soft clay exercises work well to build the specific hand muscles needed for correct pencil holding, creating strength that transfers to better writing control.
To Conclude
Fixing the wrong ways to hold a pencil takes time and patience. Parents and teachers should remember that change won’t happen overnight. Small, steady steps lead to lasting results.
The best approach is to watch how students write, show them the right grip, and guide their hands gently when needed. No scolding or pressure helps kids improve faster.
When students fix their pencil grip, they gain more than neat handwriting.
They build writing stamina, boost classroom confidence, and set themselves up for success in all subjects that require writing. Their hands become helpers, not hurdles, on their learning path.


