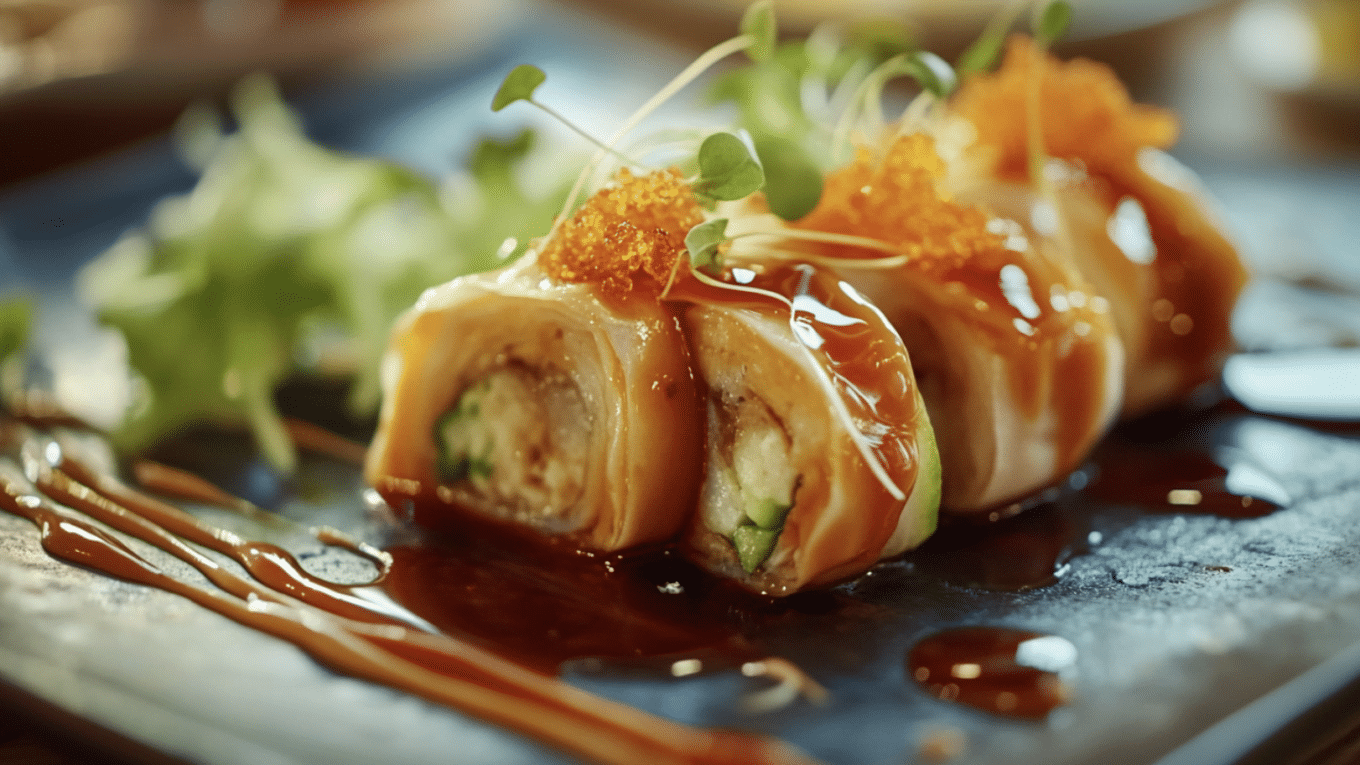
We’re here to help you take your egg rolls from tasty to stunning. In this guide, we’ll show you how to seal egg rolls to look as good as they taste.
We’ll start with the basics, like using egg wash and flour paste, and then move on to fun ways to make your egg rolls stand out.
Have you ever thought about using edible flowers or creating cool patterns? We’ve got you covered.
We’ll also walk you through the process, from wrapping the wrapper to the perfect golden-brown finish.
Plus, we’ll share some tips on how to plate your egg rolls to wow your guests.
Whether cooking for a party or just for fun, these tricks will help you make egg rolls that look like they came from a fancy restaurant. Let’s get rolling!
Creative Sealing Techniques for Stunning Presentation
1. Decorative Sealing with Twists and Folds
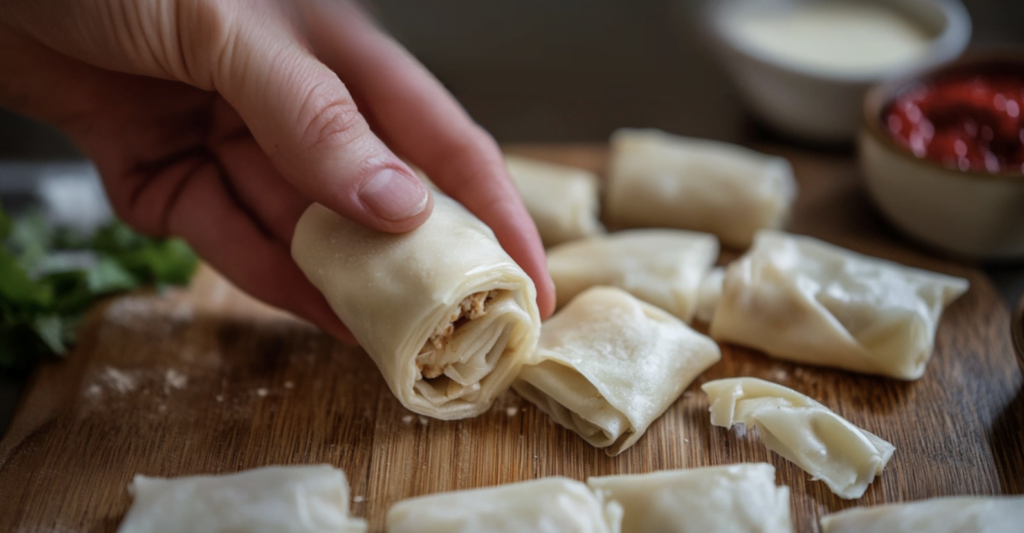
Upgrade your egg rolls’ appearance with eye-catching twists and folds. This technique transforms ordinary egg rolls into visually appealing treats that impress your guests.
Step-By-Step Instructions
- Start by mastering the spiral twist. After filling your wrapper, fold in the sides as usual.
- When you reach the final edge, pinch it between your thumb and forefinger. Gently roll this pinched section to create a thin spiral. The key is maintaining consistent pressure as you roll, ensuring an even spiral throughout.
- Be careful not to twist too tightly, as this can tear the delicate wrapper. If you’re new to this technique, practice on a few empty wrappers first to get a feel for the right tension.
- For added variety, try different folding patterns.
- Create neat pleats along the edge for a fan-like effect, or fold the corners to form a neat envelope shape. Each folding style adds unique texture and visual interest to your egg rolls.
2. Using Colored Egg Wash for Visual Appeal
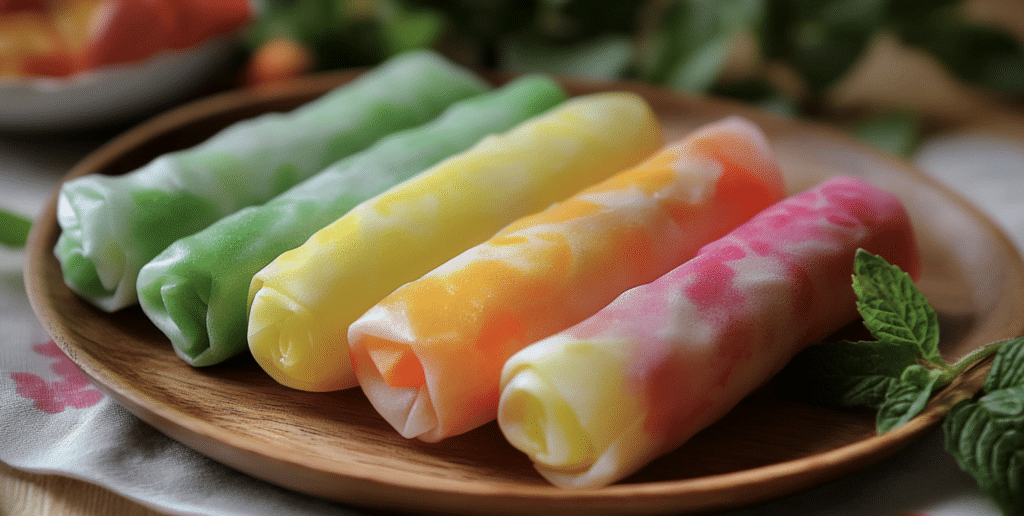
Take your egg roll presentation to the next level by including naturally colored egg washes.
This simple yet effective technique can transform egg rolls into vibrant, eye-catching appetizers perfect for any occasion.
Step-By-Step Instructions
- To create colored egg washes, start with a basic egg wash (beaten egg with a splash of water) and then add natural food colorings. Beet juice makes a lovely pink or red coloring, while turmeric powder offers a warm yellow tone.
- For green, try a small amount of spinach puree. These natural options look great and are free from artificial additives.
When applying colored egg wash, think beyond a simple coating. Use a small brush to create patterns on your egg rolls. - For a playful look, try alternating stripes of different colors or creating polka dots. For a gradient effect, apply one color at one end of the egg roll and another at the opposite end, blending them in the middle.
- Remember to apply the egg wash just before cooking. This ensures the colors remain vibrant and the patterns stay intact. With this simple yet creative technique, your egg rolls will become the talk of any gathering.
3. Pinching with Forks for a Crimped Edge
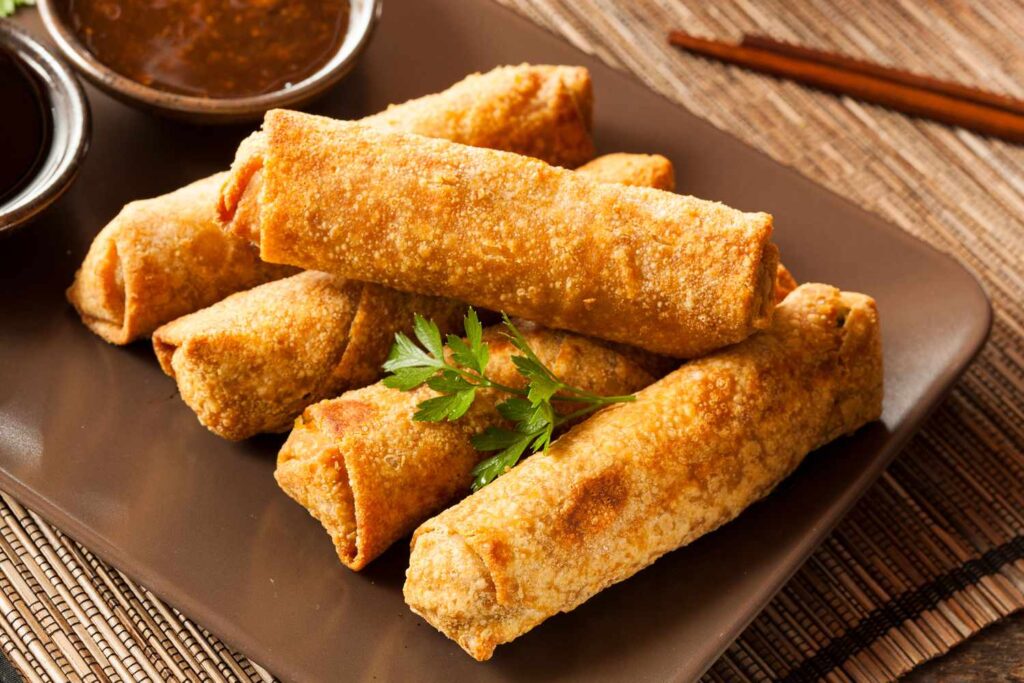
Create texture and visual interest with this simple fork-crimping technique. Not only does it look great, but it also ensures a tight seal on your egg rolls.
Step-By-Step Instructions
- To start, dip the tines of a fork in a complementary spice mix. This could be as simple as salt and pepper or a blend that matches your filling.
- Press the fork gently along the sealed edge of your egg roll, creating a regular pattern of indentations.
- The spices on the fork will leave a subtle flavor imprint, adding an extra dimension to each bite. For variety, try using forks with different tine patterns or varying the angle of your crimps.
- This method works well for both fried and baked egg rolls. The crimped edge holds up well during cooking, maintaining its attractive appearance while keeping the filling inside.
4. Braiding the Edges
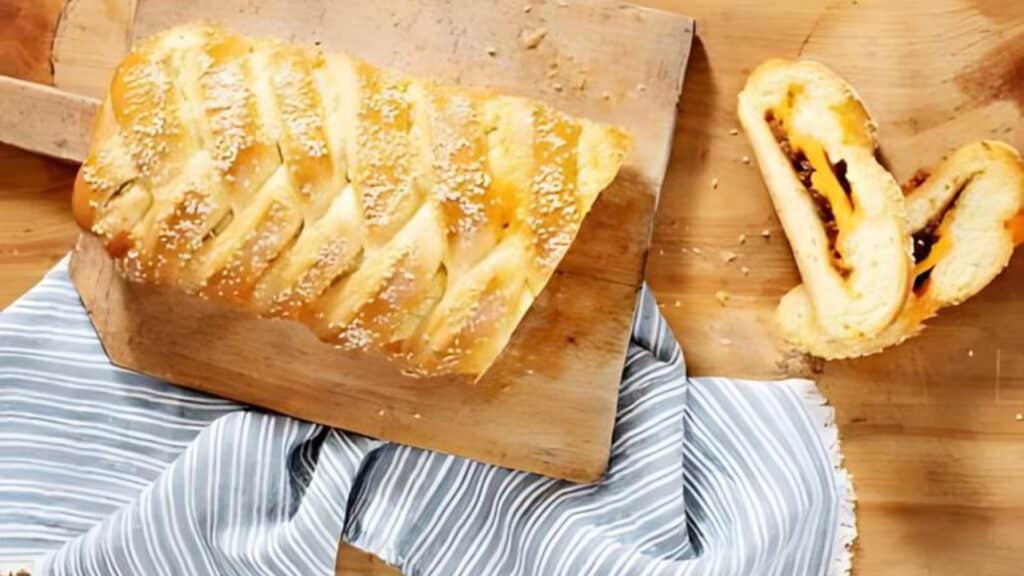
Step-By-Step Instructions
- Start by leaving an extra wrapper at the sealing edge. Divide this excess into three strips. Carefully braid these strips, maintaining even tension throughout.
- When you reach the end, tuck the braid under itself to secure it.
- To add visual interest, consider weaving in thin strips of colored vegetables like carrots or bell peppers. This enhances the appearance and adds a pop of flavor and nutrition.
Remember that braided edges may be a bit more fragile during cooking. Handle your egg rolls gently and consider baking rather than frying for the best results.
5. Folding into Unique Shapes
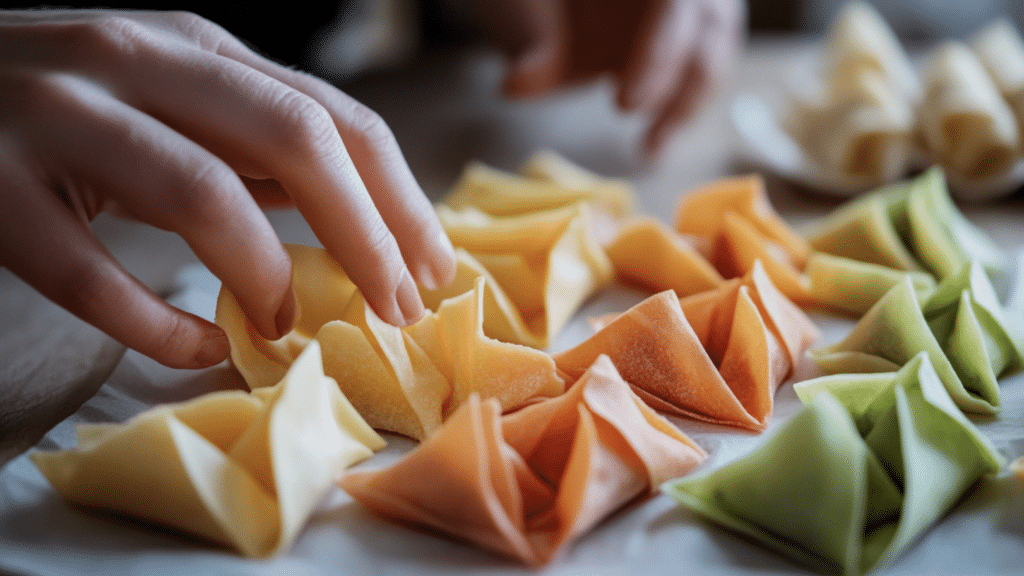
Break away from traditional cylindrical egg rolls by experimenting with unique folding techniques.
This approach allows for creative presentation and can be especially appealing for appetizer-sized portions.
Step-By-Step Instructions
- Try folding your egg rolls into triangles for a samosa-like appearance. Or fold the wrapper like an envelope to create small squares.
- For a playful touch, shape your egg rolls into flowers by arranging several small, petal-shaped rolls around a central filling.
- When working with nontraditional shapes, ensuring all edges are well-sealed to prevent filling from escaping during cooking is crucial.
- Press firmly along all seams, and consider using a bit of extra egg wash or water to reinforce the seal.
6. Layered Sealing with Different Wrappers
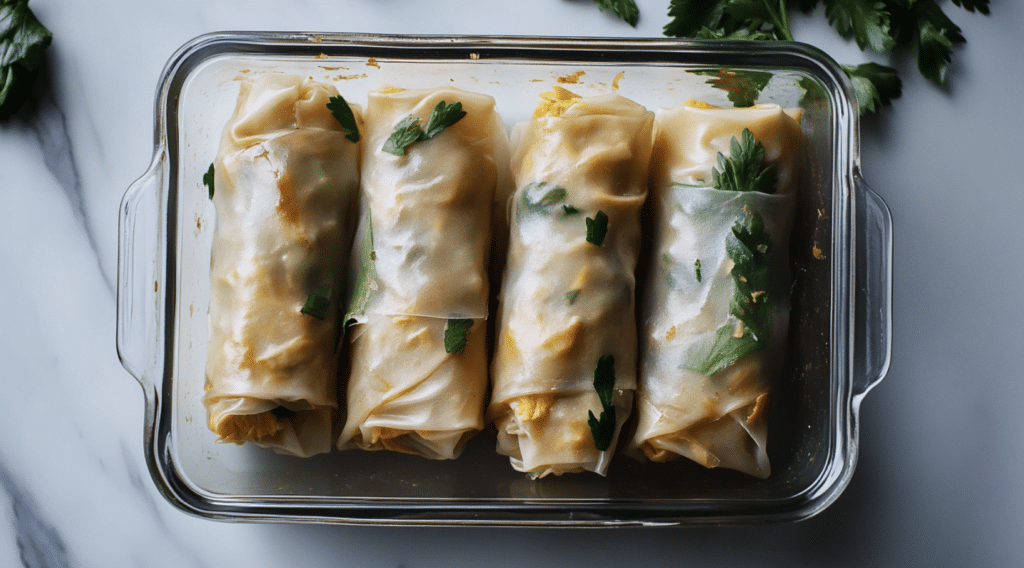
Using various wrapper types in a single egg roll creates a multi-textured experience. This method adds depth to both the look and taste of your creation.
Step-By-Step Instructions
- Start with a thin rice paper wrapper as your base. This provides a delicate, chewy texture.
- Next, add your filling and wrap it in a traditional egg roll wrapper. This gives you the classic crispy exterior. For an extra touch, you could add a final layer of a flavored wrapper, like a spinach or tomato-infused one.
- When sealing, ensure each layer is properly closed before adding the next. This prevents filling from escaping during cooking. The result is an egg roll with a charming mix of textures and flavors in every bite.
- For a striking visual effect, choose wrappers of contrasting colors. The layers will create a beautiful cross-section when the egg roll is cut, resembling a culinary geode.
7. Creating a Lattice Design
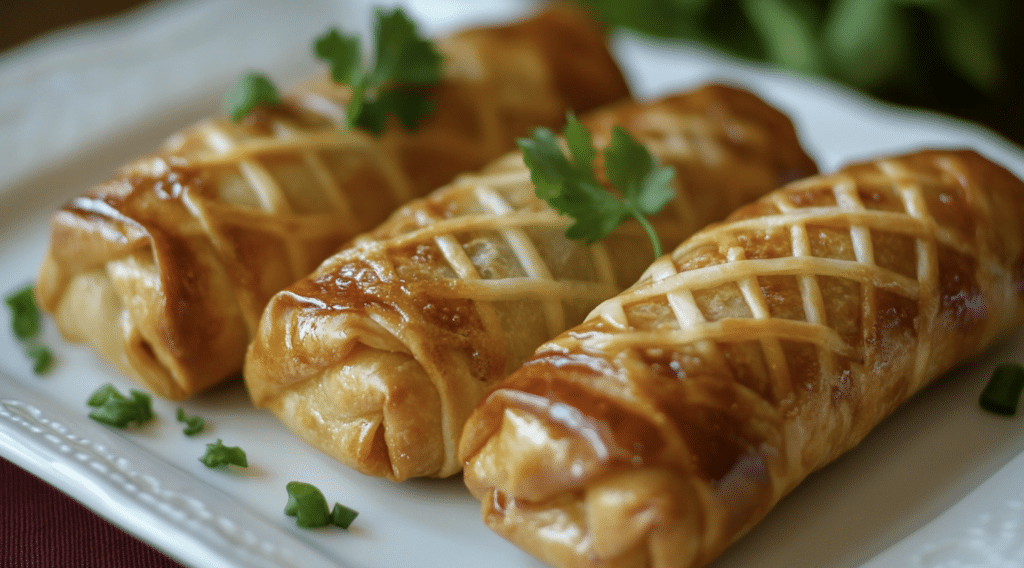
Try creating a lattice design on your egg rolls for a show-stopping presentation. This technique adds visual interest and a touch of gourmet flair to your appetizers.
Step-By-Step Instructions
- Start by preparing thin strips from an extra wrapper. After sealing your egg roll, carefully lay these strips across the top in a criss-cross pattern, creating a lattice effect. Secure the ends of each strip with a dab of egg wash.
- To enhance the lattice, consider using different colored wrappers for the strips. You could also brush the lattice with egg wash and sprinkle with sesame seeds or herbs before cooking.
- This method works best with baked egg rolls, as the lattice may come loose in hot oil. When baking, the lattice will become crispy and golden, adding texture and visual appeal to your egg rolls.
The lattice design is particularly effective for larger egg rolls or serving them as a main course.
It heightens the humble egg roll into a sophisticated dish that will impress at any dinner party or special event.
Presentation Tips for Serving Egg Rolls
Arranging on the Plate
Create visually appealing presentations to enhance the dining experience:
- Fan shape: Arrange egg rolls in a semicircle for an elegant display
- Pyramid stack: Build a small pyramid for a striking centerpiece
- Diagonal line: Place egg rolls diagonally across the plate for a modern look
- Use odd numbers: Groups of 3 or 5 egg rolls often look more balanced than even numbers
Consider using plates with contrasting colors to make your egg rolls stand out. White plates often provide a nice backdrop for the golden-brown color of the egg rolls.
Garnishing for Effect
Enhance your presentation with complementary garnishes:
- Fresh herbs: Sprigs of cilantro, basil, or mint add color and aroma
- Vegetable carving: Thinly sliced cucumbers or carrots can create decorative elements
- Edible flowers: Small, edible blossoms can add a touch of elegance
- Citrus wheels: Thin slices of lemon or lime provide a pop of color
- Sprinkle with sesame seeds or finely chopped nuts for added texture
Remember, garnishes should complement, not overpower, the egg rolls. Use them sparingly for maximum effect.
Pairing with Other Dishes
Complete your meal by pairing egg rolls with well-chosen accompaniments:
- Light salads: A crisp green salad or tangy slaw can balance the richness of fried egg rolls
- Steamed vegetables: Offer a healthy contrast in texture and flavor
- Rice or noodle dishes: These staples can turn egg rolls into a satisfying meal
- Dipping sauces: Offer a variety such as sweet chili, plum sauce, or peanut sauce
Consider pairing based on your egg roll fillings. For example:
- Vegetable egg rolls pair well with a light cucumber salad
- Shrimp egg rolls complement a citrus-based side dish
- Pork egg rolls match nicely with a tangy Asian slaw
By thoughtfully arranging, garnishing, and pairing your egg rolls, you can upgrade them from a simple appetizer to an impressive part of your meal presentation.
Step-by-Step Process of Sealing and Frying
Prepping the Wrapper
Proper wrapper preparation is crucial for creating perfect egg rolls. Various types of wrappers are available in stores, including wheat-based and rice-based options. Each type requires specific handling to maintain its integrity.
To keep wrappers in ideal condition:
- Store unopened packages in the refrigerator
- Once opened, cover unused wrappers with a damp cloth
- Work with one wrapper at a time to prevent drying
Handle wrappers gently to avoid tears. If a wrapper feels too dry, lightly mist it with water using a spray bottle.
This helps maintain pliability without making it too wet, which could lead to tearing during the filling and sealing.
Tip: Before starting, ensure your work surface is clean and dry. A smooth, dry surface makes it easier to manipulate the wrappers without sticking or tearing.
Applying the Sealant
Proper sealing is key to preventing egg rolls from opening during frying. Follow these steps regardless of your chosen sealing method:
For Egg Wash
- Beat an egg with a tablespoon of water until well combined
- Apply a thin, even layer along the edges of the wrapper using a small brush
For Flour Paste
- Mix equal parts flour and water to create a smooth paste
- Use your fingertip to apply the paste along the wrapper edges
For water and cornstarch slurry:
- Mix one part cornstarch with two parts water
- Apply the mixture thinly along the edges with a brush or your finger
Apply enough sealant to create a secure bond, but avoid excess that could make the wrapper soggy. Distribute the sealant evenly for a consistent seal all around.
Tip: Press firmly along the edges to remove air pockets when sealing. This helps prevent the egg rolls from puffing up or bursting during frying.
Frying for Perfect Texture
Achieving that ideal crispy, golden-brown exterior requires attention to detail during the frying process:
- Heat oil to between 350°F and 375°F (175°C to 190°C)
- Use a thermometer to maintain a consistent temperature
- Fry in small batches to avoid overcrowding and oil temperature drops
- Gently lower egg rolls into the oil to prevent splashing
- Fry for about 2-3 minutes per side or until golden brown
- Turn egg rolls during frying for even coloring and texture
After frying, drain egg rolls on a wire rack or paper towels. This allows excess oil to drip away, keeping the egg rolls crisp rather than greasy.
Tip: If you’re making a large batch, you can keep the first batches warm in a low oven (200°F/95°C) while finishing the rest. Place them on a wire rack over a baking sheet to maintain crispiness.
Conclusion
Mastering the art of sealing egg rolls opens up culinary possibilities. We’ve covered essential techniques, creative sealing methods, and presentation tips, transforming egg rolls from simple snacks to showstopping appetizers.
Remember, practice makes perfect. Don’t be discouraged if your first attempts aren’t flawless. Each egg roll you make is a chance to refine your skills at sealing egg rolls.
The techniques we’ve shared for sealing egg rolls are just the beginning. Feel free to experiment and develop your unique style. Your personal touch is what will make your egg rolls truly special.
We hope this guide on how to seal egg rolls inspires you to upgrade your game. So, heat that oil, grab your wrappers, and start rolling! Your perfectly sealed, beautifully presented egg rolls await.

