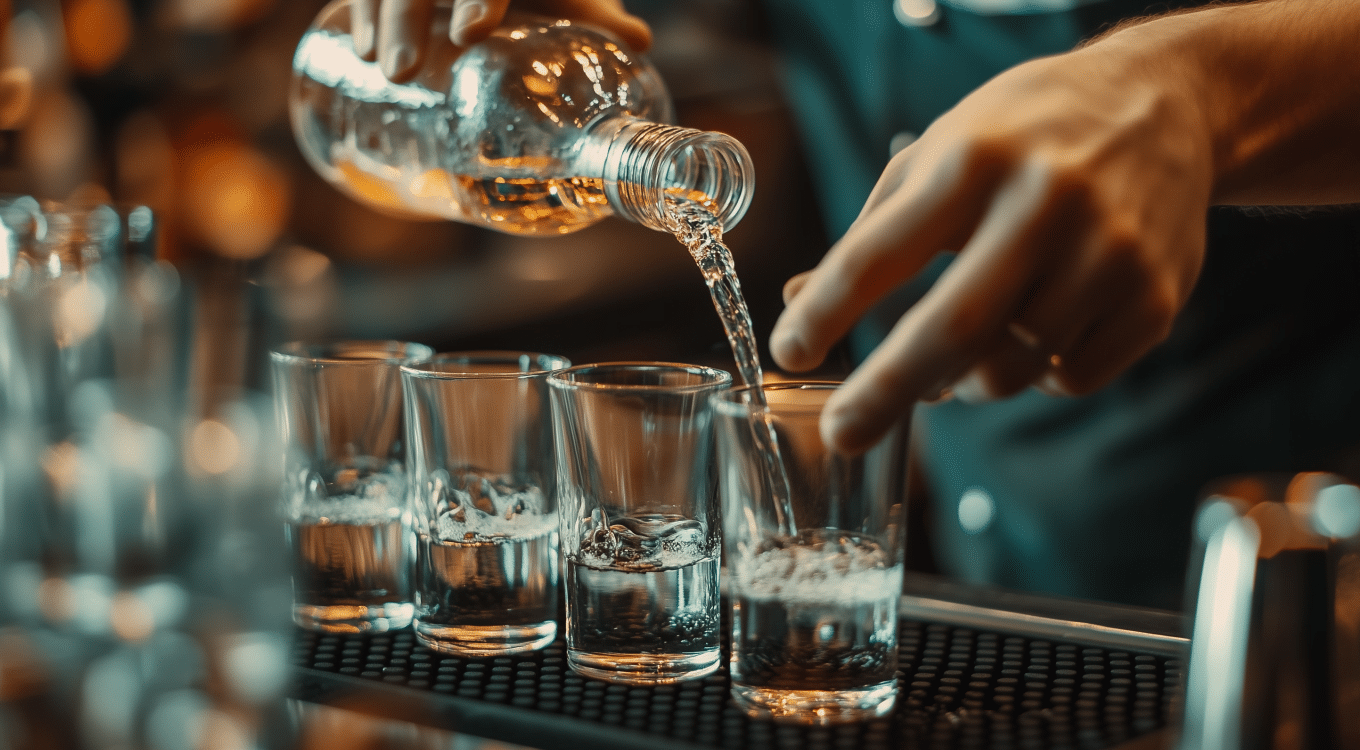
Pouring the perfect shot can be tricky, even for experienced bartenders. Whether mixing drinks at home or working behind a bar, getting the right amount of liquor in each glass is crucial for taste, consistency, and responsible service.
Measuring shots accurately ensures your cocktails are balanced and your customers are satisfied. In this guide, we’ll explore simple yet effective techniques to help you calculate perfect shots every time.
You’ll learn about tools like jiggers and speed pourers, master the art of free pouring, and discover clever tricks pros use. By the end, you’ll have the skills to pour confidently and precisely, impressing your guests or patrons with perfectly measured drinks.
Techniques for Free Pouring with Ease
Free pouring allows bartenders to pour liquor directly from the bottle without using measuring tools. This technique relies on a consistent count to determine the correct amount of alcohol. It’s a skill that combines timing, muscle memory, and practice to achieve accurate pours.
1. The Four-Count Method
The four-count method is a popular free-pouring technique. Here’s how it works:
- Attach a speed pourer to the bottle for a steady, controlled flow.
- Flip the bottle completely upside down to ensure a consistent pour rate.
- Count as you pour: “One one-thousand, two one-thousand, three one-thousand, four one-thousand.”
- Stop pouring at the end of your count.
Each count in this method typically equals about 0.5 oz, so a four-count pour results in a standard 2 oz serving.
2. Importance of Practice
Mastering free pouring requires regular practice. Bartenders often use water bottles to hone their skills, pouring them into measuring cups to check their accuracy. They develop a feel for the correct pour duration and volume with time.
3. The Transition from Counting to Muscle Memory
The counting process becomes internalized as bartenders become more experienced with free pouring. Eventually, it transitions into muscle memory, allowing for quick, accurate pours without active counting. This skill enables faster service and consistent pours, which is particularly useful in busy bar environments.
While free pouring can be efficient, it’s important to note that some establishments prefer measured pours for inventory control and consistency. Bartenders should be skilled in both methods to adapt to different working environments.
Visual and Tactile Measurement Tricks
The Finger Method
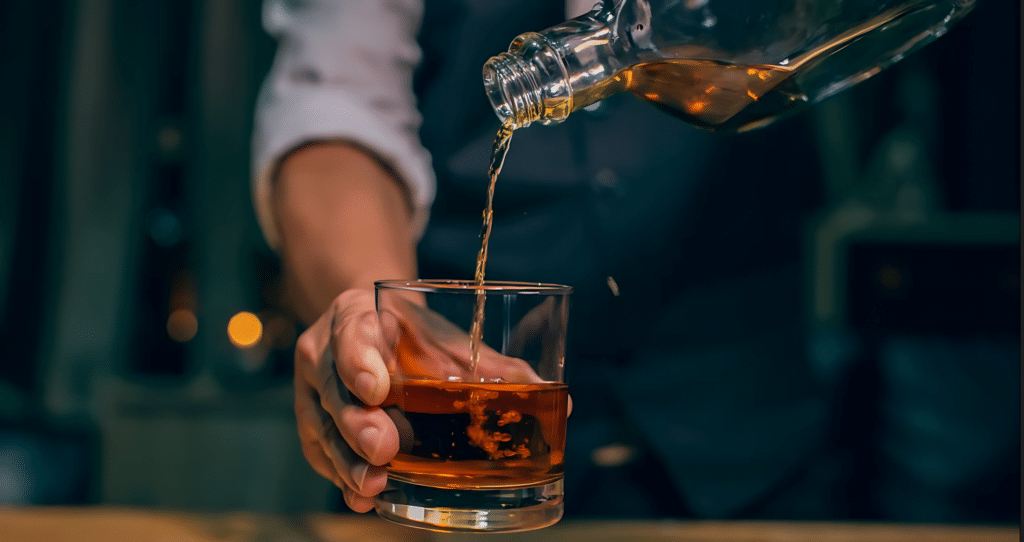
The finger method is a quick, visual way to measure liquor without tools. You can gauge approximately two ounces of liquor by placing your finger horizontally against the side of the glass.
This technique relies on a finger’s width roughly equal to two ounces of liquid in a standard rock glass. While not as precise as using a jigger, it’s surprisingly accurate for a visual method and useful in casual settings or when speed is crucial.
Keep in mind that the accuracy of the finger method can vary based on glass size and shape, as well as individual finger width. It’s a good idea to test this method with measured pours to understand how it works with your specific glasses and fingers.
The Candle Technique
Another visual method is the candle technique. This clever trick uses the subtle horizontal lines of most glassware to measure liquor accurately.
To use this method:
- Place a small light source (like a candle or phone flashlight) next to the glass.
- Look for the faint horizontal lines in the glass left from the glass-making process.
- Fill to the first or second line from the bottom for a two-ounce pour.
This technique can be surprisingly accurate, but it’s worth testing with different glasses to ensure consistency.
Tools for Measuring Shots Perfectly
Knowing the right amount of liquor to pour is key when mixing drinks. Let’s break down the common shot sizes you’ll encounter:
Definition of Standard Shot Sizes: In the United States, a standard shot is 1.5 ounces (oz) of liquor. This amount is typically used in cocktails and served as a straight shot.
However, it’s not the only measurement you’ll need to know. You can use some tools to make it earlier for you as well. Here are some popular choices.
1. Jiggers
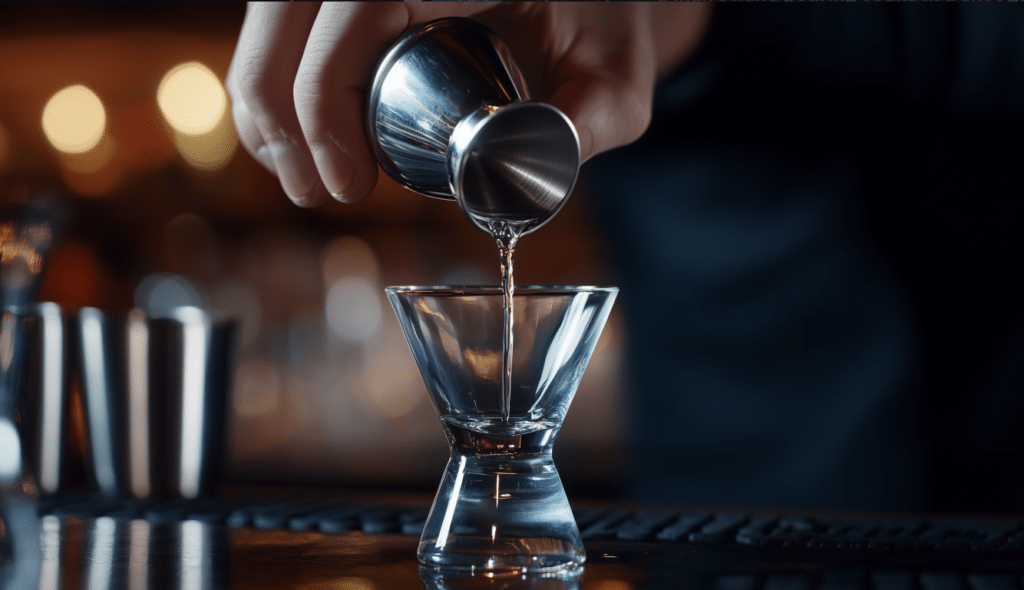
Jiggers are essential bar tools for precise liquor measurement. These dual-sided metal cups help bartenders pour exact amounts quickly and consistently.
Jiggers come in various sizes, typically ranging from 0.5 to 2.5 oz. The most common dual-sided jigger has a 1.5 oz “jigger” shot on one side and a 1 oz “pony” shot on the other. This versatility allows for easy measurement of standard and smaller pours.
Pros
- Ensures drink consistency
- It helps control costs by preventing overpouring
- Reduces liquor wastage
Cons
- Can slow down drink preparation
- Requires manual measurement for each pour
2. Measured Pourers
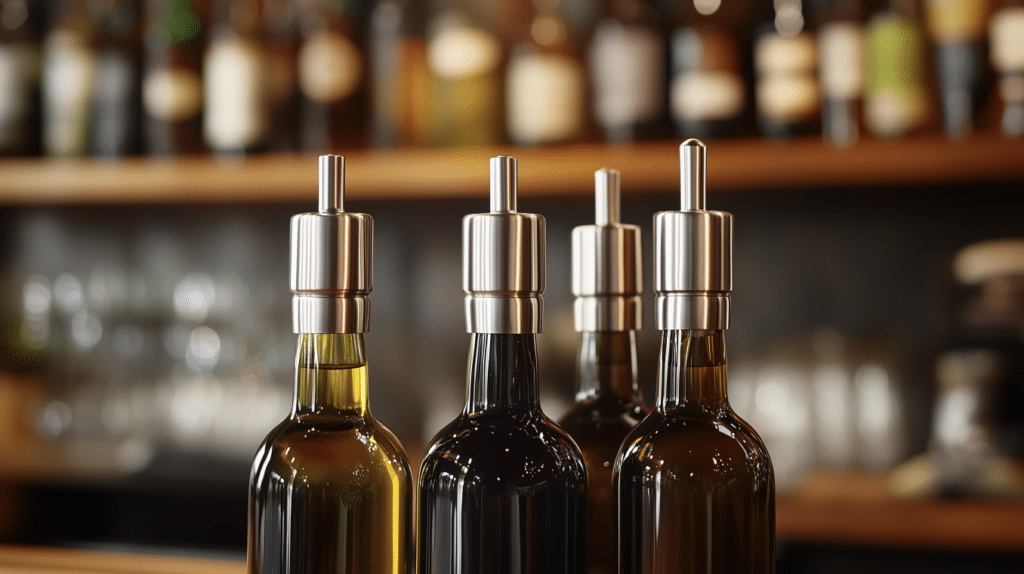
Measured pourers are specialized spouts that fit onto liquor bottles. They’re designed to dispense specific amounts of liquor with each pour, streamlining the measurement process.
Benefits
- Offers quick and accurate pours
- Easy to use, especially in high-volume settings
- It helps maintain drink consistency
Drawbacks
- You may need multiple pourers for different measurements
- Some bartenders find them less visually appealing than traditional pouring methods
Both tools have their place in bartending, and the choice often depends on the specific needs of the bar or the bartender’s preference.
3. Precision Pour Bottle Rack Systems
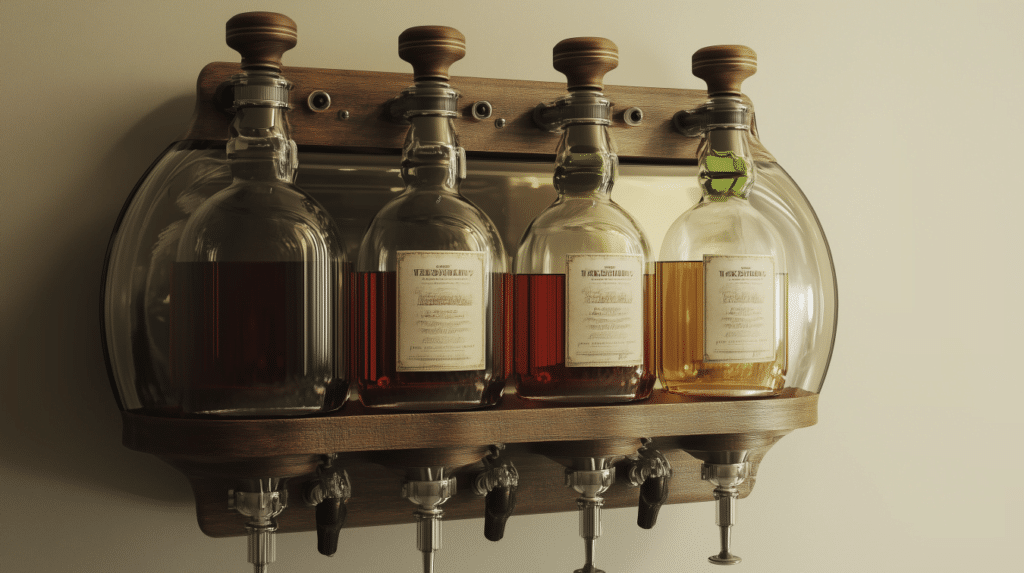
Precision pour bottle rack systems are advanced tools for efficient and accurate liquor dispensing. These systems consist of racks where liquor bottles are mounted upside down, each fitted with a special pourer head. Bartenders dispense liquor by pressing the rim of a glass against the bottom of the pourer’s head, releasing a preset amount of alcohol.
Advantages
- Quick and highly accurate pours
- Ensures consistency across all drinks
- Eliminates the need for manual measurement
- Can accommodate multiple bottles in a single unit
Limitations
- Requires dedicated counter space
- It may slow down service if multiple bartenders need to use the same unit
- Less visually appealing than traditional pouring methods
- It can be less flexible for custom pour sizes
These systems can be particularly valuable in high-volume bars where speed and accuracy are top priorities, but their suitability depends on each establishment’s specific needs and setup.
Advanced Tricks for Perfect Pouring
Importance of Bottle Orientation and Speed Pourers: For accurate free pouring, it’s crucial to flip the bottle upside down and use a speed pourer. This ensures a steady, consistent flow of liquor, which is key to measuring by count.
1. Tips for Consistent Free Pouring
To master free pouring, practice the four-count method regularly. Focus on maintaining a steady rhythm in your counting and a consistent flow rate. Over time, this will become second nature.
2. Controlling the Flow Rate
Do not use a speed pourer to cover the air hole with your thumb. This common mistake can slow the flow and throw off your measurements. Keep your grip on the bottle’s neck to avoid this issue.
3. The “Bumping” Technique for Multiple Pours
To pour multiple drinks quickly, learn the “bumping” technique. This involves a quick up-and-down motion of the bottle while pouring, creating a brief air bubble in the stream. This allows you to move between glasses without spilling or interrupting your count.
By mastering these advanced techniques, you’ll improve your speed and accuracy in free pouring. Consistency is key, so practice regularly with water before applying these skills behind the bar. These methods can significantly enhance your efficiency, especially during busy periods.
Practicing and Perfecting Your Pour
Regular practice is key to becoming skilled at free-pouring. Set aside time to hone your technique, aiming for accuracy and consistency in your pours.
Measuring Accuracy with Jiggers and Shot Glasses: Use jiggers and shot glasses as training tools. These will help you verify your free pours’ accuracy and identify areas for improvement.
Set up a row of glasses and practice pouring into them. For these sessions, use water instead of alcohol. After each pour, measure the liquid with a jigger to check your accuracy. This helps you understand how your count translates to actual volume.
Developing a Consistent Counting Cadence
A steady counting rhythm is crucial for consistent pours. Work on establishing a regular cadence even in busy bar situations.
1. Accuracy Checks
Regularly pour directly into a jigger or shot glass to see if you hit the target amount. If you consistently over- or underpour, adjust your count speed or pouring technique accordingly.
2. Counting Cadence
Start by counting out loud: “One one-thousand, two one-thousand,” and so on. As you get comfortable, transition to a silent count. With enough practice, this will develop into muscle memory, allowing you to pour accurately without actively counting.
Remember, the goal is to reach a point where you can consistently pour without thinking about it. This skill comes with time and repetition. Don’t get discouraged if it takes a while to master—even experienced bartenders regularly practice to maintain accuracy.
Conclusion
Whether you’re a professional bartender or enjoy mixing drinks at home, mastering the art of measuring a perfect shot can be fun and rewarding. The techniques and tools we’ve explored aren’t just for the pros – they can elevate your home bartending game and impress your friends at your next gathering.
Learning these methods adds a new dimension to the casual enthusiast’s cocktail-making experience. Imagine the satisfaction of free-pouring a perfect measure without a jigger or using the finger method to gauge your pour quickly.
These skills can turn a simple act of mixing a drink into a show of finesse and expertise.
Remember, practice makes perfect, and the learning journey is part of the fun. Don’t be afraid to experiment with different techniques to find what works best for you.
Set up a practice station with water and some glasses, and make a game out of perfecting your pour. You might be surprised at how quickly you improve and how enjoyable the process can be.
Frequently Asked Questions
How do You Measure a Perfect Shot?
To measure a perfect shot, use a jigger for precision or master the four-count free pour method. For visual estimation, try the finger method or candle technique. Practice ensures consistency.
How Many Counts is a 1.5 Oz Pour?
When free pouring, a 1.5-oz pour typically uses a three-count method. Each count represents about 0.5 oz, so counting to three while pouring yields approximately 1.5 oz.
How do Bartenders Measure a Shot?
Bartenders measure shots using jiggers, speed pourers with counting techniques, or measured pourers. Some use visual methods like the finger technique or rely on muscle memory from practice.

