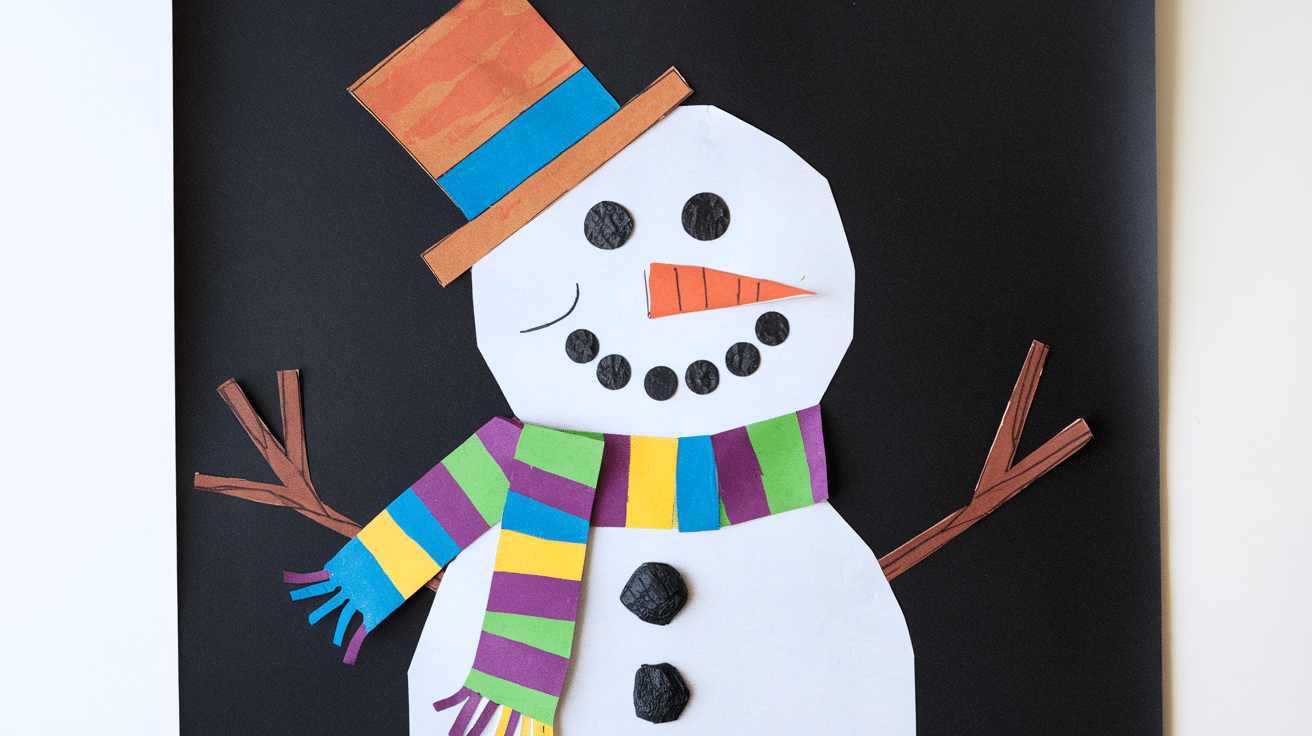
Looking for a fun winter activity that your kids will enjoy? Sneezy the Snowman is a silly, heartwarming book that’s perfect for cold days.
It’s about a snowman who keeps melting because he wants to get warm, something every kid finds hilarious! That’s why a Sneezy the Snowman craft is such a favorite.
In this blog, I will show you how to turn this story into an easy and creative project. You’ll find simple steps, helpful tips, and engaging ways to incorporate it into your learning.
Ready to make winter a little more fun? Let’s get started!
How to Build Sneezy the Snowman: Full Craft Guide
What You’ll Need
- Black construction paper (for the background)
- Three white snowball cutouts: large (bottom), medium (middle), small (head)
- Accessory cutouts: one hat, one scarf (V-shaped), and one carrot nose
- Glue stick or liquid glue
- Crayons or markers: especially black, orange, white, and any other fun colors
- Optional materials: small paper scraps for buttons, arms, or sweater details
- A writing strip or blank paper to answer the final snowman question
Step-by-Step Instructions
Step 1: Cut Out Your Snowman’s Body
Start by gently cutting out the three white snowball shapes. These will form your Snowman’s body, one large, one medium, and one small.
Tip: Circles are tricky, so go slow! Turn the paper instead of your scissors if it helps. If needed, cut around each snowball first to separate them, then trim the edges neatly.
Step 2: Build the Snowman Base
Lay out your black construction paper in front of you. Start with the largest snowball; this is the base of your Snowman. Add glue to the back and stick it near the bottom of your paper.
Next, take the medium snowball and glue it right above the first one. Slightly overlap the edges to make it look like real snowballs stacked in the yard.
Then glue the smallest snowball on top to complete the head. Now you have a whole snowman body ready to decorate!
Step 3: Add the Cozy Scarf
Grab the V-shaped scarf cutout. It should look like it’s blowing gently in the wind.
Put a dab of glue on the back and lay one side across the Snowman’s “neck,” just where the head meets the body.
Let the other end trail off to one side like a scarf tail catching a breeze. This step adds movement and personality to your Snowman!
Step 4: Place the Hat on His Head
Take your Snowman’s hat (everyone has a different color!). Add glue to the bottom edge and place it right at the top of the head.
You can tilt it sideways or stand it straight up, whichever looks more fun to you!
Step 5: Draw His Face
Use a black crayon or marker to draw two eyes near the top of the smallest snowball.
Next, glue on the carrot nose just under the eyes. This triangle might be tiny, so go slowly and expect a little glue on your fingers!
Optional: Use dots to draw a cheerful smile made of pretend pebbles or raisins, just like traditional snowmen.
Step 6: Add Fun Details
This is where your creativity shines!
- Draw or glue on buttons down the middle.
- Use a white crayon to draw stick arms reaching out from the sides.
- Want to dress him like Sneezy from the book? Try drawing or gluing on a sweater, stripes or patterns are a fun addition!
- Decorate the background with snowflakes, stars, or your name.
Watch the Snowman Craft in Action!
Want to see each step in motion before you begin? Watch the complete walkthrough below.
Sensory and Motor Skill Development
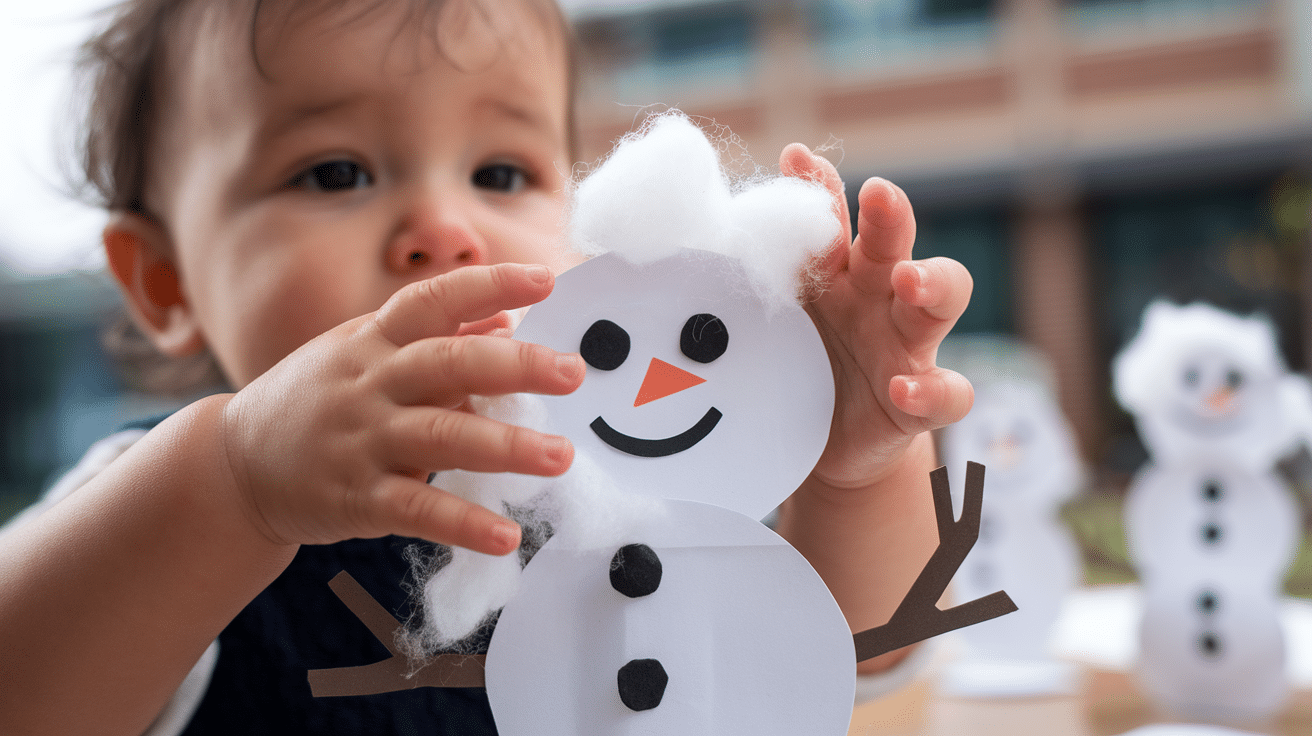
Cutting out the snowballs strengthens the small muscles in their hands and fingers. It also builds control and coordination, which helps with everyday tasks like buttoning shirts or holding a pencil.
Gluing and placing tiny items, such as the nose, hat, and scarf, improves focus and visual-spatial awareness. Your child learns how to line things up, apply gentle pressure, and follow steps in order.
Exploring different textures, such as smooth paper, bumpy glue, and soft playdough (if added), keeps your child’s senses engaged. This sensory input helps with brain development, attention, and calm body regulation.
It’s the kind of creative activity that feels like play but supports learning in real ways.
Age-Based Modifications
Here’s how I adjust the craft depending on who I’m working with.
For Toddlers (Ages 2–3)
I handle all the cutting so they can focus on the fun parts, coloring, gluing, and feeling the soft cotton. We talk about shapes like circles and how fluffy the “snow” feels to help them explore with their senses.
For Preschool to Kindergarten (Ages 4–5)
I give them safe scissors to try cutting simple shapes. As we craft, we chat about Sneezy’s story and how he melts. They love picking scarf colors or adding buttons, and it helps them feel proud of their choices.
For Grades (1–2)
They label snowman parts or write a sentence about Sneezy. I use simple cards to help them retell the story in order. Most of all, they enjoy making up their fun twists to the Snowman’s tale.
Snowman Craft and Educational Tie-In
This craft also fits into your learning time. Here’s how I make it part of the lesson.
Reading Skills
I ask kids to use their Snowman to retell the story. We go over what happened first, then next, and finally. I ask how Sneezy felt and what he learned. This helps with memory and understanding the character.
Science Concepts
We do a simple ice cube experiment. I place cubes in different parts of the room and ask where they melt faster and why. Then we compare cotton balls to real snow by touch and look.
Writing Prompts
For writing practice, I give kids simple sentence starters, such as “If I were made of snow…,” “Sneezy should have…,” or “My snowman melted when…”.
These prompts spark their imagination and help them connect the craft to the story in a playful way. It turns writing into something fun and meaningful, not just another task.
Creative Variations
If you want to change things up, here are fun twists I like to use with my snowman crafts:
- Valentine Snowman: Add heart-shaped cutouts for the buttons and use pink or red paper for the hat, scarf, or background. It’s a sweet and festive way to tie the Snowman to Valentine’s Day.
- Rainbow Snowman: Skip traditional snowman colors and go all out with vibrant, mismatched paper scraps. Use a rainbow scarf, bright buttons, or even a multicolored hat to make your Snowman stand out.
- Seasonal Mix-Up Snowman: Want a silly twist? Decorate your Snowman with sunglasses, paper flowers, or a sunhat to give it a spring or summer vibe. This version always gets a giggle.
Group Activity Tips
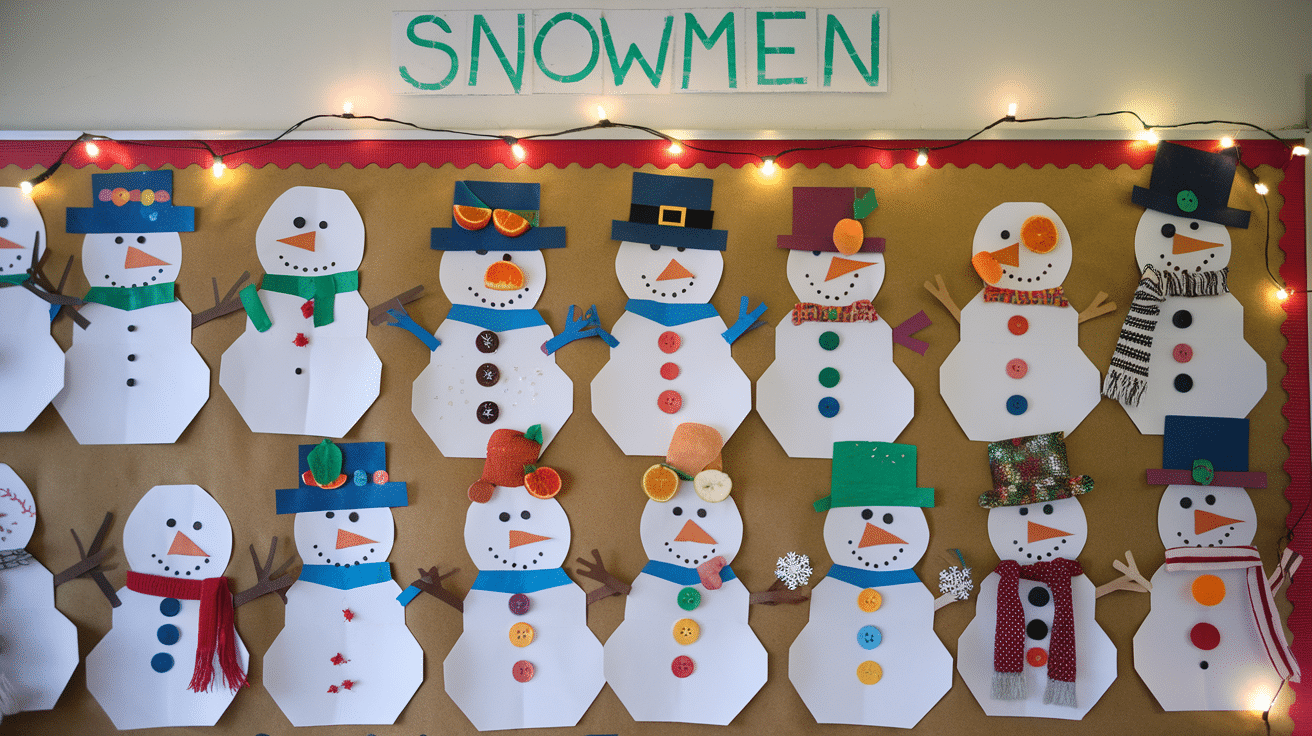
If you’re working with a group of kids, a little planning can make a big difference:
- Create separate stations: Set up distinct areas for cutting, gluing, and decorating to maintain organization and a calm atmosphere.
- Pre-pack supply kits: Bundle scissors, glue, snowman pieces, and decorations into individual kits so kids can get started right away.
- Label each Snowman: Add each child’s name to the back of their Snowman to avoid confusion and mix-ups.
- Display their work: Hang finished snowmen on a bulletin board or wall. Kids love seeing their creations celebrated.
At-Home Fun Tips
Doing this project one-on-one at home? Here’s how to make it meaningful and enjoyable:
- Start with storytime: Read Sneezy the Snowman together before crafting. It sets the mood and gives the activity context.
- Let your child take the lead: Allow them to make decisions about colors, details, and placement. It boosts confidence and independence.
- Talk and take pictures: Chat as you work, laugh through the glue mess, and take photos to capture the memory.
- Focus on fun, not perfection: It’s okay if the scarf is crooked or the eyes are mismatched. The real win is the joy of creating together.
Bonus Activity Ideas
Once your Snowman is built, the fun doesn’t have to stop. Try one of these creative add-ons:
- Turn your Snowman into a puzzle: cut it into large pieces, mix them up, and reassemble it like a jigsaw puzzle for added fun.
- Make a snowman puppet: Tape it to a stick and let kids act out stories or sing songs with their snowman puppet.
- Write a snowman adventure story: Help your child write a short, imaginative tale about their Snowman’s winter adventures.
- Host a snowman parade: Line up all the finished snowmen and march them around the room with music and cheer.
Helpful Tips for Success
Want to make this craft session smooth and fun? These quick tips will help:
- Protect your workspace: Cover the table with a newspaper or a cloth to make cleanup easy after gluing and cutting.
- Use individual trays: Provide each child with their tray or placemat to keep supplies organized and prevent mix-ups.
- Keep spares ready: Have extra snowman parts, such as buttons, noses, or hats, on hand in case any go missing.
- Take your time: Let kids move at their own pace, enjoying each step and expressing their creativity without rush.
- Play winter music: Soft seasonal music helps set a calm, joyful mood and keeps kids relaxed while they work.
Conclusion
Making a Sneezy the Snowman craft isn’t just fun; it also helps your kids learn and get creative. You’ve got all the steps, tips, and ideas you need to turn a favorite story into a hands-on project.
I hope this guide gave you something valuable and easy to try. Don’t forget to show off your Snowman on your wall, fridge, or even online. I’d love to see what you create.
Want more kid-friendly crafts and story-based fun? Take a look at my other blogs for your next favorite activity. Let’s keep the creativity going!

