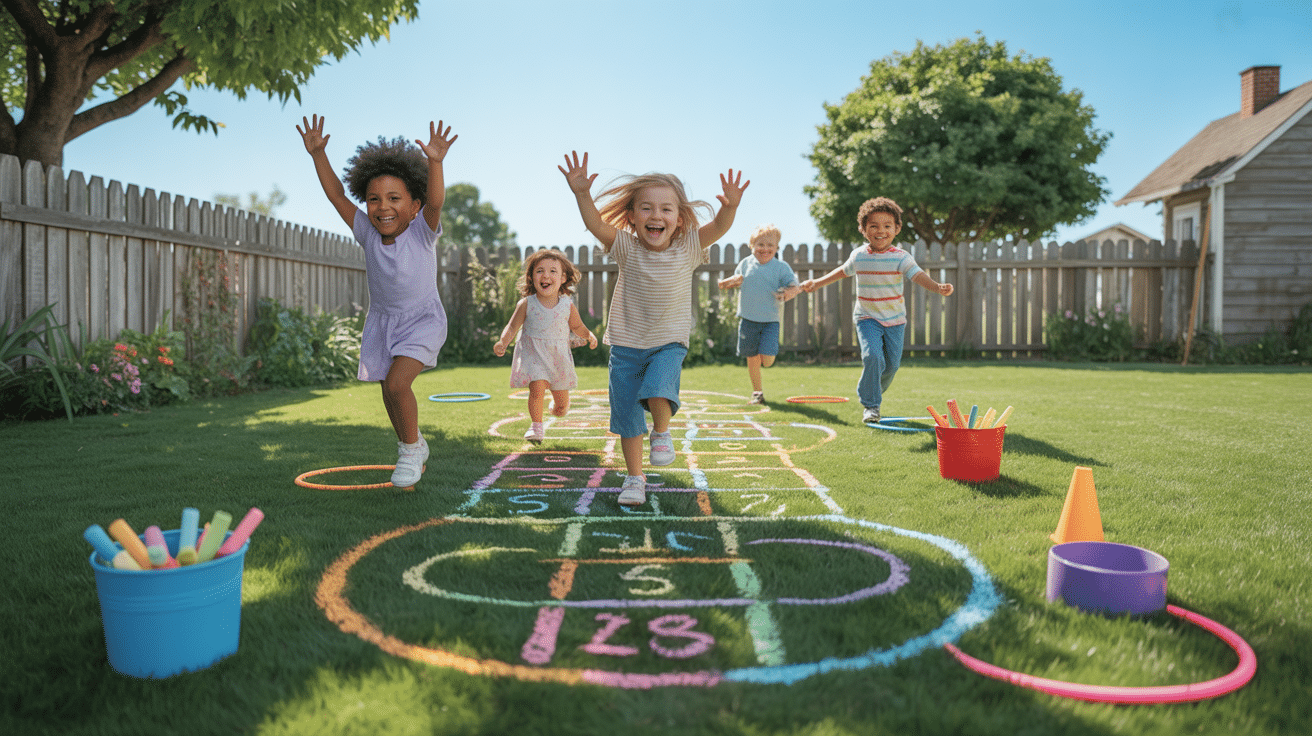
Got bored kids? When the usual games get stale, kids become restless and cranky.
The solution? A Chalk obstacle course! With just some sidewalk chalk and basic items from around your home, you can create an exciting play space right in your driveway.
This simple activity gets kids moving, thinking, and having a blast, while giving you a few minutes of peace.
In this blog, we show you how to make a chalk course that your children will love.
Essential Materials Needed for Chalk Obstacle Course
Creating a chalk obstacle course doesn’t require expensive equipment. You’ll need just a few basic items to get started.
| Material | Purpose |
|---|---|
| Sidewalk chalk | The main supply for creating your course. Use multiple colors to make it more exciting for kids. |
| Measuring tape | Helps you set proper distances between activities, ensuring challenges are age-appropriate. |
| Household objects | Items like plastic cups, hula hoops, jump ropes, and small toys to create different activity stations. |
| Stopwatch | Allows kids to track their progress as they try to beat their previous times. |
| Water bottles | Keeps kids hydrated during outdoor play. |
| First aid kit | A smart safety item to have nearby for any minor scrapes or falls. |
| Camera or phone | Captures fun moments and your children’s proud faces when they complete the course. |
The best part about these materials is their simplicity. You don’t need to buy special equipment or spend a lot of money.
How to Choose the Perfect Location for Your Course?
Smooth surfaces where chalk adheres well; driveways, sidewalks, or empty parking lots work perfectly.
Safety should be your top priority. Choose areas away from traffic where children can play without concern. The space needs enough room for free movement without obstacles.
Shaded areas help keep kids cool on hot days. When using public spaces, always check local regulations, as some places restrict chalk use.
Surface texture matters too; rough concrete provides better traction but makes drawing challenging, while smooth asphalt works well for detailed designs but heats up quickly in sunlight.
Build Your Perfect Chalk Obstacle Course
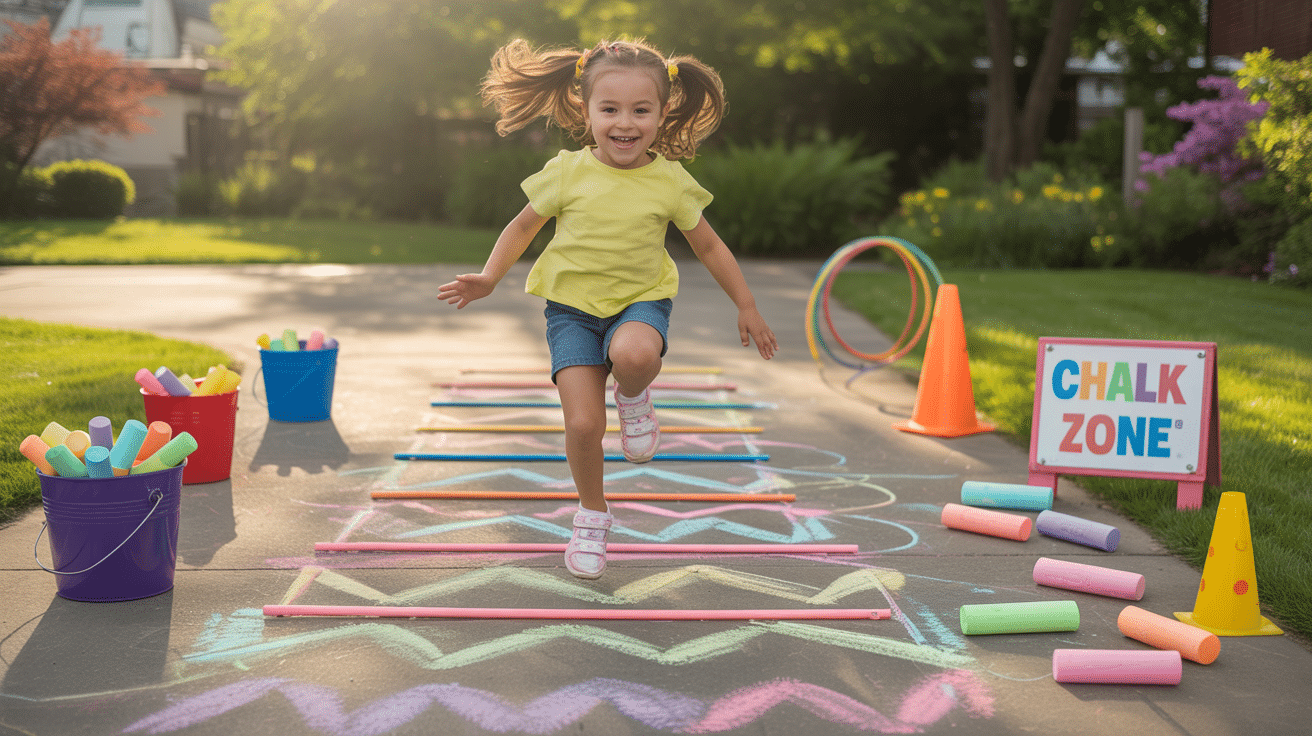
Creating a fun chalk obstacle course involves planning and creativity. Follow these simple steps to design a course your kids will love:
Step 1: Plan Your Layout First
Before you grab the chalk, think about how the course will flow. A good layout creates a natural path from start to finish.
- Draw a simple map on paper.
- Mark start and finish points clearly.
- Plan for space between activities.
- Consider traffic flow if multiple kids will use it at once.
The best courses combine physical activities with short breaks. This gives kids time to catch their breath before the next challenge.
Step 2: Consider Age-Appropriate Challenges
Match the difficulty level to your children’s ages and abilities. The right challenges keep kids engaged without being too hard.
- Ages 3-5: Simple hops, twirls, and basic movements.
- Ages 6-8: Balance challenges, skipping patterns, and simple games.
- Ages 9+: More complex physical challenges and puzzles.
Remember that younger siblings might try the course too, so include options for different skill levels when possible.
Step 3: Create Clear Instructions
Make sure kids understand what to do at each station. Clear directions prevent confusion and keep the fun going.
- Use simple words or pictures for young children.
- Add arrows to show direction.
- Use different colors for different activities.
- Make numbers or letters big and bold.
Testing the instructions yourself helps spot any unclear directions before the kids start playing.
Step 4: Mix Physical and Mental Challenges
A great course works both the body and the brain. This keeps the activity interesting for longer periods.
- Physical: Jumping, hopping, skipping, crawling.
- Mental: Counting tasks, color matching, simple math.
- Coordination: Ball tossing, balancing, walking backward.
This mix helps develop different skills while making the activity more fun.
Tips for Spacing and Flow to Ensure Smooth Play
Creating a well-spaced obstacle course prevents bottlenecks and frustration. The right flow keeps the fun going without long waits or confusion.
- Start with breathing room – leave at least 3-4 feet between each activity to give kids space to prepare for the next challenge.
- Create zones for different speeds – fast activities should lead to slower ones, helping kids manage their energy throughout the course.
- Use arrows and footprints – clear markers between stations guide children in the right direction without constant parent help.
- Consider traffic patterns – if multiple kids will play at once, design wide areas where they can pass each other safely.
- Group similar activities – keep jumping sections together and thinking activities in their own area to create a natural rhythm.
- Plan for rest spots – add small “break stations” where tired kids can pause without blocking others.
- Think about the finish line location – position it near the start for easy resets, but not so close that finishing and starting players collide.
Creative Ideas for Setting Up Fun Obstacles and Activities
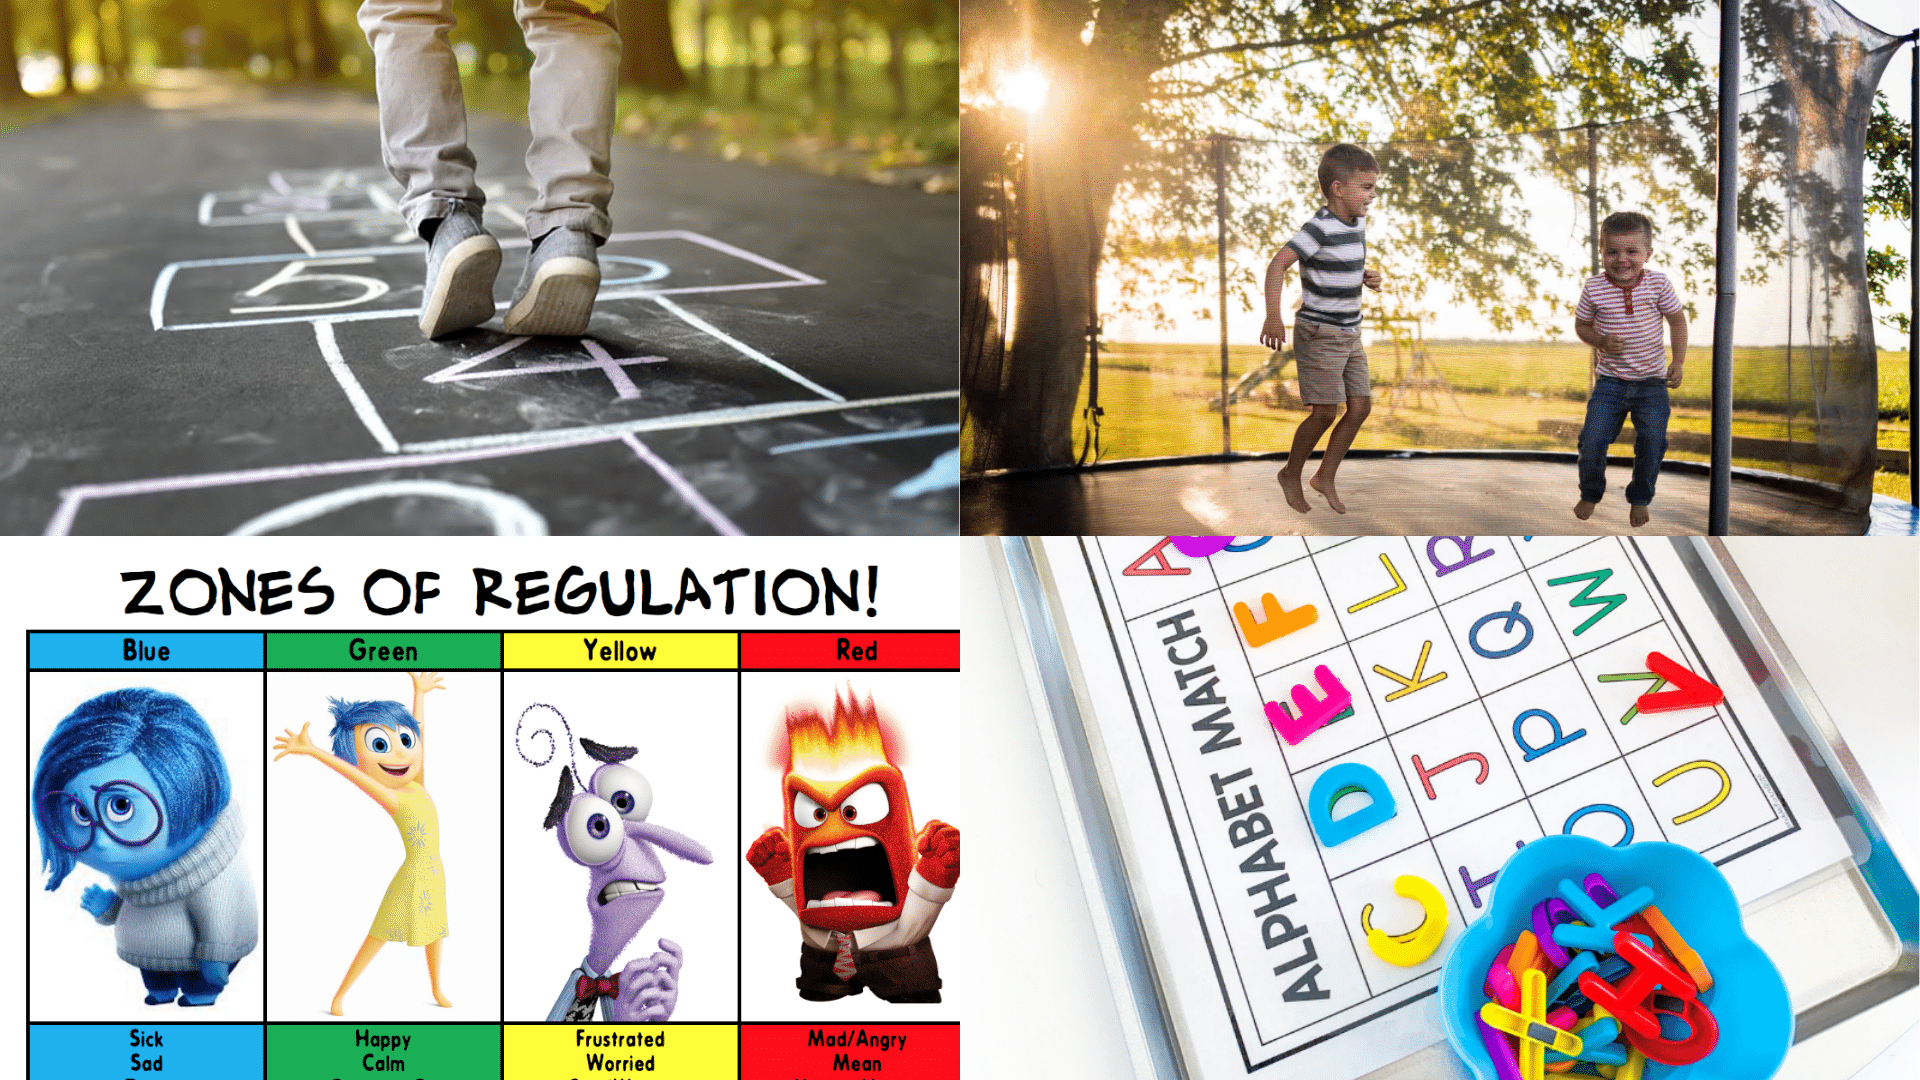
Getting creative with your chalk obstacle course keeps kids engaged and excited. Here’s a mix of fun activities to include in your next course:
1. Hopscotch Stations
Classic hopscotch takes on new life when incorporated into an obstacle course. This familiar game adds jumping skills and number recognition to your course. Draw different patterns to keep things interesting. You can create:
- Themed hopscotch squares like animal shapes
- Number sequences that kids need to follow in order
- Color-coded squares for extra challenge
2. Balance Beams
Balance activities improve coordination and help kids focus. These simple lines become exciting challenges that test skill and patience. Draw two parallel lines about 6 inches apart and have kids walk between them without stepping outside. For added fun:
- Make the lines curve and zigzag
- Add “danger zones” that they must avoid
- Challenge kids to walk backward or sideways
3. Jumping Challenges
Jumping activities build leg strength and get hearts pumping. These stations create moments of excitement and energy in your course. Create circles, squares, or fun shapes for kids to jump between. Vary the distances based on age:
- Closer together for younger children
- Mix in some extra-long jumps for a real challenge
- Add countdown numbers to build excitement
4. Silly Movement Zones
Adding humor makes the course more fun and memorable. These sections often become children’s favorites and spark creativity. Mark areas where players must move like different animals or characters:
- Hop like a frog or rabbit
- Walk like a crab with hands and feet on the ground
5. Alphabet Activities
Educational elements sneak learning into playtime. These activities engage both the body and brain. Scatter letters around a section and create simple language games:
- Touch letters in alphabetical order
- Step only on the letters in their name
- Find letters that spell simple words
The Bottom Line
A chalk obstacle course offers the perfect blend of fun, learning, and physical activity for kids. It costs almost nothing to create yet provides hours of entertainment.
The beauty of chalk games lies in their flexibility – wash away and start fresh whenever you want.

