The lowercase f in cursive has a rhythm of its own. It stretches tall, dips low, and moves with a smooth motion that can feel a little awkward at first.
In this guide, I’ll show you how I shape it, write it, and connect it to other letters. You’ll see how each part works, step by step.
I’ve added some tips that can help, too, and ways to practice that feel fun and not too hard.
If you take it slow and follow along, this letter will start to fit right into your writing. Let’s go one stroke at a time, together.
Understanding the Lowercase Cursive “f”
The lowercase f in cursive stands out because it’s one of the few letters that go above and below the line.
It features loops, curves, and an optional cross, making it distinct from most others. Before you write it, it helps to understand how the shape works and why it follows that path.
This letter starts low, rises high, dips deep, and then returns to the writing line, all in one smooth stroke. That’s why it’s often seen as a challenge, especially for beginners.
But once you learn the pattern and spacing, it becomes much easier to repeat. Most handwriting programs treat it as a key step in learning how letters connect across lines.
How to Write a Cursive Lowercase “F”
This version of the cursive lowercase f uses terms like floor, ceiling, and basement to explain letter placement. These help you picture where each part of the stroke goes on lined paper.
Step 1: Starting from the Baseline

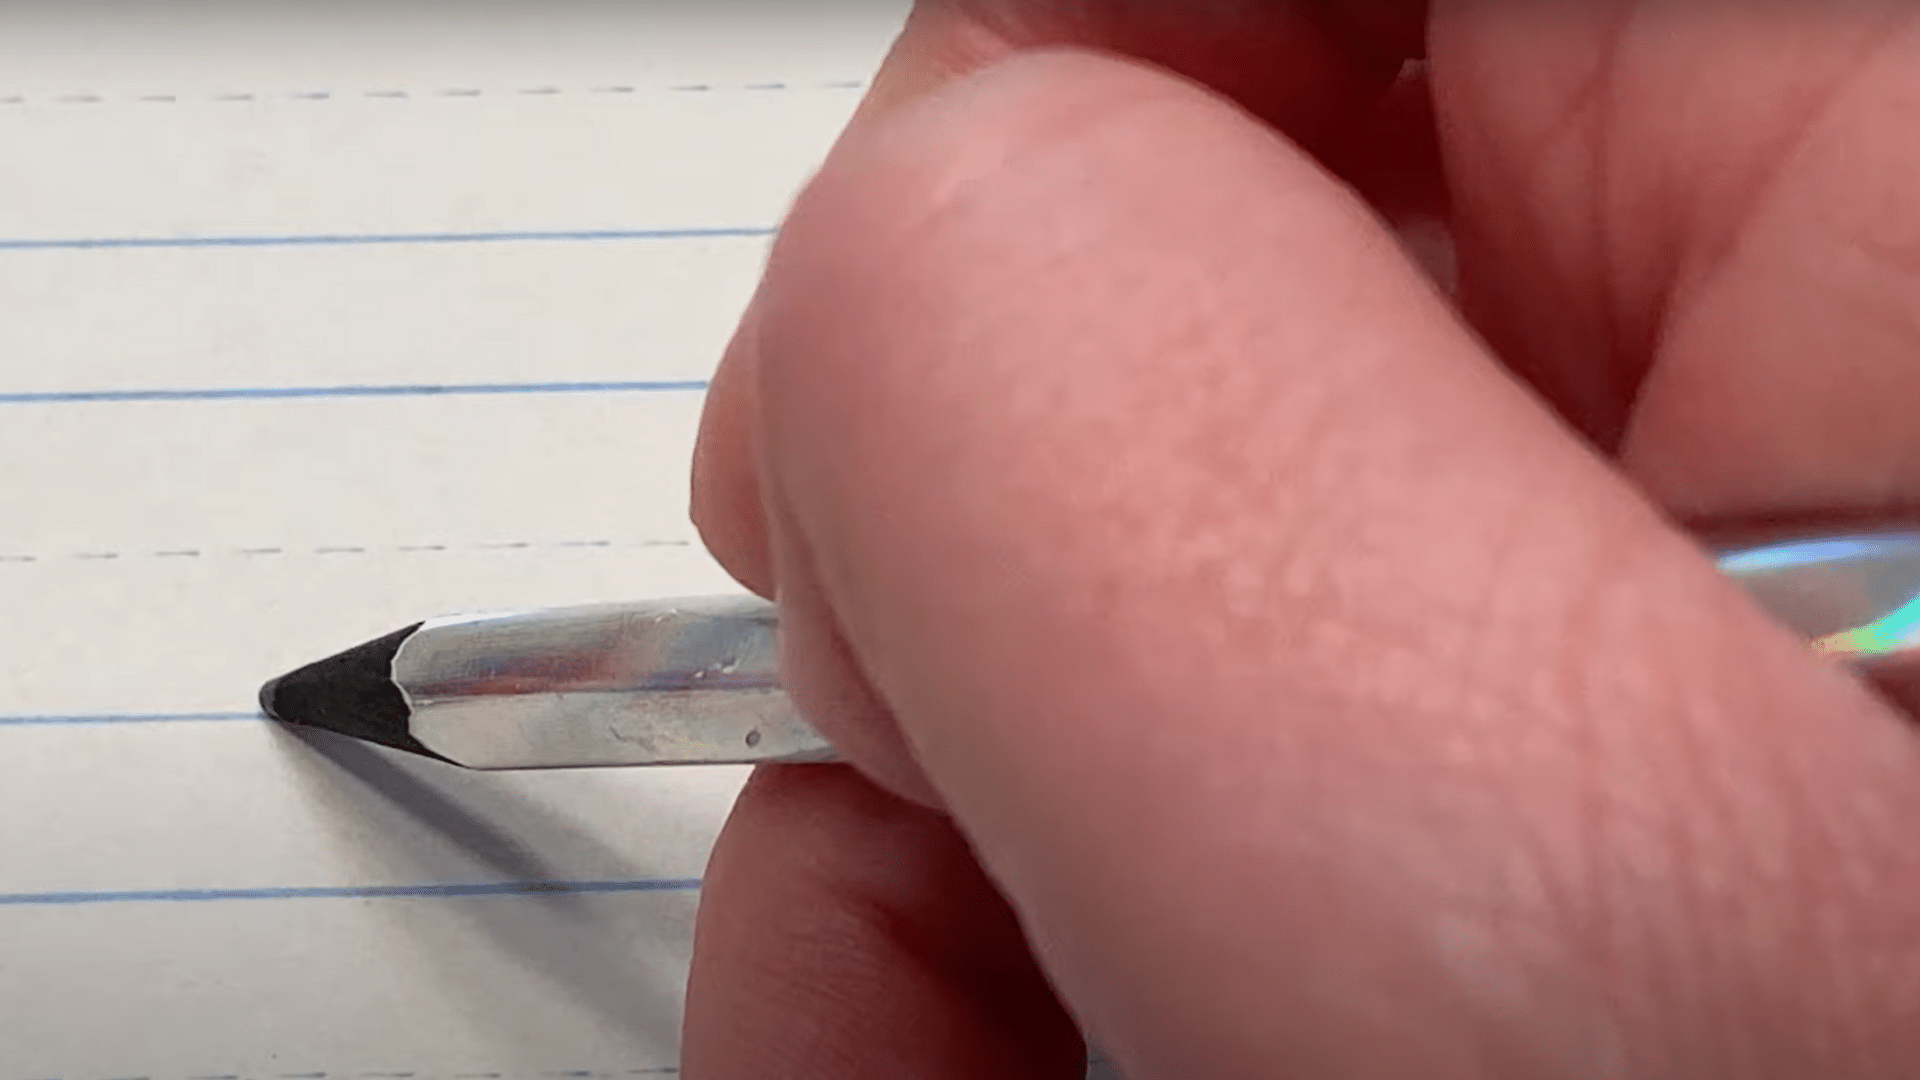
Begin at the floor, right on the writing line. This is your starting point.
Step 2: Making the Tall Loop

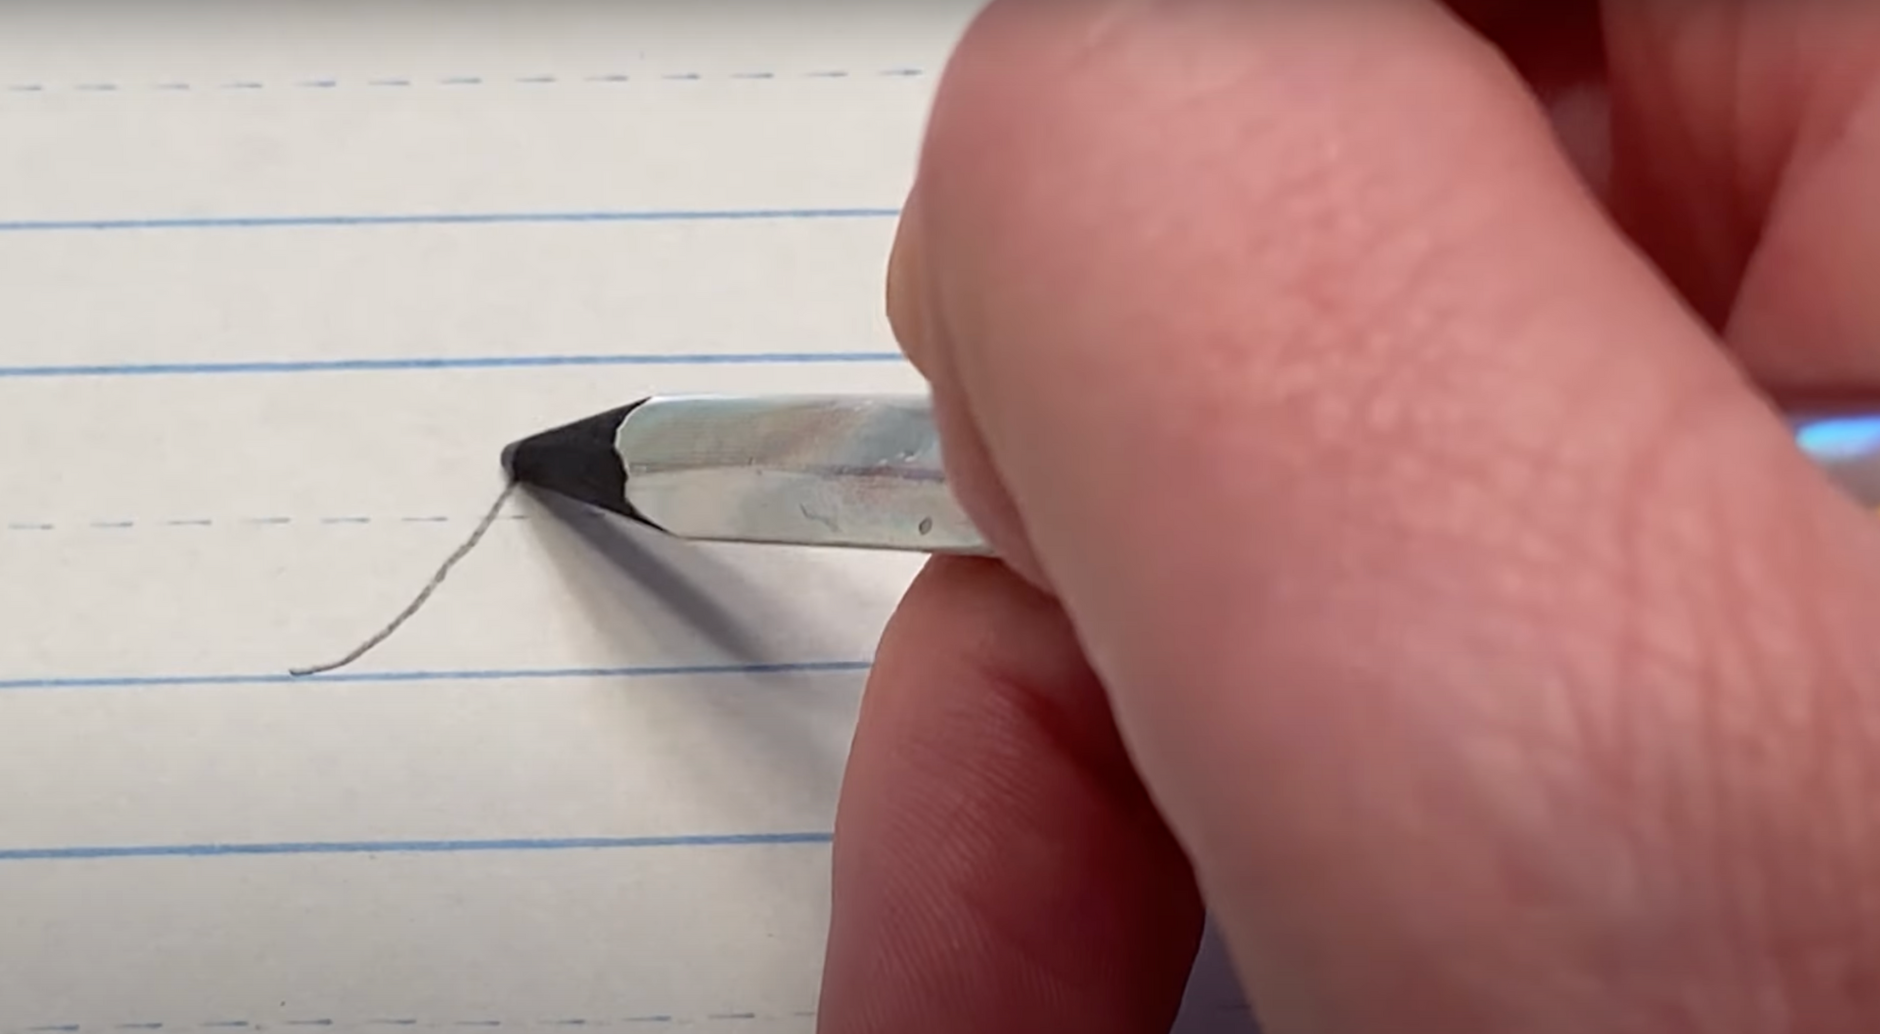
Swoop up to the ceiling in a single motion. This long loop forms the top of the letter.
Step 3: Dropping Below the Line

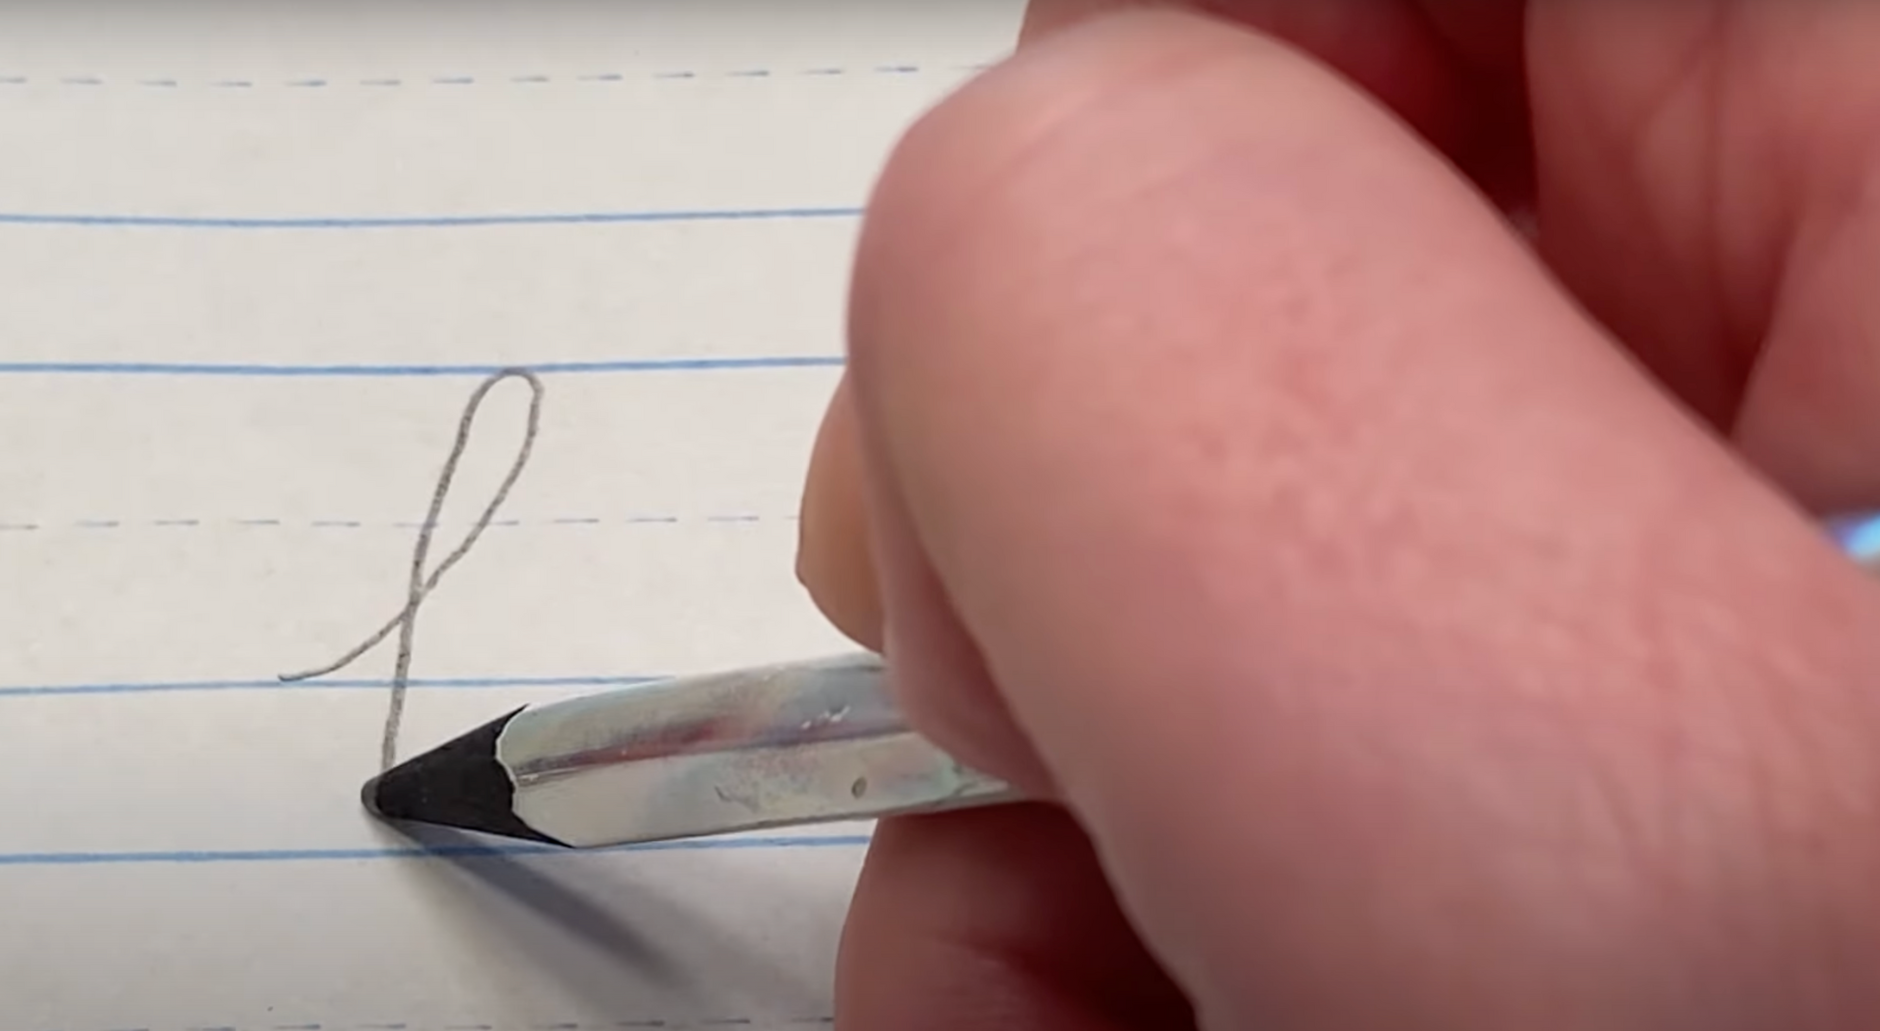
Curve smoothly down into the basement; this is the part that dips below the line. Keep the stroke fluid and centered.
Step 4: Looping Up and Around

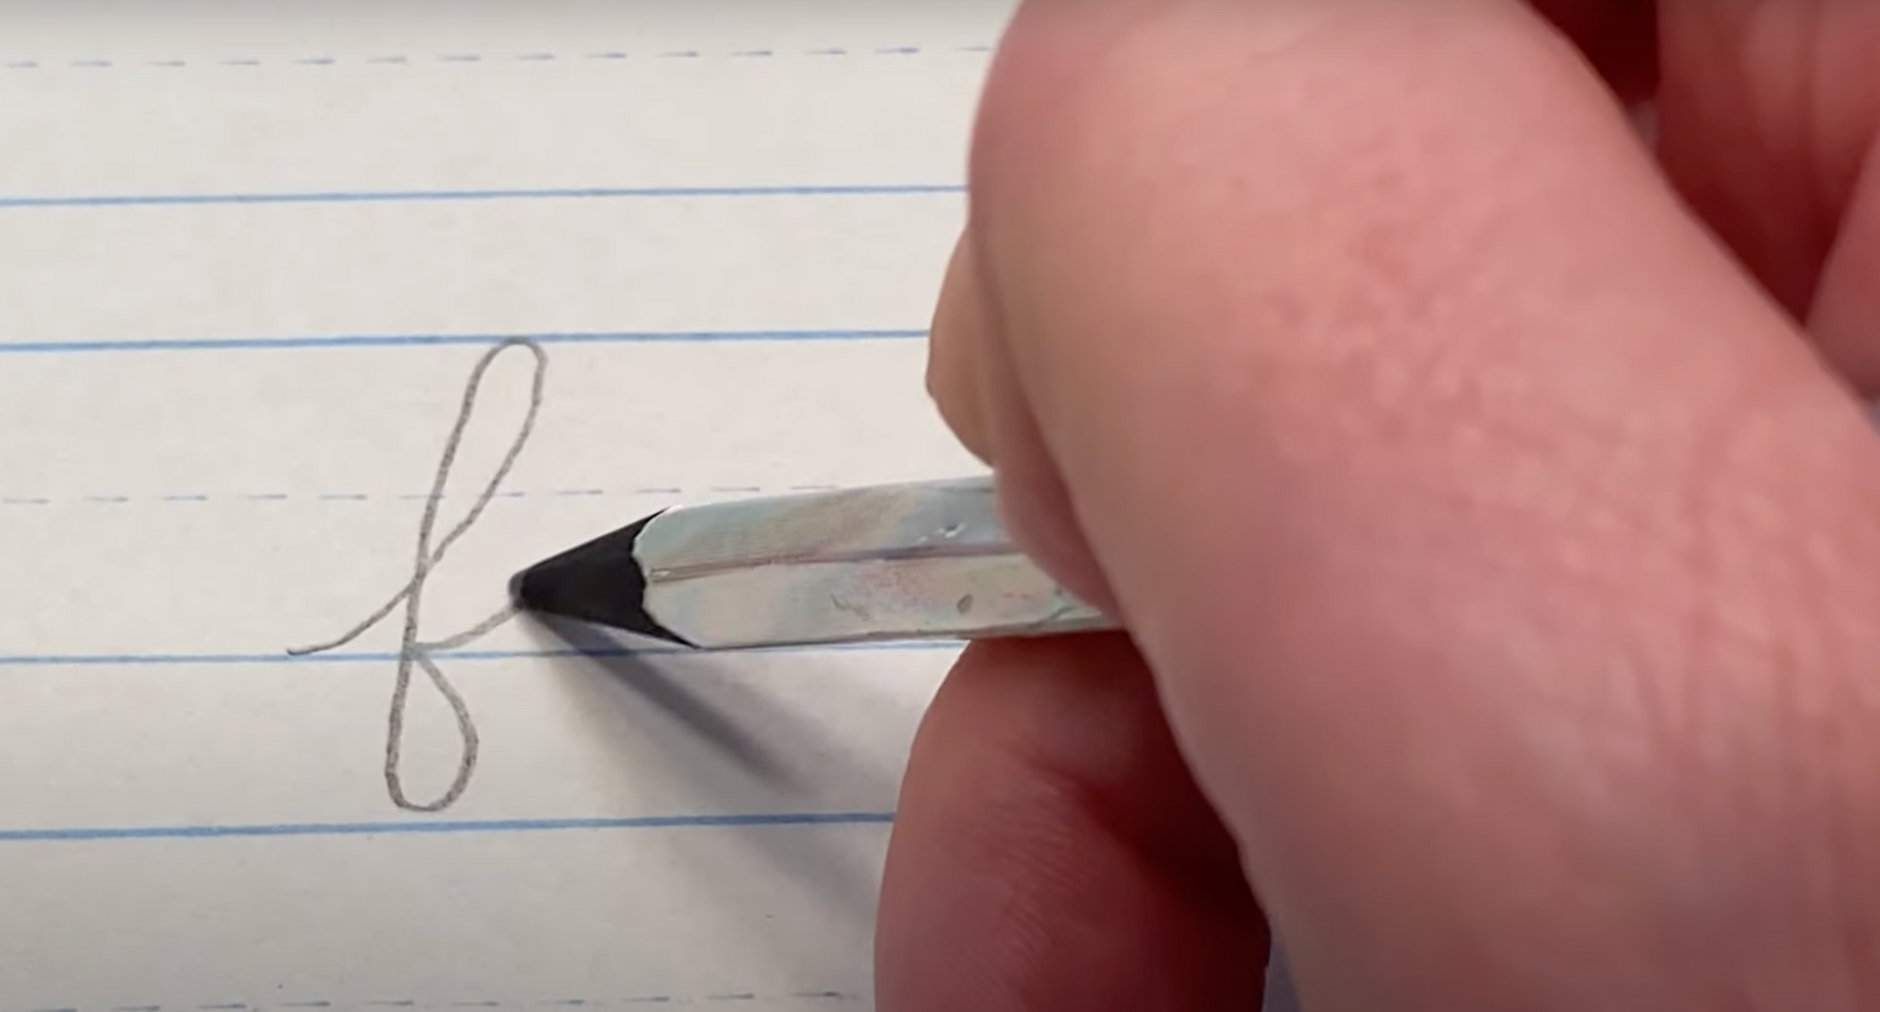
From the basement, go back up to the floor and curve slightly to prepare for the next letter. This finishes the shape.
Here is the YouTube video so that you can understand better:
Connecting “f” to Other Letters
Once you’ve learned how to write a cursive lowercase f, the next step is to practice how it connects to other letters. This helps your writing flow smoothly in full words.
Common Connections
The lowercase f can be tricky to connect because it moves both above and below the line. Some of the most common connections include f + a, f + i, and f + f.
Each starts with a full f, then moves into the following letter without lifting your pencil. When writing double f, such as in “off,” keep both letters smooth and evenly spaced.
Try slow practice runs to keep the loops balanced and clear across different letter pairs.
Visual Practice Words
Practicing full words helps you build confidence with letter connections. Try writing off, effort, and fifty in cursive.
These words include repeating f strokes and natural connections with vowels and other consonants. In the off, focus on keeping the two f letters consistent.
For effort, move from f to o with a soft curve. In fifty, watch how the f links to the i and the t. Repeat each word slowly and try not to lift your pencil between letters.
Practicing Cursive “f” in Real Words
Once you understand the shape, the next step is to use it naturally in your writing. Try these words to improve flow and letter linking.
Writing in full words helps build rhythm. It trains your hand to move through the loops without stopping. Start with short words like ‘off’ or ‘fit’ to focus on balance.
Then try longer ones, such as fifty, effort, or traffic. These include double f or tricky letter shifts, which give you good practice.
Repeat each word slowly until the connections feel smooth and natural. You can also write them in lines to check for spacing, size, and consistency.
Downloadable Practice Sheets
The best way to get comfortable with cursive is through steady, hands-on practice. These worksheets make it easier to learn each stroke and build better writing habits.
Tracing Worksheets for Beginners
When you’re learning to write the lowercase f in cursive, tracing helps you get comfortable with the motion.
These beginner-friendly worksheets break down each part of the letter from where to begin, how high to loop, and how to finish.
K5 Learning Cursive Writing Worksheet From K5 Learning. Simple dotted lines for tracing and learning can be a good option for beginners.
Advanced Practice With Word Connections
Once you’re comfortable writing a single f, it’s time to practice in full words. This helps with spacing, rhythm, and the flow of letters.
Try Cursive Words Practice Worksheet – K5 Learning that includes words like ‘off’, ‘effort’, ‘fifty’, and ‘traffic’. These sheets give space to trace and then write on your own.
You’ll build confidence linking the f to other letters smoothly, just like in real writing. You can turn lined paper into a practice sheet, too—list out 5–6 words with f, then copy them one line at a time. Consistent practice brings results.
Style Differences and Variations
Some cursive lowercase f styles look slightly different based on how they’re taught. The most significant differences include the use of a cross stroke and variations between writing systems.
With or Without the Cross?
One common difference in cursive f is if it includes a short cross stroke through the middle. Some versions use it for clarity, making the letter easier to spot in words. Others skip the cross and let the stroke loop smoothly from top to bottom. Both options are correct.
The choice often depends on how you learned to write or what your school taught. If you’re teaching handwriting, try both and let kids pick the one that feels easier to write.
D’Nealian vs Other Cursive Styles
D’Nealian cursive is known for its smooth flow, slanted strokes, and entry lines that connect letters easily.
The lowercase f in D’Nealian has a tall top loop, a long tail below the line, and usually skips the cross.
Other cursive styles—such as Zaner-Bloser or Spencerian—can alter the letter’s size, shape, and stroke direction.
Tips for Better Cursive Writing
Writing cursive letters like f gets easier when you use the right approach and tools. Here are some tips to help you build better habits from the start.
- Keep loop sizes balanced: Don’t make the top loop too short or the tail too long. Try to match the lengths of both parts.
- Watch your baseline: Make sure your letter always starts and ends on the correct line. Avoid floating or dipping strokes.
- Use the cross stroke if needed: If your style includes it, place the cross neatly across the middle, not too high or low.
- Choose the right pencil: Soft pencils, such as HB or 2B, glide more easily and help you form smoother curves.
- Use wide-ruled lined paper: This gives you enough space to stretch your loops and tails without cramping.
- Try reusable guides: Dry-erase boards or printable sheets with baseline, midline, and top line can improve spacing and control.
- Write slowly at first: Rushing leads to uneven lines and hard-to-read letters. Focus on movement and shape, not speed.
Conclusion
Learning how to write the lowercase f in cursive is a small yet significant step that can make writing feel more connected and natural.
You’ve seen how it moves on the page, how it links to other letters, and how to keep it neat with a bit of practice. Even small wins like this can build absolute confidence.
Keep the pace slow and steady. The more you write it, the more natural it becomes. If you found my blog helpful, there’s plenty more to check
Take a look at other cursive guides and keep building your skills—one letter at a time. Practice doesn’t need to be perfect. What matters most is that each try brings you one step closer.


