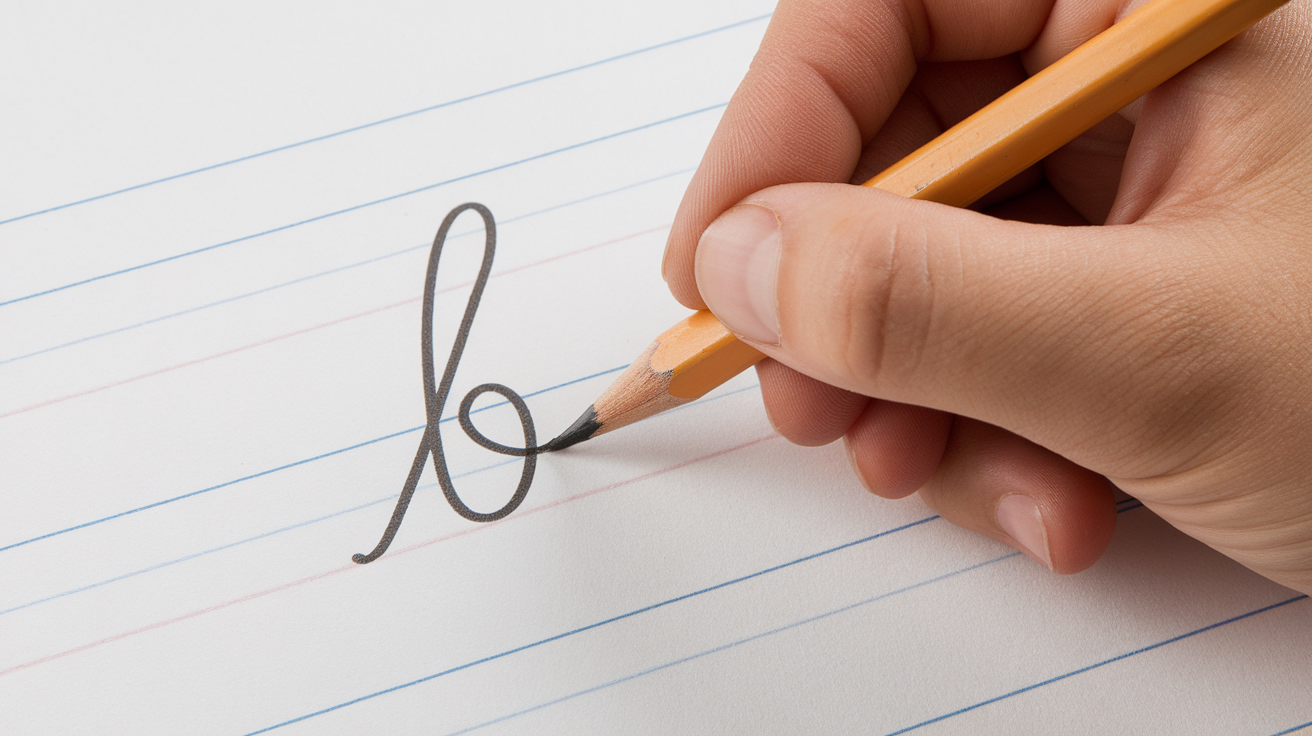
The lowercase b in cursive often feels like a turning point in learning handwriting. It’s one of the first letters that pushes you to blend motion, height, and control all at once.
I’ve worked with learners of all ages, and I know it can take a little time to get it right. This blog keeps things simple.
You’ll find clear steps, easy visuals, and helpful practice tools to make the process smooth. From writing the letter by itself to using it in full words, everything you need is here.
By the end, you’ll be more confident and consistent every time you write the lowercase b in cursive.
Understanding the Lowercase Cursive “b”
The lowercase cursive “b” is one of the first letters that includes both a tall loop and a connector stroke.
It starts at the baseline, rises to the top line, then comes straight down before curving back up to the midline.
This shape helps learners build control and rhythm in their writing. Because it involves both upward and downward motion, it’s a great letter for practicing balance, spacing, and flow.
Knowing how it’s built makes it easier to write and connect with other letters. With enough practice, this letter becomes a strong foundation for learning more complex strokes.
How To Write a Lowercase Cursive “b”
These steps follow the rhythm shown in the video, using simple terms like “floor,” “ceiling,” and “middle” to help you picture the lines.
Step 1: Start at the Floor
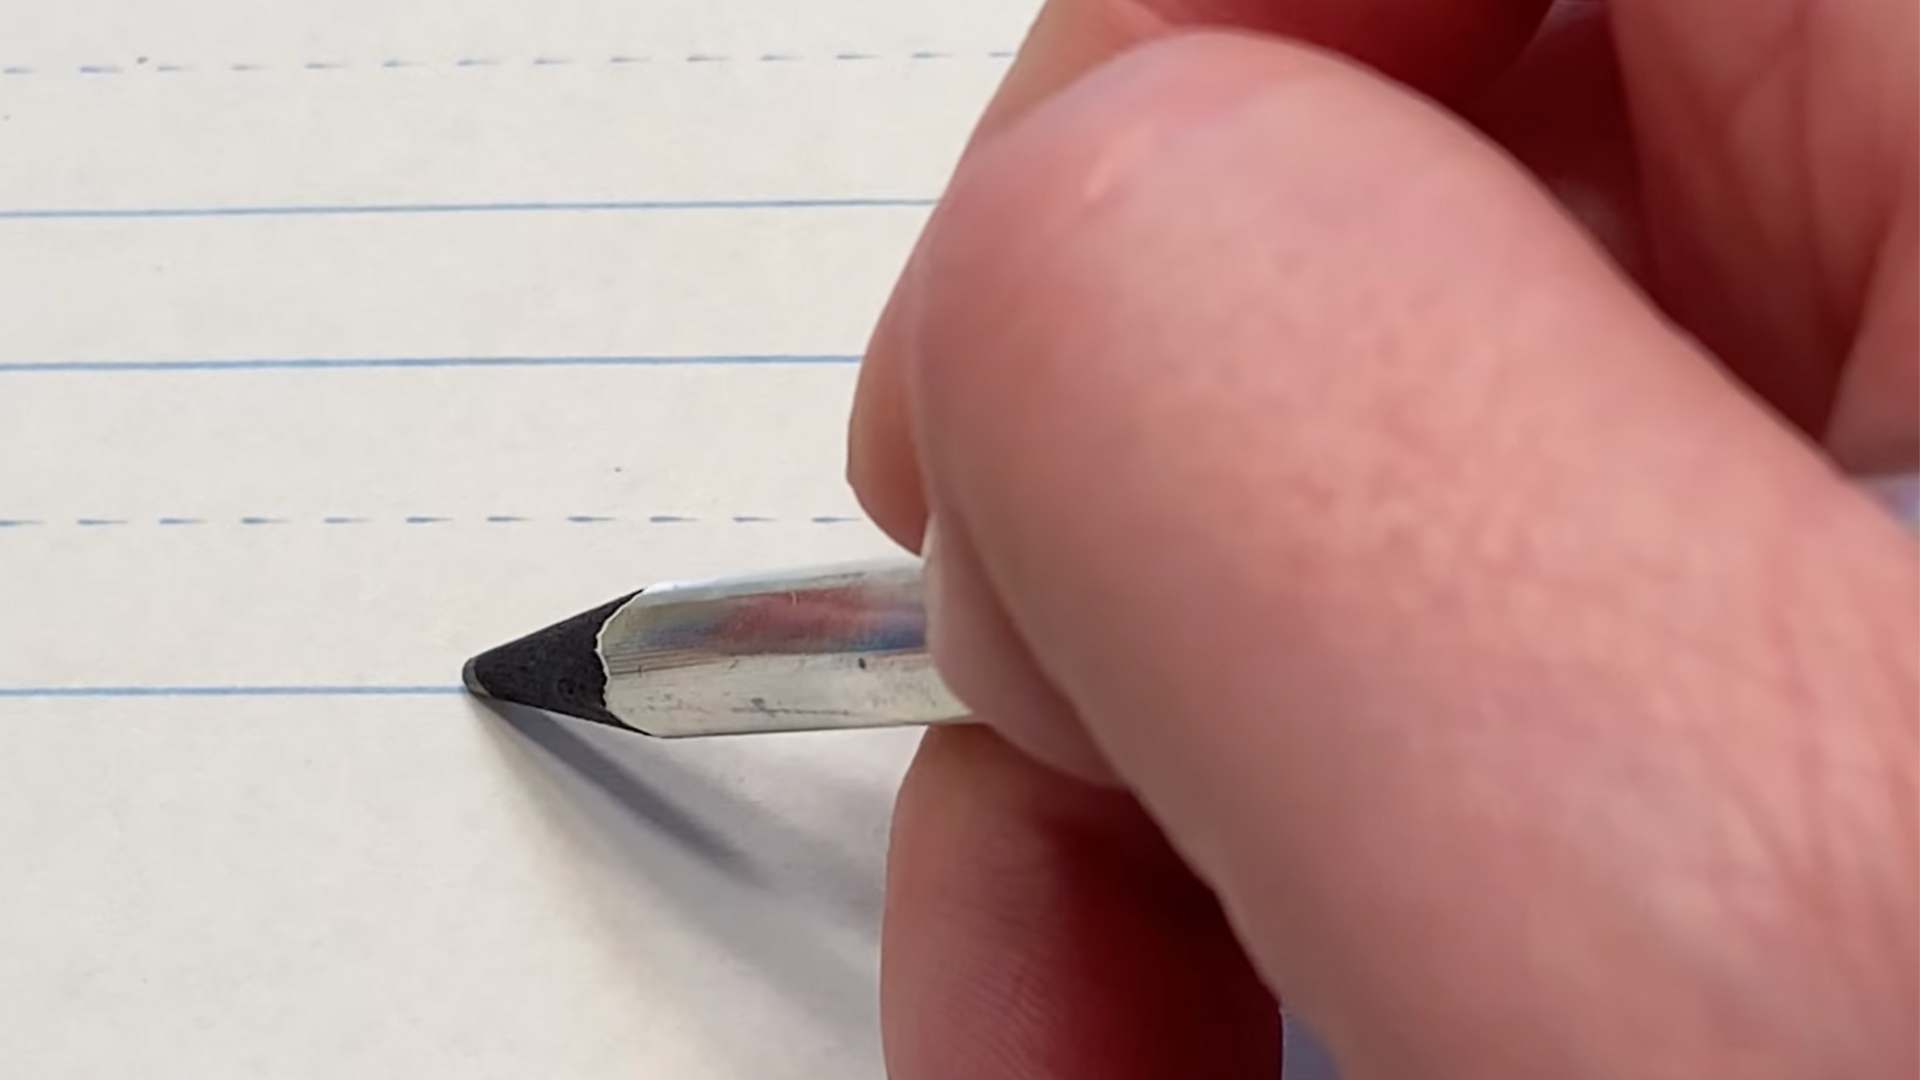
Begin at the very bottom line, what we call the “floor.” This is your starting point for almost all lowercase cursive letters.
Step 2: Swoop Up to the Ceiling
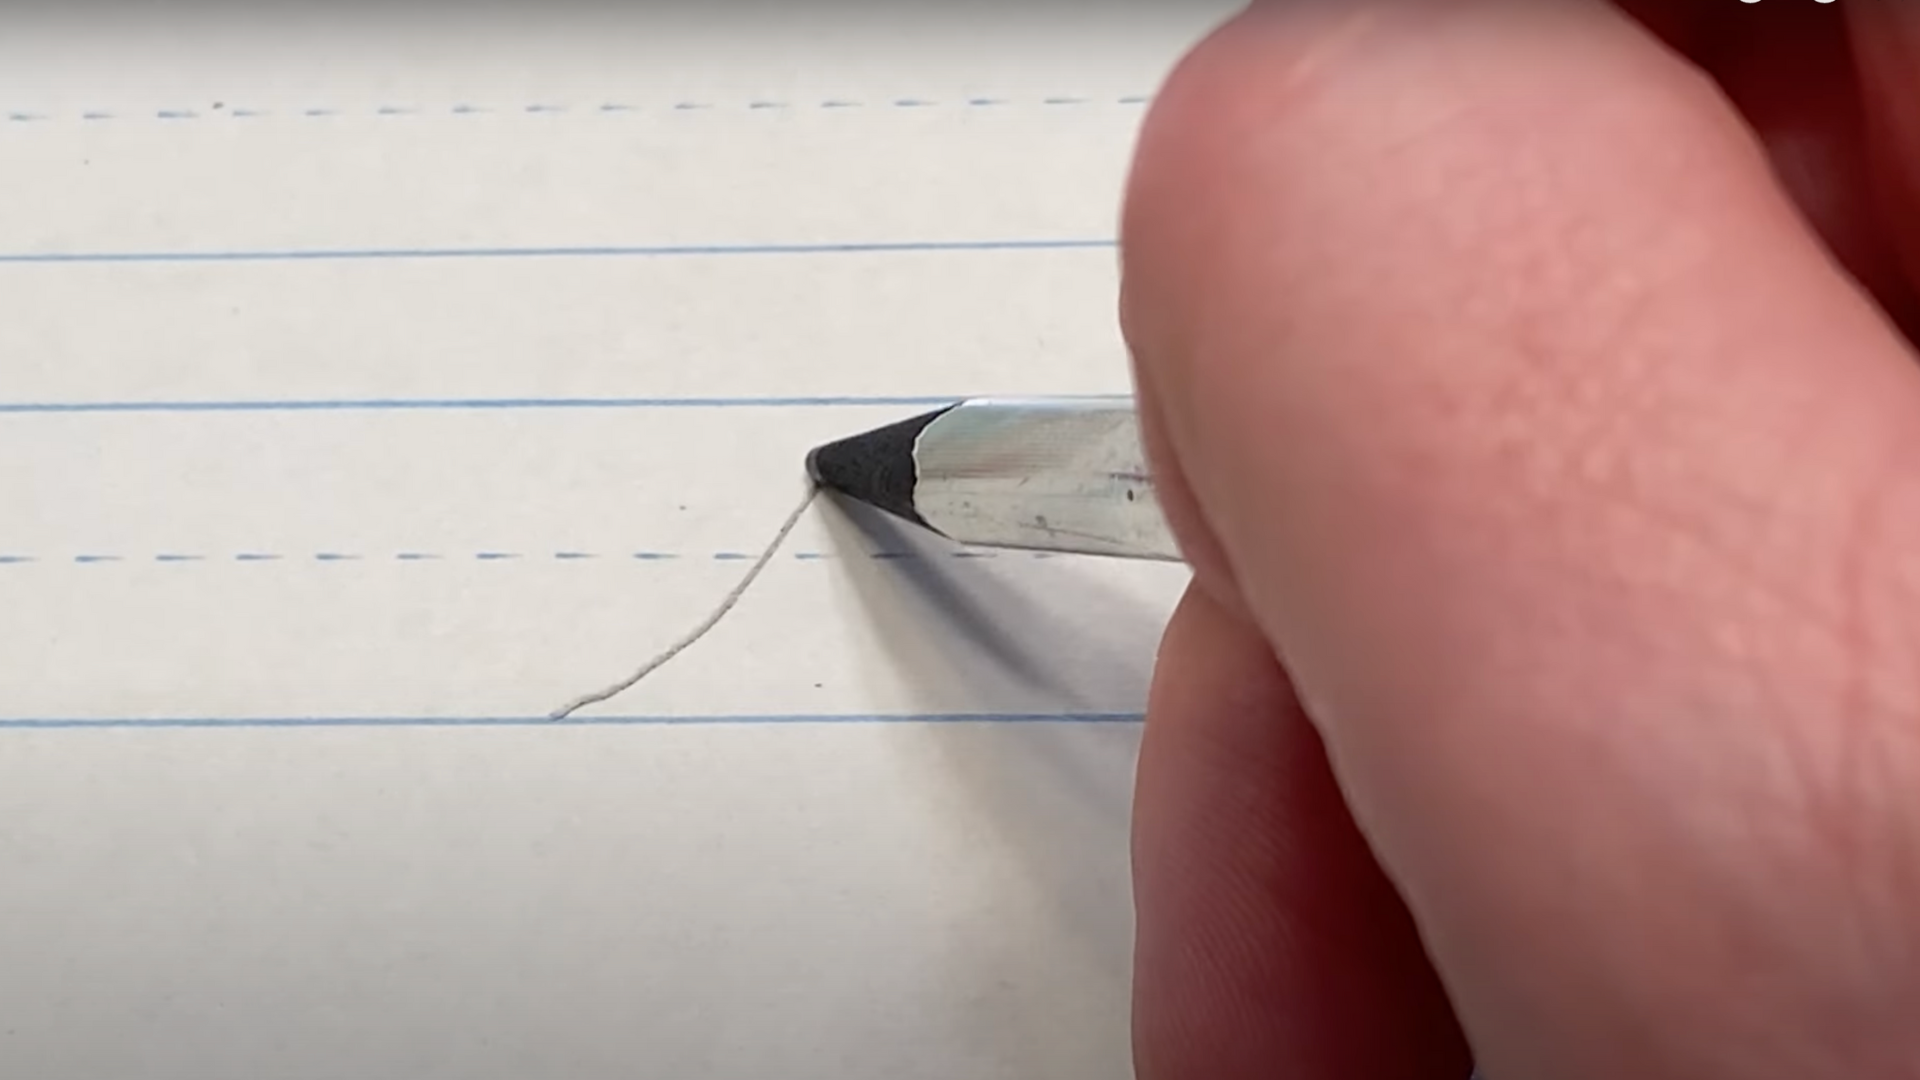
Make a big upward swoop to the top line or “ceiling”. This first stroke should feel smooth and tall.
Step 3: Come Down to the Floor Again
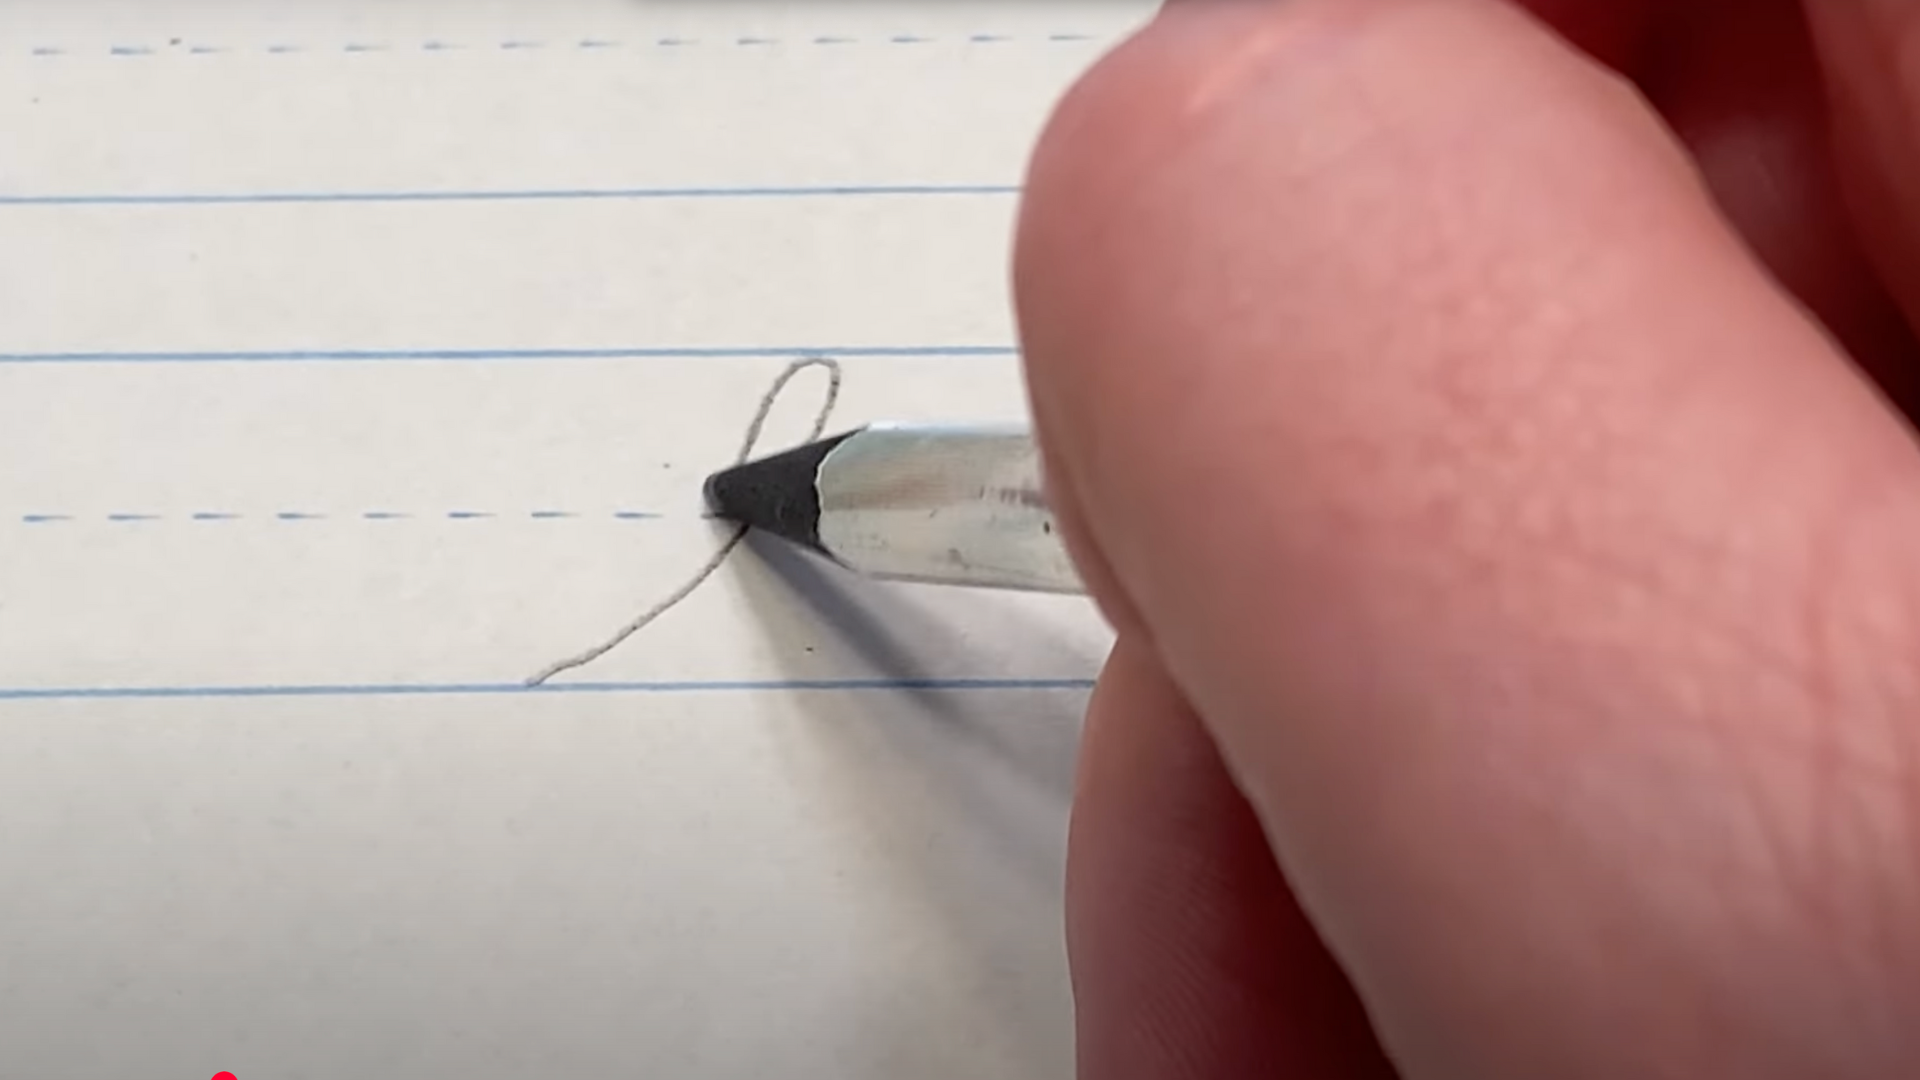
Without lifting your pen, follow the same line down, straight back to the floor.
Step 4: Curve Up to the Middle Line
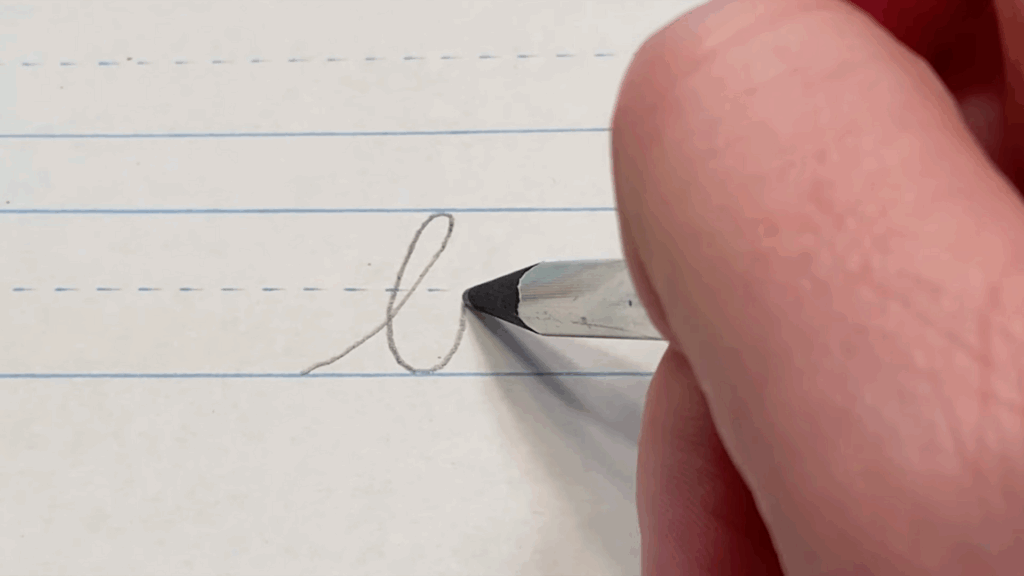
Once you hit the bottom, loop back up halfway to the “middle” line. This small curve helps shape the letter and gets you ready to join it with the next one.
Step 5: Finish With a Connector Stroke
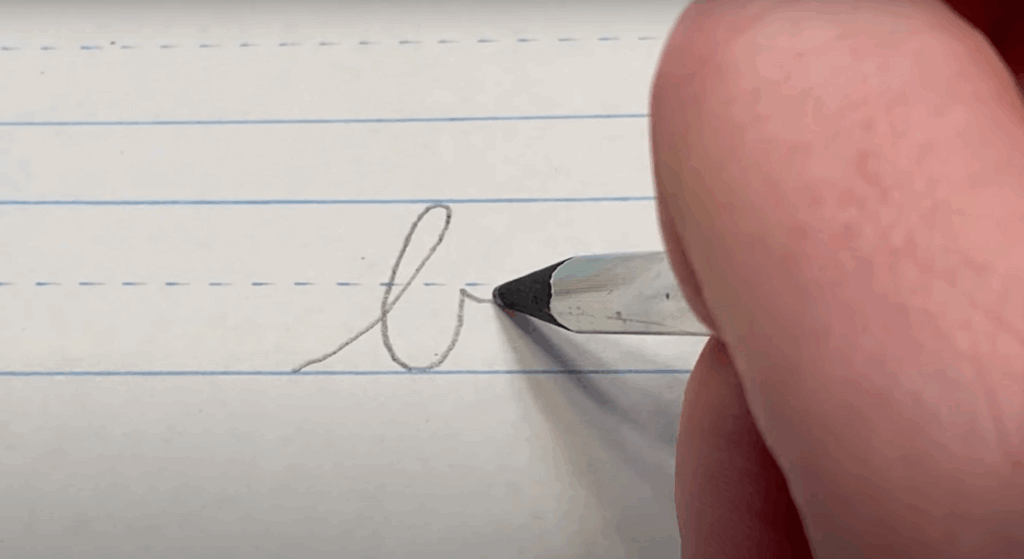
End with a soft curve that moves slightly forward at the middle line. That’s where your next letter will begin.
Here is the youtube video so that you can understand this better:
Connecting Lowercase “b” to Other Letters
Once you’ve got the basic shape down, it’s time to connect the lowercase cursive “b” to other letters. This helps you write full words smoothly and neatly.
Linking “b” With Vowels (ba, be, bi, bo, bu)
To connect “b” to a vowel, you’ll loop up to the midline and curve forward. For ba, the upward stroke flows right into the “a.”
In be, keep the connection soft so it leads naturally into the loop of the “e.” When writing bi, follow the loop straight into the downstroke of the “i.”
For bo, make sure your curve leaves enough room to swing into the “o.” With bu, ease into a rounded curve that leads into the “u” without dropping too low.
Fixing Awkward Connections (br, bl, by)
If your letters look cramped or uneven, check how you’re finishing the “b.” With b + r, the “r” may look like a bump if the final curve is too shallow.
In b + l, the “l” might start too low if the upstroke isn’t high enough. Letters like y and z can be tricky too—make sure you land clearly at the midline before moving into the next shape.
Slowing down and using lined paper helps a lot. Keep your wrist relaxed to help each stroke stay smooth and consistent.
Practicing Cursive “b” in Real Words
Once you’ve learned how to form a cursive “b,” the best way to improve is by using it in real words. Start with short, simple ones like bat, bed, big, bob, and bug.
These help you get used to connecting “b” with vowels. Then move on to words with double “b” like bubble, rabbit, or babble to practice even spacing between repeated strokes.
Next, try slightly harder words like brag, blue, or blaze—these help you learn smoother joins with tricky letters like r, l, and z.
When you’re ready, write full sentences such as “Bob had a big bug” to practice rhythm, spacing, and speed all at once.
Downloadable Worksheets
Practicing the cursive “b” is easier with ready-to-use worksheets. These tools are helpful for both independent learners and classroom use.
- Pencil Pete’s Cursive Writing – Lowercase b PDF From K5 Learning. Simple dotted lines for tracing
- MyCursive.com – Lowercase b Worksheet Includes a downloadable worksheet plus a quick animated demo.
How to Build Better Cursive Habits
Sticking to small, steady routines can make your cursive writing more natural over time. These habits help improve control, flow, and confidence.
Practice a Little Every Day
The best way to build muscle memory is through short, consistent practice. Spend five to ten minutes each day focusing on just one or two letters, like the lowercase “b.”
Repeating those shapes slowly helps train your hand to move with better control. Use lined paper to guide your strokes, and don’t rush through it.
Daily writing builds rhythm over time without wearing out your hand. You’ll start to see small improvements each week that make writing feel easier and more natural.
Focus on Form and Flow
Pay close attention to how each letter is shaped and how it connects to the next. When writing cursive, your form matters just as much as the pace.
Keep your grip light and your wrist relaxed to avoid shaky or stiff strokes. Use three-line paper to stay consistent with size and alignment. Focus on steady motion rather than speed.
Over time, this kind of mindful practice helps your writing look cleaner and feel smoother. The more control you build, the easier it gets to write full words fluently.
Tips for Practicing and Improving Cursive “b”
- Use three-line paper to guide where each stroke starts and ends—baseline, midline, and top line.
- Warm up with mini-strokes like loops and upward curves before writing full letters to build control.
- Practice full letters slowly and focus on keeping your lines straight and loops even.
- Write real words like bat, bit, and big to get used to connecting “b” with other letters.
- Relax your grip and wrist to avoid shaky strokes and help your writing flow more smoothly.
- Stick with lined worksheets to keep your letter size and spacing consistent as you build speed.
Conclusion
When I started writing the lowercase “b” in cursive, it wasn’t easy. Maybe you feel the same. But with practice, it really does get better.
I focused on the shape, connecting it smoothly, and avoiding small mistakes. Those little things turned into good habits. And good habits make writing feel easier.
My advice? Take your time. Don’t rush. Every try helps you improve. If today felt smoother than yesterday, that’s a win, celebrate it.
If you’re ready to learn more, check out other guides too!

