Cooking chicken in the oven can be tricky. If not done right, you may end up with dry, tough meat that lacks flavor.
However, achieving warm, juicy chicken is possible with the proper techniques. In this blog post, we’ll share simple ways to ensure your oven-baked chicken turns out moist and delicious every time.
From bringing the chicken to room temperature before cooking to letting it rest after baking, these tips will help you create a mouth-watering main course.
We’ll also discuss the importance of using the right baking dish, cooking at the correct temperature, and seasoning your chicken well.
By following these guidelines, you can consistently serve up flavorful, juicy chicken that will have your family and friends asking for seconds.
Preparation Before Cooking
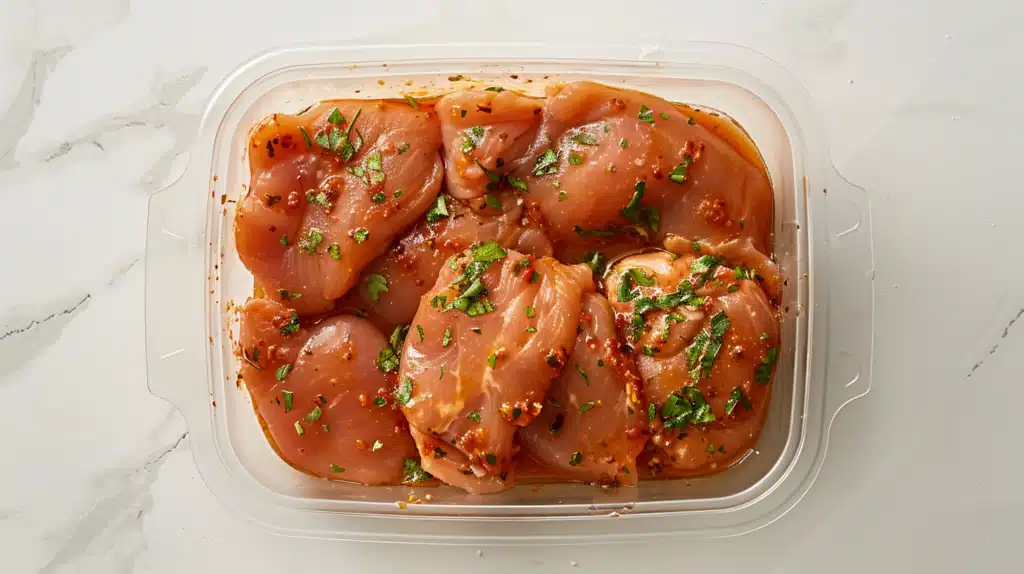
1. Marinating
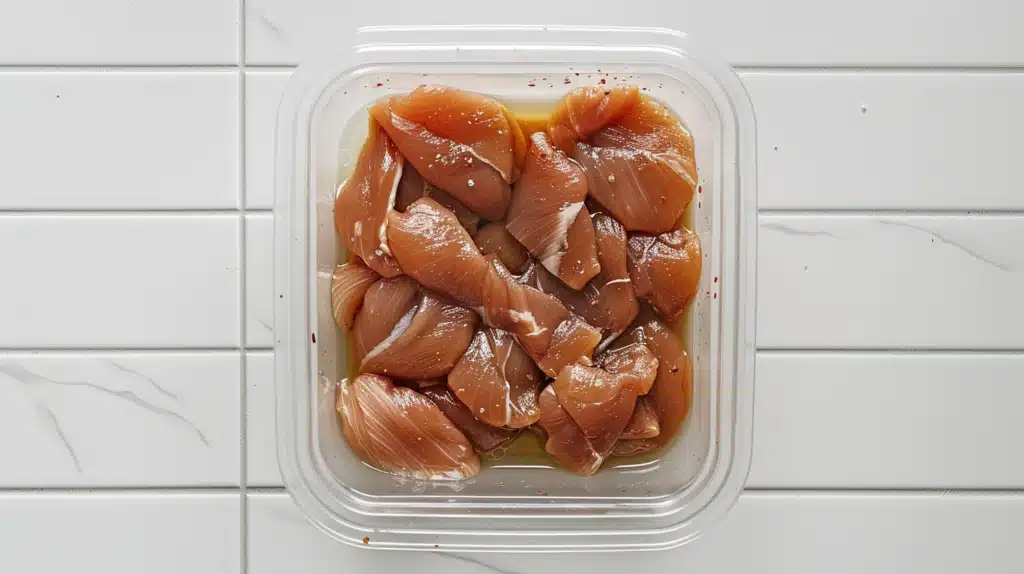
Marinating is a simple yet effective way to enhance the flavor of your chicken while helping it retain moisture during cooking. This step is crucial for achieving a juicy, tender result when baking chicken in the oven.
Benefits
- Marinating not only infuses the meat with flavors but also helps tenderize the chicken.
- The acidic ingredients in marinades, such as citrus juices or vinegar, break down the tough proteins, resulting in a more tender texture.
Recommended Ingredients
| Ingredient | Purpose | Marinating Time |
|---|---|---|
| Yogurt | Tenderizes | 2-12 hours |
| Citrus Juice | Adds flavor | 30 mins – 2 hours |
| Olive Oil | Moisture barrier | 30 mins – 3 hours |
Tips for Effective Marinating
- Boneless, skinless chicken breasts: 30 minutes to 2 hours
- Bone-in, skin-on chicken pieces: 1 to 2 hours
- Whole chicken: 4 to 12 hours
- Always cover and refrigerate the chicken while marinating to prevent bacterial growth and ensure the marinade effectively penetrates the meat.
2. Brining
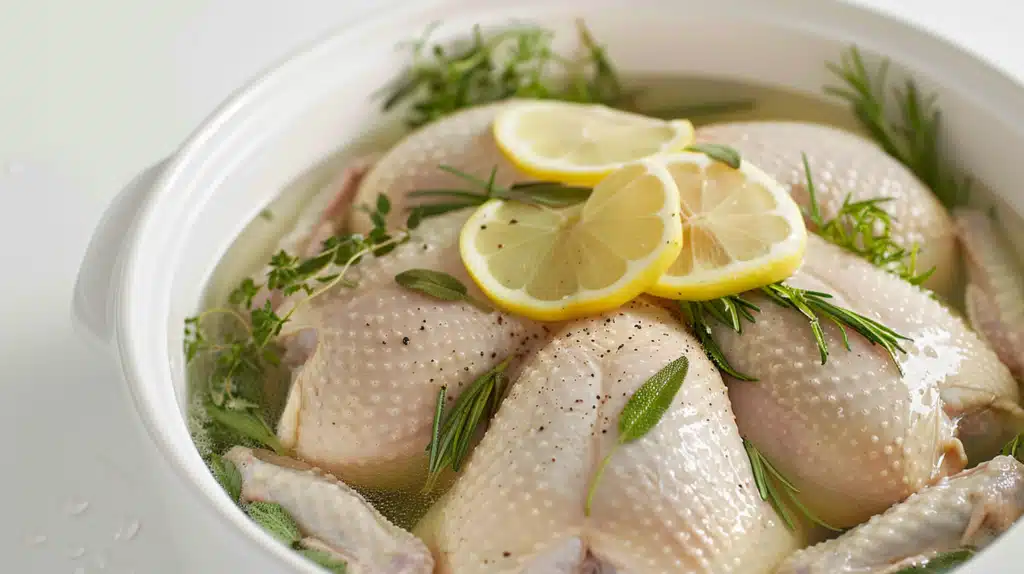
Brining is a process that involves soaking the chicken in a saltwater solution before cooking. Unlike marinating, which primarily focuses on flavor, brining’s main purpose is to increase the moisture content of the meat.
Benefits
Brining helps keep your chicken juicy by increasing the water content within the meat cells.
This extra moisture prevents the chicken from drying out during cooking, resulting in a more succulent final product.
Simple Brine Recipe
- 1-quart water
- 1/4 cup kosher salt
- 1/4 cup sugar
- Optional: herbs, spices, or aromatics (e.g., rosemary, thyme, garlic, or lemon)
Brining Time Recommendations
- Boneless, skinless chicken breasts: 30 minutes to 1 hour
- Bone-in, skin-on chicken pieces: 1 to 2 hours
- Whole chicken: 4 to 8 hours
3. Bringing to Room Temperature
Bringing your chicken to room temperature before cooking is essential for even heat distribution. If you place cold chicken directly into a hot oven, the outer parts will cook faster than the inner portions, leading to unevenly cooked meat.
Steps to Safely Bring Chicken to Room Temperature
- Remove the chicken from the refrigerator 20-30 minutes before cooking.
- Place it on a clean plate or cutting board and cover it loosely with plastic wrap. This process allows the chicken to come to room temperature gradually and safely.
Common Mistakes to Avoid
Never leave chicken at room temperature for more than 30 minutes to an hour, as this can lead to bacterial growth and increase the risk of foodborne illness.
Cooking Techniques
1. Oven Temperature and Timing
The right oven temperature and cooking time is crucial for ensuring your chicken cooks thoroughly while remaining juicy.
If the temperature is too low or the cooking time is too short, the chicken may not be cooked through. On the other hand, if the temperature is too high or the cooking time is too long, the chicken can dry out quickly.
Optimal Temperatures and Timing
| Boneless, skinless chicken breasts | 400°F (200°C) for 20-25 minutes |
| Bone-in, skin-on chicken thighs | 425°F (220°C) for 35-40 minutes |
| Whole chicken (4-5 lbs) | 425°F (220°C) for 1 1/4 to 1 1/2 hours
|
Use of a Thermometer
- Use a meat thermometer to check the internal temperature to ensure your chicken is cooked perfectly.
- To get an accurate reading, insert the thermometer into the thickest part of the meat, away from the bones.
- Chicken is safe to eat when it reaches an internal temperature of 165°F (74°C).
Visual and Tactile Cues
In addition to using a thermometer, you can also look for visual signs that your chicken is cooked. The juices should run clear when the thickest part of the meat is pierced with a fork or knife.
The skin should be golden-brown and crispy. When pressed with a finger, the meat should feel firm and spring back slightly.
2. Using the Right Cookware
The type of cookware you use can significantly affect your chicken’s cooking process and moisture retention.
Some materials conduct heat better than others, leading to more even cooking and better results.
Recommended Types of Cookware
For best results, use heavy pans or skillets that retain heat well. Cast iron is an excellent choice, as it distributes heat evenly and maintains a consistent temperature throughout cooking.
Benefits of Cast Iron Skillets and Baking Sheets
- Cast iron skillets are ideal for searing and roasting chicken, as they help create a crispy exterior while keeping the interior moist.
- A sturdy baking sheet with a rack can also be effective when roasting a whole chicken or larger pieces.
- The rack circulates hot air around the chicken, promoting even cooking and crispy skin.
Cookware Care Tips
- Proper care is essential to maintaining the performance of your cookware.
- Cast iron skillets should be seasoned regularly with oil to prevent rusting and maintain a non-stick surface.
- Avoid harsh detergents or abrasive scrubbers, as these can damage the seasoning.
- For baking sheets, line them with parchment paper or foil for easy cleanup and hand wash them to preserve their quality.
During Cooking
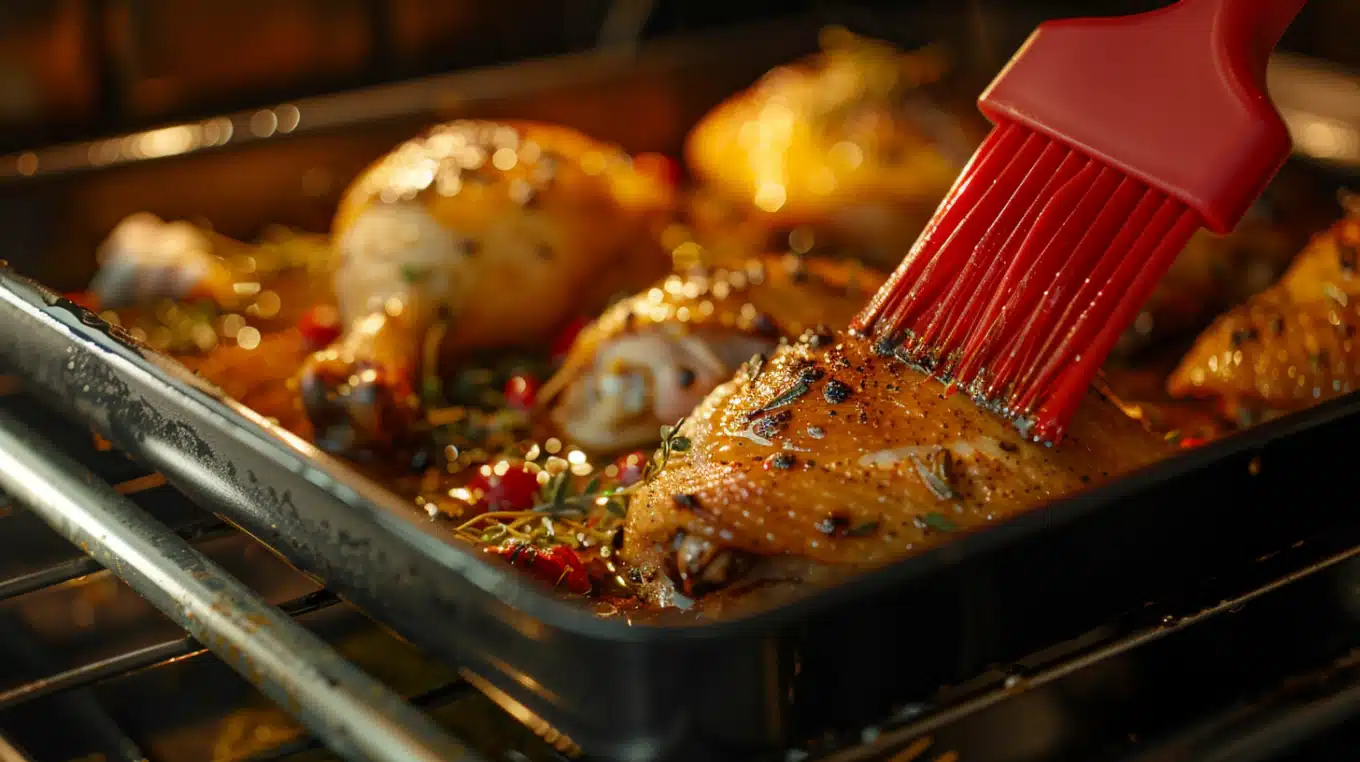
1. Basting
Basting is a cooking technique that involves repeatedly coating the surface of the chicken with hot liquids or fats during the cooking process. This helps keep the chicken moist by preventing the surface from drying and adding flavor to the meat.
Benefits of Basting
- Basting not only helps keep your chicken juicy but also enhances its flavor.
- The added moisture from basting liquids, such as melted butter or marinades, infuses the meat with extra taste.
- Additionally, basting helps create an appealing golden-brown color on the chicken’s surface.
Techniques for Effective Basting
- For best results, baste your chicken every 20-30 minutes during cooking.
- Use a basting brush or a large spoon to coat the surface of the meat evenly.
- Be sure to close the oven door quickly after basting to maintain a consistent temperature and prevent heat loss.
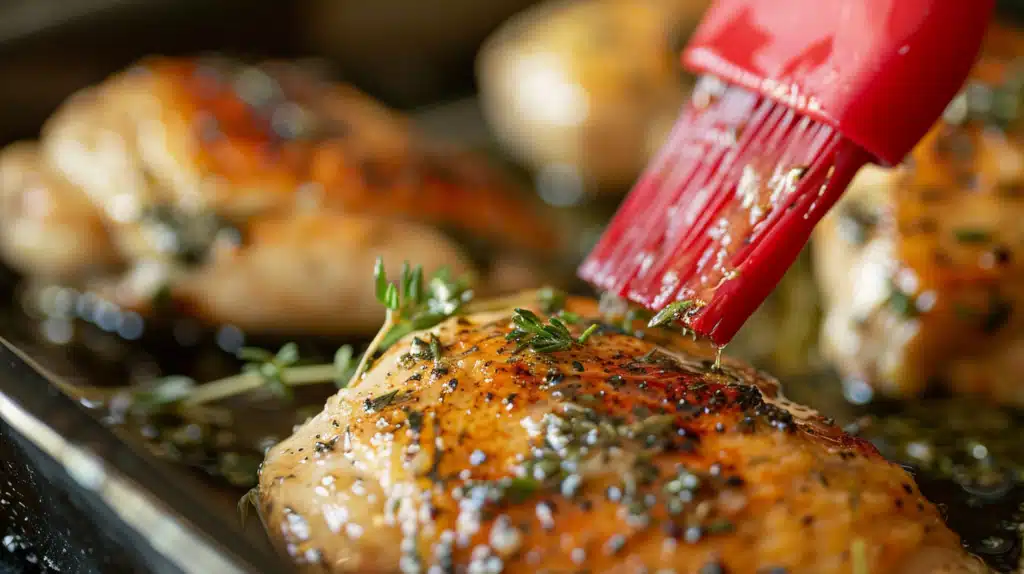
Recommended Basting Liquids
Melted butter is a classic choice for basting, as it adds richness and helps create a crispy skin. Olive oil or other high-temperature oils can also be used.
For added flavor, consider using the marinade you used before cooking or create a separate basting liquid with herbs, spices, and citrus juices that complement your chicken dish.
2. Foiling
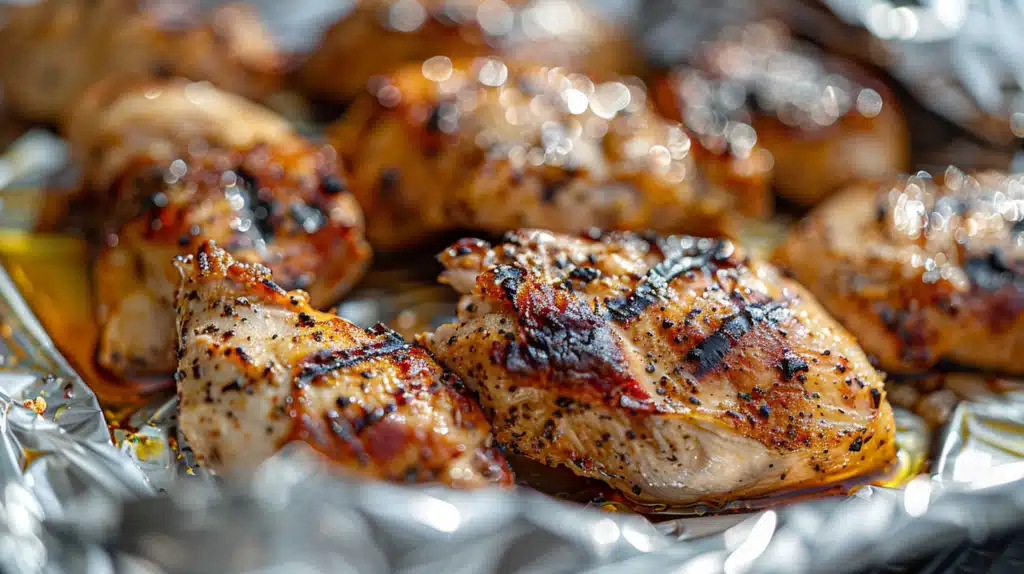
Covering your chicken with foil towards the end of the cooking process can help retain moisture and prevent over-browning.
The foil creates a barrier that traps steam, keeping the meat tender and juicy.
How to Use Foil Effectively
To use foil correctly, loosely tent the chicken with a sheet of aluminum foil, ensuring there is space between the foil and the meat.
This allows heat to circulate while still protecting the surface from direct heat. Avoid wrapping the chicken tightly in foil, which can cause the skin to steam and lose its crispiness.
Timing for Foiling
The best time to add foil is during the last third of the cooking process. For example, if your chicken needs to cook for 45 minutes, add the foil after 30 minutes.
This ensures the chicken has time to develop a golden-brown exterior before being covered.
Remove the foil for 5-10 minutes of cooking to allow the skin to warm up.
After Cooking
1. Resting
Importance of Resting Chicken
Once your chicken is cooked, it’s essential to let it rest before cutting or serving. During the cooking process, the juices within the meat are driven towards the center.
Resting allows these juices to redistribute throughout the chicken, producing a more moist and tender final product. Cutting into the chicken too soon causes the juices to run out, leading to drier meat.
Suggested Resting Times
| Boneless, skinless chicken breasts | 5-10 minutes |
| Bone-in, skin-on chicken pieces | 10-15 minutes |
| Whole chicken | 15-20 minutes |
These resting times ensure that the juices have sufficient time to redistribute, optimizing the juiciness of your chicken.
Resting Methods
To rest your chicken effectively, remove it from the heat source and place it on a cutting board or warm plate.
Loosely tent the chicken with aluminum foil to keep it warm without trapping too much steam, which can make the skin soggy.
The foil helps maintain a warm temperature, allowing the chicken to breathe and preventing skin softening.
2. Serving

Tips for Slicing Chicken
When slicing your chicken, always cut against the grain of the meat. This means identifying the direction of the muscle fibers and slicing perpendicular to them.
Cutting against the grain results in shorter fibers, making the chicken easier to chew and appearing more tender. For bone-in pieces, slice the meat away from the bone for easier serving.
Serving Temperature
Ideally, serve your chicken while it’s still warm but not piping hot. If the chicken is too hot, the juices may run out more quickly when sliced.
Allow the chicken to cool slightly during the resting phase, ensuring it reaches a comfortable temperature for eating while maintaining its juiciness.
Presentation Tips
To make your chicken look as appealing as it tastes, consider presenting it on a warm plate or platter.
Garnish with fresh herbs, such as parsley or rosemary, to add color and aroma.
If serving a sauce alongside the chicken, place it on the side rather than pouring it directly over the meat, which can soften the crispy skin.
Slicing the chicken before plating can also make for a more attractive presentation, showcasing the juicey interior and allowing guests to serve themselves easily.
Additional Tips and Tricks
1. Use of Fat and Oils
Importance of Fats in Cooking Chicken
Fats and oils are essential components in cooking chicken, as they contribute to flavor enhancement, browning, and maintaining juiciness.
The right fat can help create a crispy exterior while keeping the interior moist and succulent.
Types of Fats and Oils to Use
Different fats and oils have unique properties that suit various cooking methods. For example, butter adds richness and helps create a golden-brown color when roasting or sautéing chicken.
Olive oil is a healthier option that pairs well with herbs and can be used for roasting or grilling. Animal fats, such as duck or chicken fat, can infuse the meat with additional flavor when used in moderation.
Application Methods
To maximize the benefits of fats and oils, consider brushing them onto the chicken before cooking. This helps the skin crisp up and allows seasonings to adhere better.
You can also incorporate fats into marinades or use them as a base for basting liquids, which will help keep the meat moist during cooking.
Tips for Maximizing Benefits
Combine fats with complementary herbs, spices, or citrus zest to create flavorful marinades or basting liquids.
For example, mix softened butter with minced garlic, chopped rosemary, and lemon zest, then spread it under the skin before roasting. This will infuse the chicken with flavor while keeping it juicy.
2. Avoiding Common Pitfalls
Identifying Potential Mistakes
Common mistakes that lead to dry or tough chicken include overcooking, undercooking, and inconsistent oven temperatures.
Overcooking causes the proteins in the meat to tighten and squeeze out moisture, while undercooking poses a food safety risk.
Fluctuating oven temperatures can result in uneven cooking and longer cooking times, which may also dry the chicken.
Preventive Measures for Overcooking
To prevent overcooking, use a reliable meat thermometer to check the internal temperature of the chicken. Aim for 165°F (74°C) in the thickest part of the meat, away from bones.
Set a timer to monitor cooking progress and avoid relying solely on visual cues, as appearances can be deceiving.
Managing Oven Temperature
Always preheat your oven before cooking to ensure consistent heat throughout the process.
Avoid opening the oven door frequently, which can cause temperature fluctuations and extend the cooking time.
If you need to check on the chicken, use the oven light instead of opening the door when possible.
Tips for Even Cooking
To promote even cooking, pound chicken breasts or thighs to an even thickness before marinating or seasoning.
This helps the meat cook at the same rate, preventing some parts from drying out while others remain undercooked.
When roasting a whole chicken or large pieces, use a roasting rack to allow hot air to circulate around the meat, ensuring even cooking on all sides.
Conclusion
Mastering the art of cooking juicy, flavorful chicken in the oven is achievable with the right techniques.
From marinating and brining to using proper cookware and basting, these methods help maintain moisture and tenderness.
Monitoring internal temperature, allowing the chicken to rest, and slicing against the grain further ensure succulent results.
While following these guidelines provides a solid foundation, don’t be afraid to experiment with different marinades, seasonings, and cooking times to find what works best for your taste preferences.
So, preheat your oven, gather your ingredients, and start cooking confidently – a perfectly moist and flavorful chicken dinner awaits!


