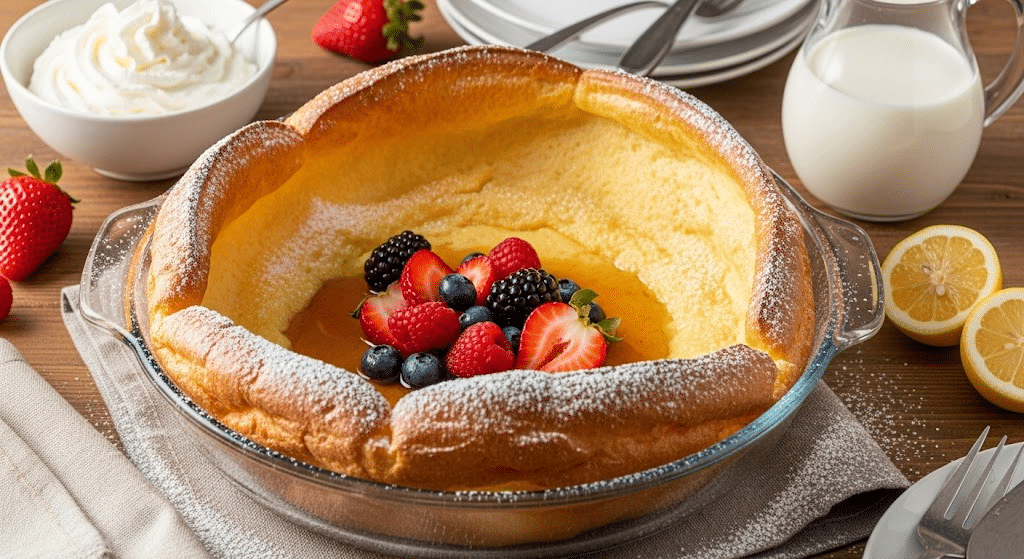
Many people think gluten-free baking means giving up fluffy, restaurant-quality breakfast treats.
The truth is, you can still enjoy that perfect puffy pancake that rises high in the oven and tastes like pure comfort food.
This guide will show you exactly how to make a gluten-free Dutch baby that’s just as light and buttery as the traditional version.
You’ll learn the key techniques, ingredient swaps, and insider tips that make all the difference between a flat disappointment and a golden, cloud-like masterpiece your whole family will love.
Why this Gluten Free Dutch Baby is a Must-Try?
A Dutch baby is a large, oven-baked pancake that puffs up dramatically while cooking, creating crispy edges and a custardy center.
This gluten-free version uses Cup4Cup flour instead of regular wheat flour, maintaining the same light texture without sacrificing taste. The secret lies in the right flour blend and proper mixing technique just pulse the batter until smooth, never overblend.
Unlike many gluten-free breakfast options that turn out dense or rubbery, this gluten free dutch baby delivers the same fluffy, buttery results as the original recipe.
Gather These Ingredients Before You Begin
| Main Ingredient | Carbs | Protein | Fat | Calories |
|---|---|---|---|---|
| 1 cup Cup4Cup GF flour | 24g | 2g | 0.5g | 120 |
| 1 cup whole or A2 milk | 12g | 8g | 8g | 150 |
| 6 large eggs | 6g | 36g | 30g | 432 |
| 3 tbsp butter | 0g | 0g | 36g | 306 |
| ½ tsp salt | 0g | 0g | 0g | 0 |
| 1 tbsp sugar (optional) | 12g | 0g | 0g | 49 |
Total Caloric Count:
- With Sugar: 1,057 calories
- Without Sugar: 1,008 calories
Healthier Swaps:
1. Instead of 1 cup whole or A2 milk, you can add unsweetened almond or oat milk.
2. Instead of 1 tbsp sugar, you can either skip sugar or use stevia/monk fruit (½ tsp).
Topping Ideas:
- Fresh berries (strawberries, blueberries, raspberries)
- Maple syrup or buttermilk syrup
- Powdered sugar
- Nutella or almond butterJam or fruit compote
- Fresh herbs like mint (for savory versions)
Step-By-Step Instructions for Making Gluten Free Dutch Baby
Master the art of making a dutch baby with these clear, step-by-step instructions.
From prepping the batter to serving with style, each stage ensures a perfectly puffy, golden pancake with a custardy center and crisp edges
Step 1: Prep the Batter (and Rest It)
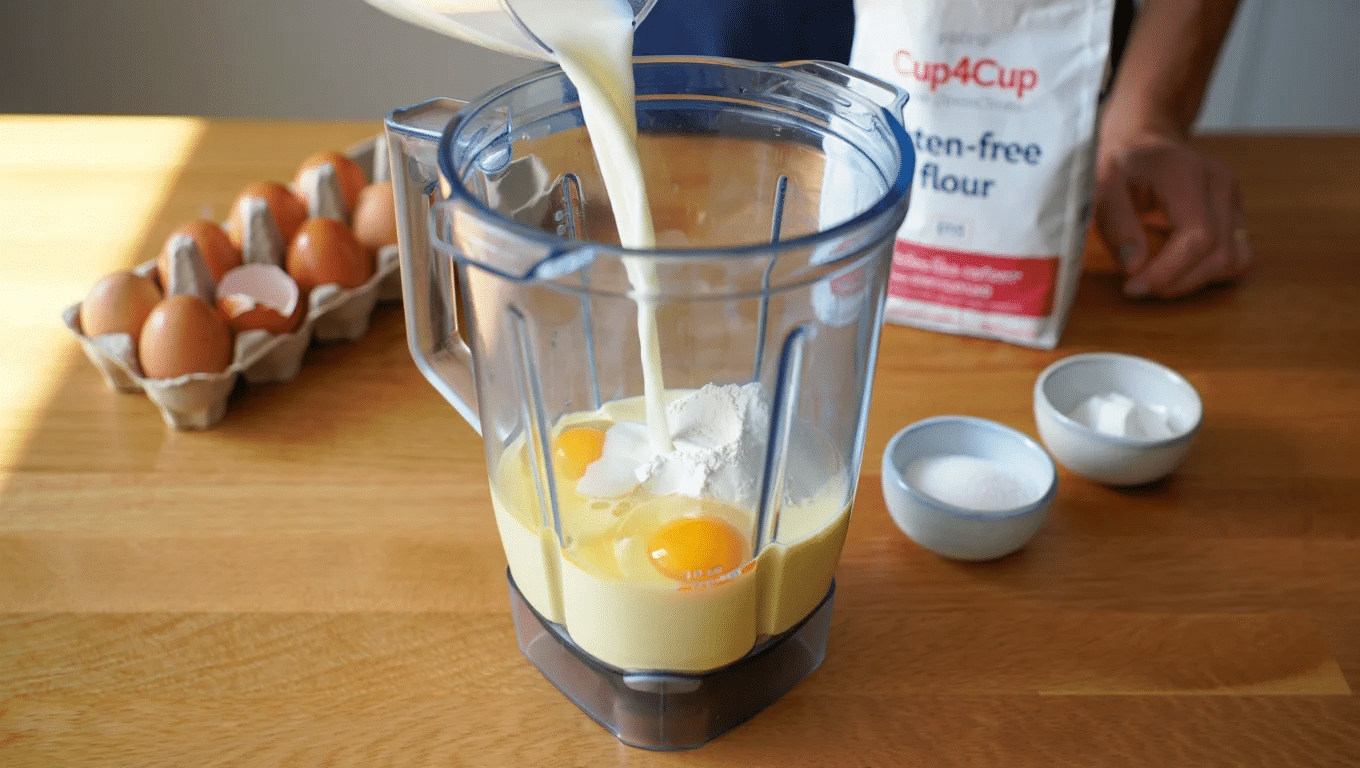
Add eggs, milk, Cup4Cup flour, and salt to a blender. Pulse until just combined, don’t overblend or the dutch baby will turn tough.
Let the batter rest for 5 minutes while the oven preheats. This resting time helps the flour fully hydrate.
Step 2: Heat Your Pan to the Right Temp
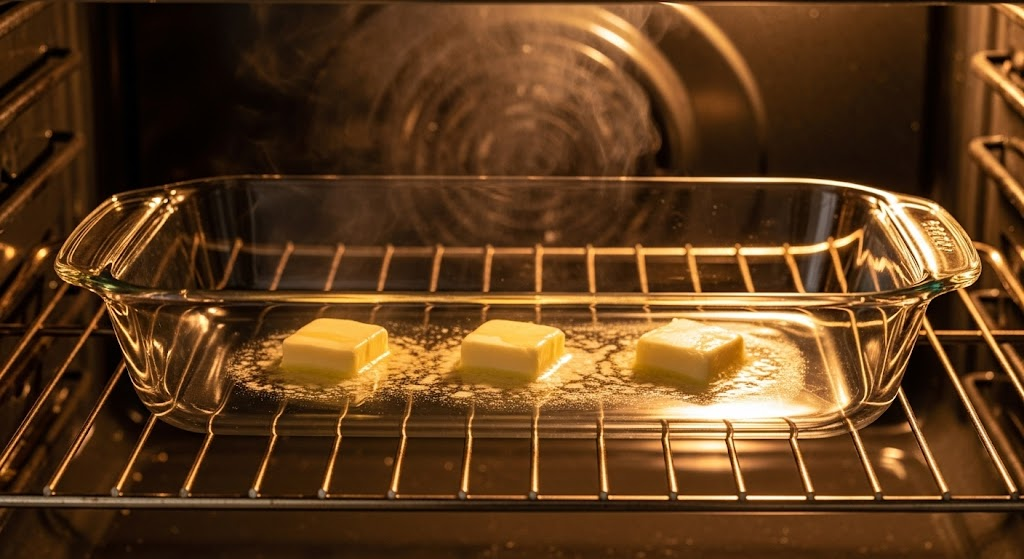
Place a 9×13 glass baking dish in the oven with 3 tablespoons of butter. Preheat to 425°F (220°C).
The pan must be scorching hot when you add the batter – this creates the signature puff and prevents sticking.
Step 3: Pour and Bake (Exact Time & Temp)
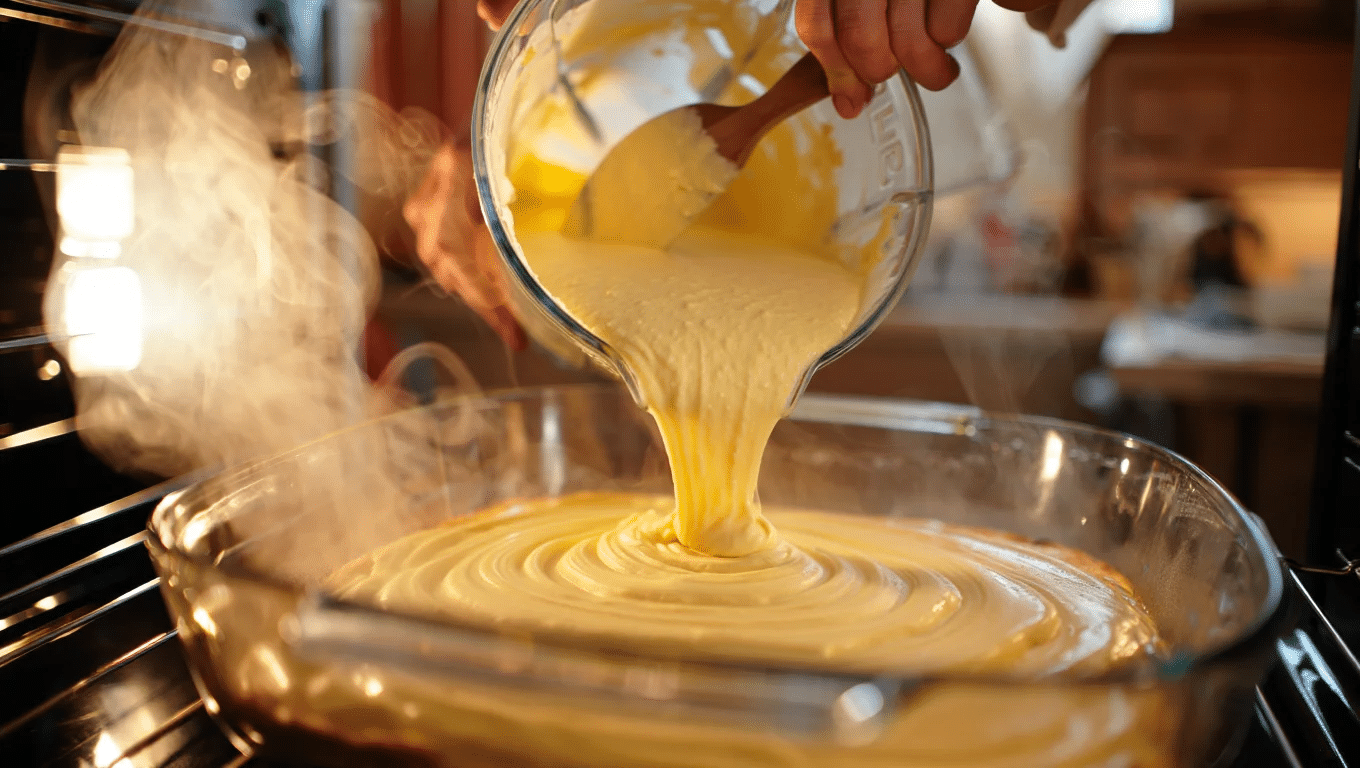
Carefully remove the hot pan from the oven. Pour batter in a figure-8 pattern – this creates peaks and valleys for better texture. Bake at 425°F for 18-22 minutes until golden brown and puffy around the edges.
Step 4: Watch the Puff
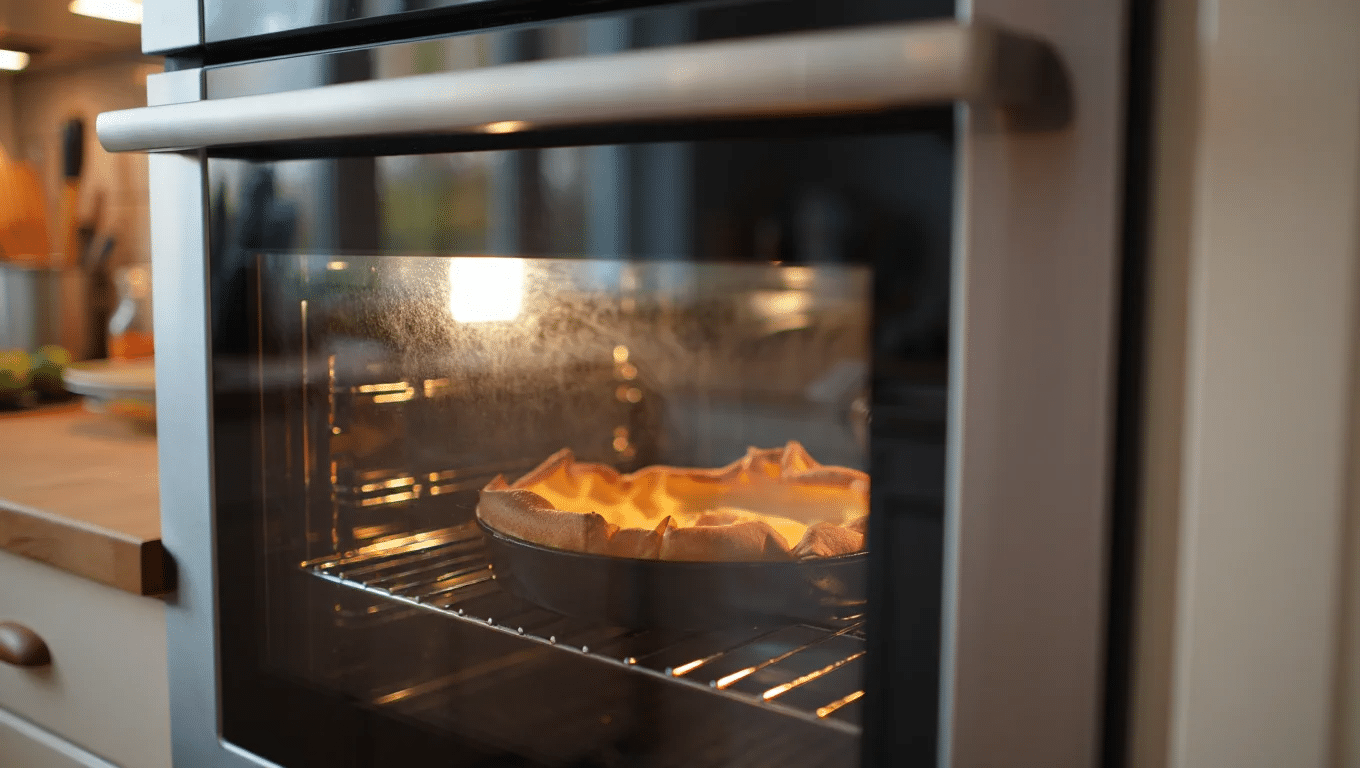
Resist opening the oven door during baking. The sudden temperature drop will cause your gluten-free dutch baby to collapse.
Watch through the oven window as it rises dramatically. It’s ready when the edges are golden and crispy.
Step 5: Serve and Garnish with Style
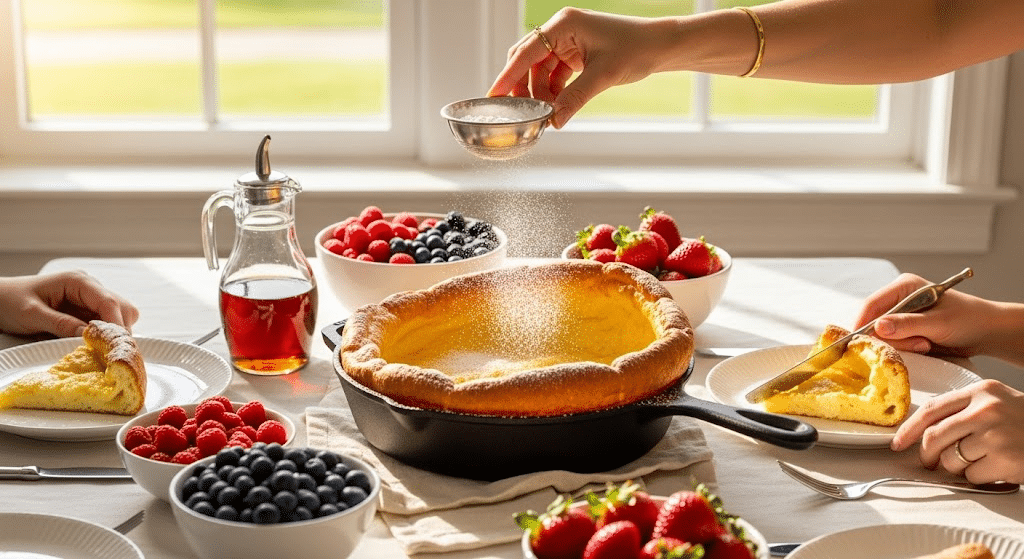
Remove from the oven and serve immediately while still puffy. The center will deflate slightly; this is normal. Dust with powdered sugar, add fresh berries, or drizzle with maple syrup. Cut into wedges and enjoy the custardy center with crispy edges.
Flavor Upgrades & Fun Variations
Upgrade your gluten-free dutch baby with creative flavor twists and fun variations.
From zesty lemon poppyseed to decadent chocolate banana, these upgrades makes the classic recipe into a delicious centerpiece for breakfast, brunch, or dessert.
| Dutch Baby | Key Ingredients | Serving Suggestions |
|---|---|---|
| Lemon Poppyseed | Lemon juice, poppy seeds | Serve with lemon curd or fresh berries |
| Savory Garlic-Herb | Garlic, fresh herbs, black pepper | Pairs with scrambled eggs or crispy bacon |
| Chocolate Banana | Cocoa powder, banana | Top with whipped cream and extra banana slices |
| Apple Cinnamon | Cinnamon, diced apple | Drizzle with caramel sauce |
| Berry Almond | Almond extract, blueberries | Perfect for any occasion |
Storage and Reheating Tips
Keep your dutch baby fresh and delicious with proper storage and reheating techniques. These tips ensure you enjoy crisp edges and a tender center, whether serving leftovers the next day or after freezing for later.
- Store leftover gluten free dutch baby in the refrigerator for up to 3 days in an airtight container or covered with plastic wrap.
- Reheat individual slices in a toaster oven at 350°F for 3-4 minutes to restore some crispiness to the edges.
- For microwave reheating, use 30-second intervals on medium power to avoid making the texture rubbery or tough.
- Freezing works but changes the texture – wrap cooled slices in foil and freeze for up to 2 months, then thaw overnight before reheating.
- Avoid reheating the entire dutch baby at once as it won’t puff up again and may become soggy in the center.
Final Thoughts
Making a gluten free dutch baby at home isn’t just possible – it’s simple and satisfying. This recipe proves that gluten-free cooking doesn’t mean settling for less flavor or texture.
The key lies in using the right flour blend and following proper technique. From classic versions to creative flavor twists, this versatile breakfast treat works for any occasion.
Why not try making one this weekend? Your kitchen will smell incredible, and your family will think you’re a breakfast genius.
Share your results and favorite toppings in the comments below!

