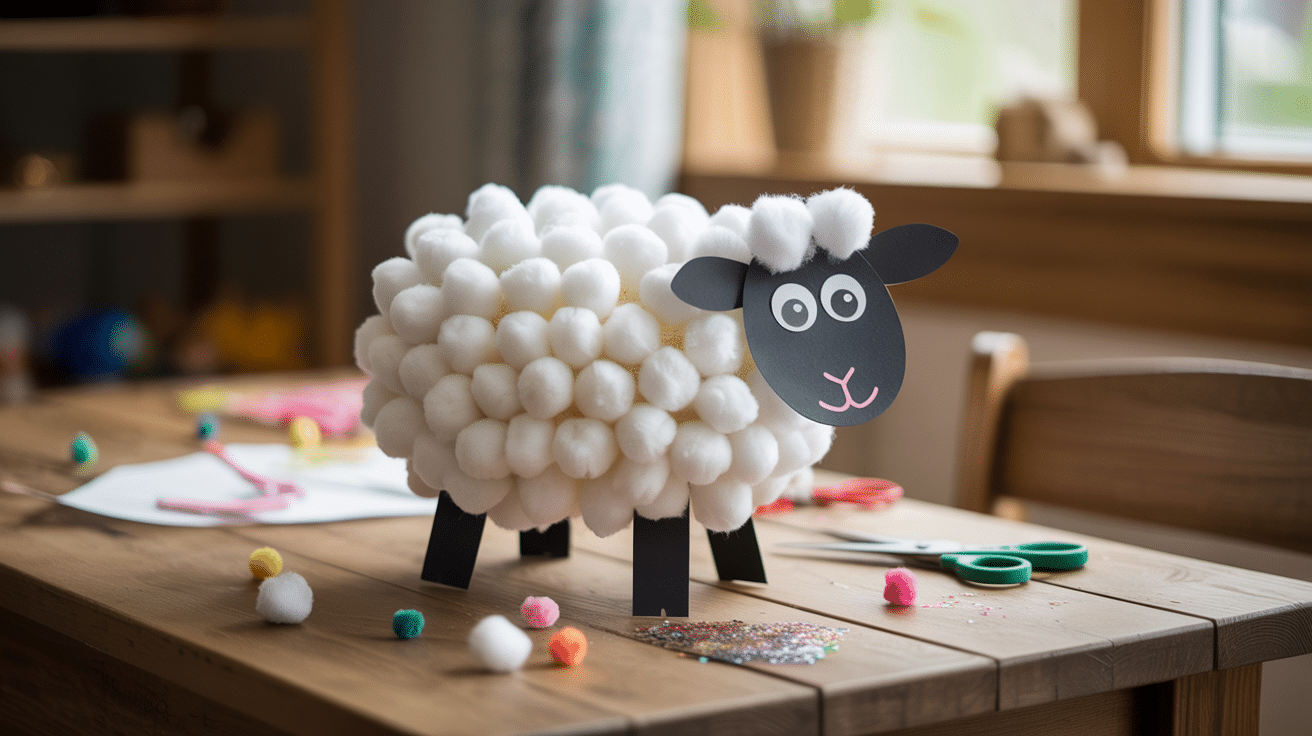
Have you noticed how craft time brings smiles to children’s faces? Making a cotton ball sheep is one of those simple activities that can turn a boring afternoon into a memorable one.
Kids and adults both enjoy the feel of soft cotton balls and the joy of creating something with their hands.
What makes this craft special is how it needs just a few items from around your home.
Ready to learn how to make these fluffy friends? Let’s get started with this simple project that’s perfect for rainy days or family gatherings!
Why are Cotton Ball Sheep Crafts Perfect for Kids?

Cotton ball crafts have become a favorite among parents and teachers. Here’s why making a cotton ball sheep stands out as an ideal activity for children of all ages:
- Builds fine motor skills: Children develop hand control and coordination when they pick up small cotton balls and place them on paper with glue.
- Uses simple materials: You only need basic items like cotton balls, glue, paper, and markers that are safe and easy for small hands to use.
- Quick to complete: Most kids can finish their sheep in about 20 minutes, perfect for short attention spans but long enough to feel satisfied.
- Offers sensory input: The soft texture of cotton provides a pleasant touch experience that many children find calming and enjoyable.
- Allows creative freedom: Each sheep can look different as kids choose how to arrange the cotton and draw faces, making each creation unique.
Items Needed for Cotton Ball Sheep Craft
Before you start this fun project, gather these basic supplies from around your home:
| Item | Quantity |
|---|---|
| Paper plate | 1 |
| Elmer’s liquid school glue | 1 bottle |
| Pair of scissors | 1 |
| Red construction paper | 1 sheet |
| Black construction paper | 1 sheet |
| Googly eyes (optional) | 2 (or use paper) |
| Cotton balls | A handful |
Creating this cotton ball sheep requires just a few simple items, making it perfect for spontaneous craft sessions with kids.
From Cotton Balls to Cute Sheep: DIY Cotton Ball Sheep Craft
This cotton ball sheep craft is a fun and fluffy project for kids, perfect for springtime or a farm-themed craft day. Follow these easy, step-by-step instructions to create an adorable little sheep:
Step 1: Prepare the Paper Plate
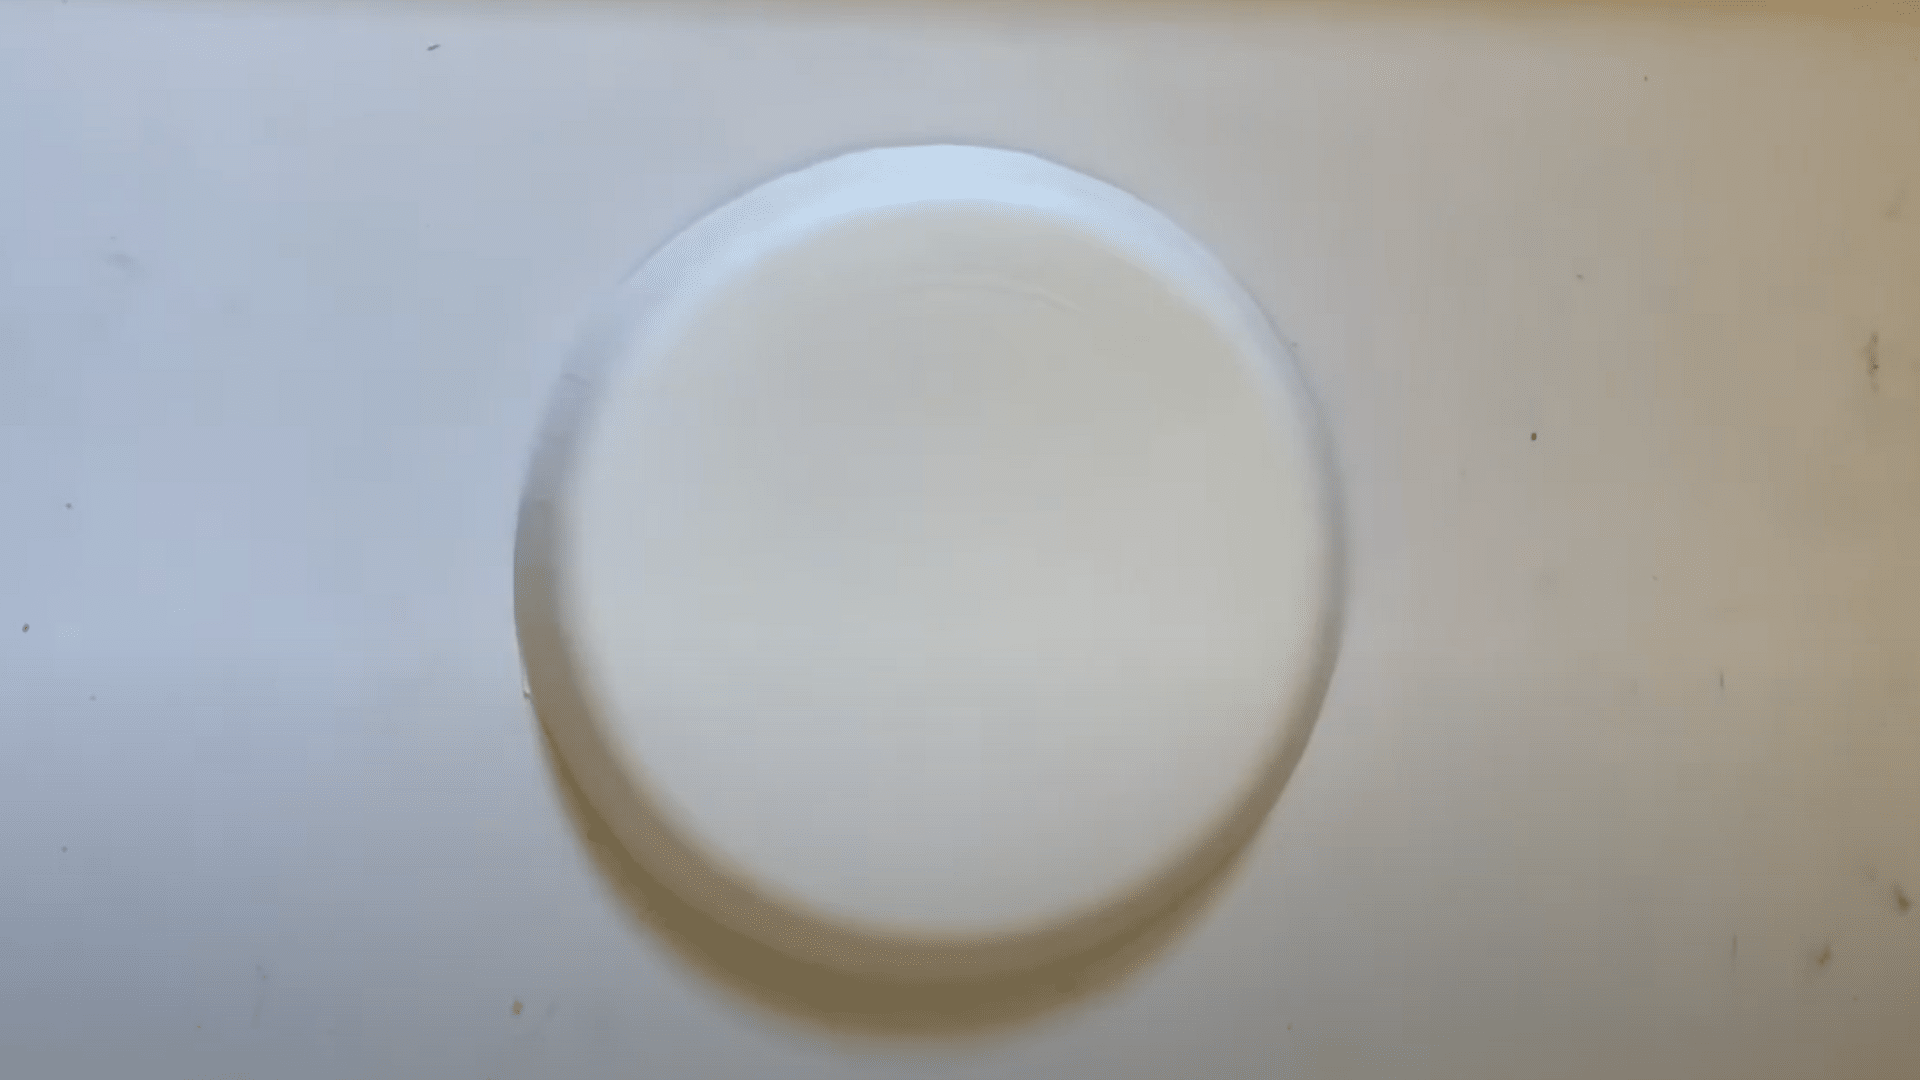
Start with your paper plate, ensuring that it is clean and smooth.
Using a pair of scissors (with adult supervision), carefully cut off the rim of the plate from the back side. Once the rim is removed, you’ll have the inner part of the plate, which will serve as the sheep’s body.
This will allow the fluffy cotton balls to be glued neatly along the center.
Step 2: Cut the Legs
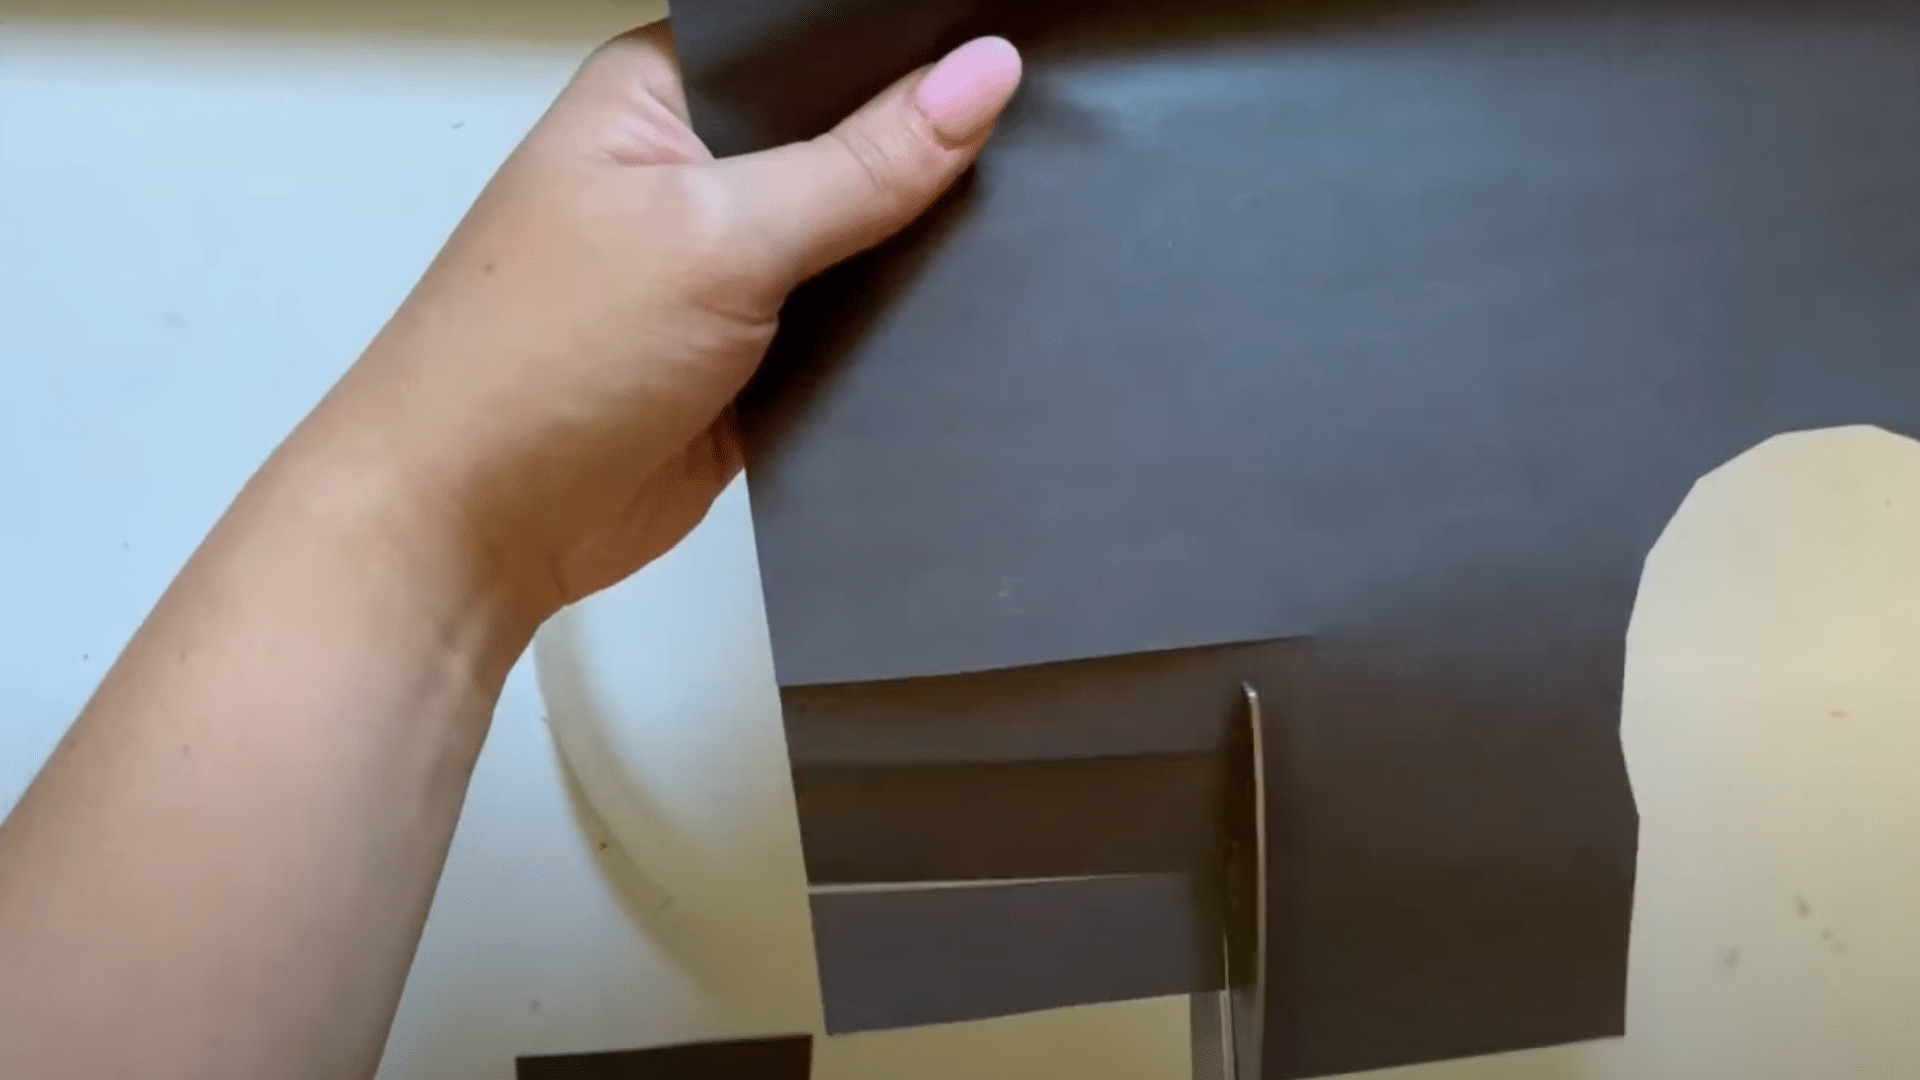
Take the black construction paper and prepare to cut four strips for the sheep’s legs. To save time, fold the paper into quarters, ensuring all strips are the same width.
Start by cutting four lines from one corner to create even strips. Afterward, rotate the paper and cut across the strips to separate them. This method allows you to cut all four legs at once, making the process quicker and easier.
These strips will form the sheep’s legs.
Step 3: Attach the Legs
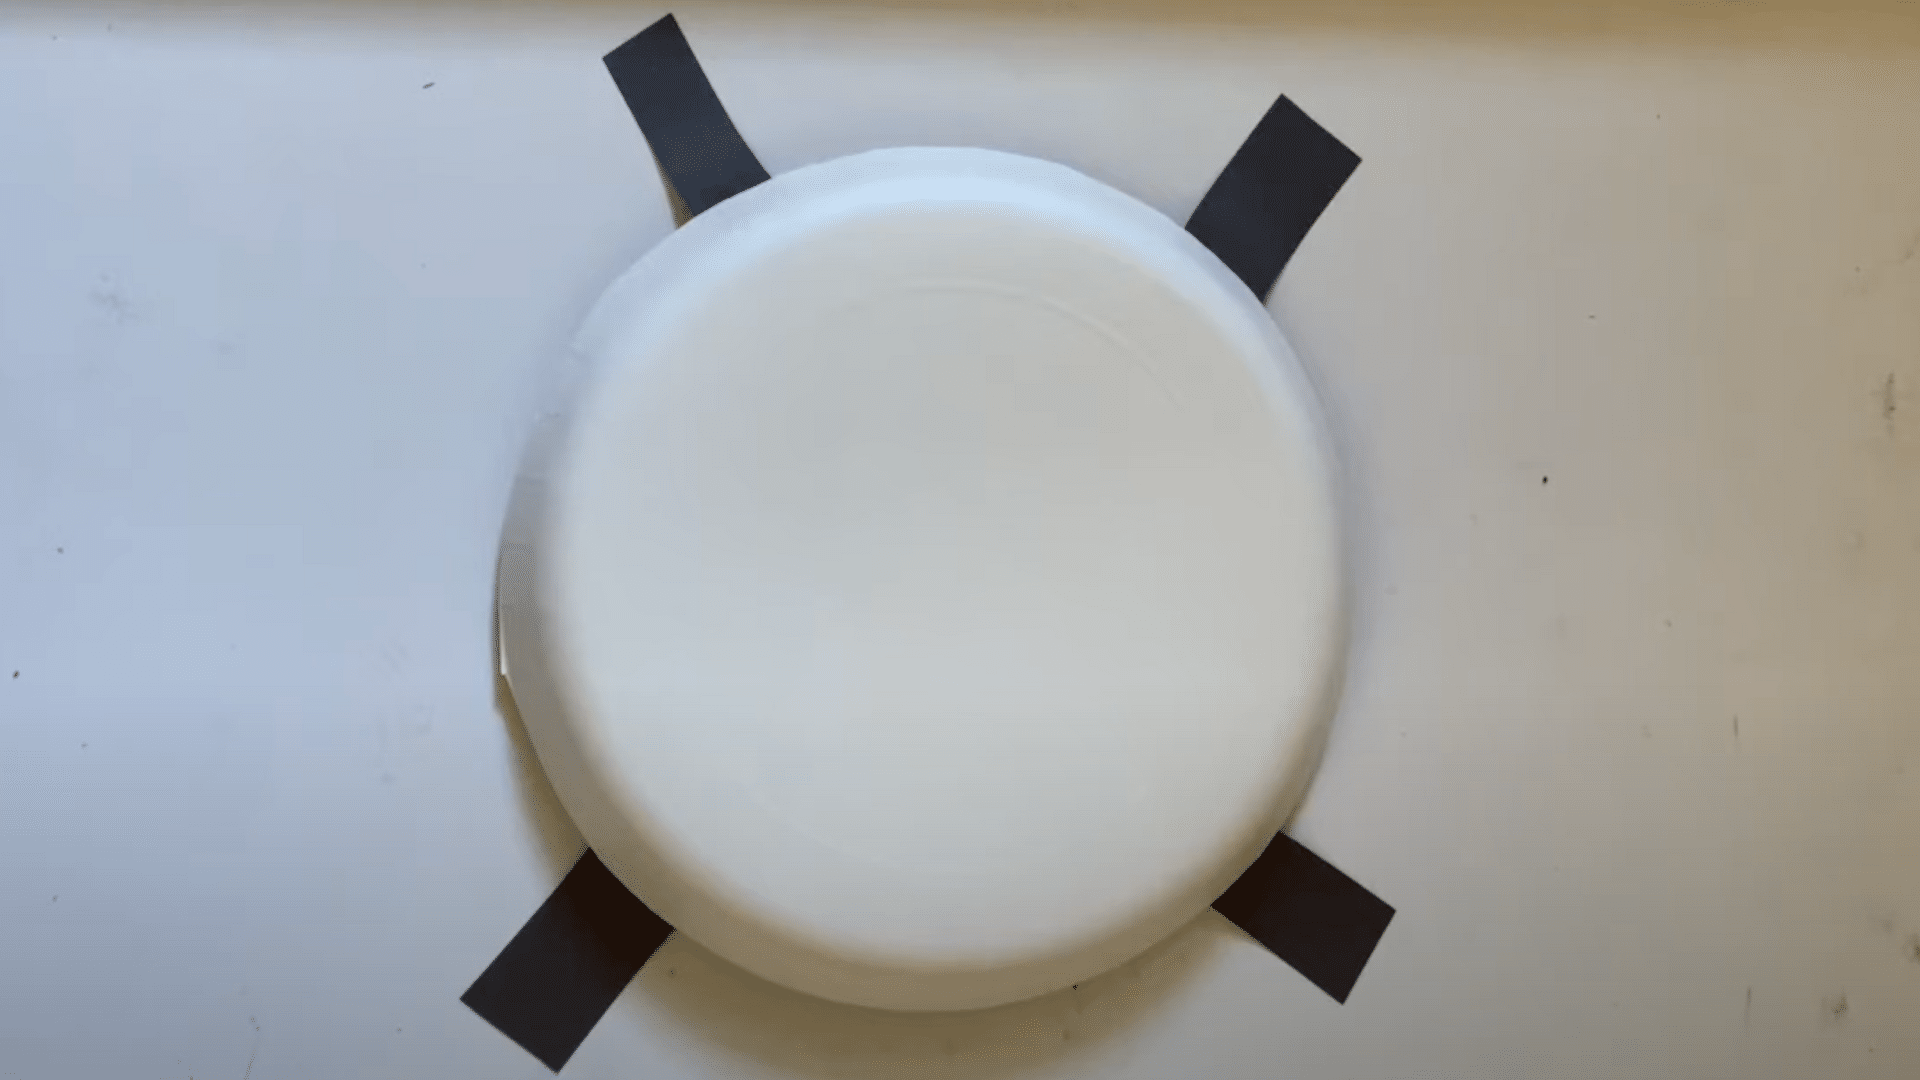
Flip the paper plate over to start adding the legs. Use a glue stick to apply glue to the top of each of the four strips of paper. Then, stick the legs onto the bottom of the plate.
- Place two strips at the bottom of the plate.
- Place the other two strips at the top of the plate.
This will create the illusion of legs, with the sheep’s body in the center.
Step 4: Add the Fluffy Cotton Balls
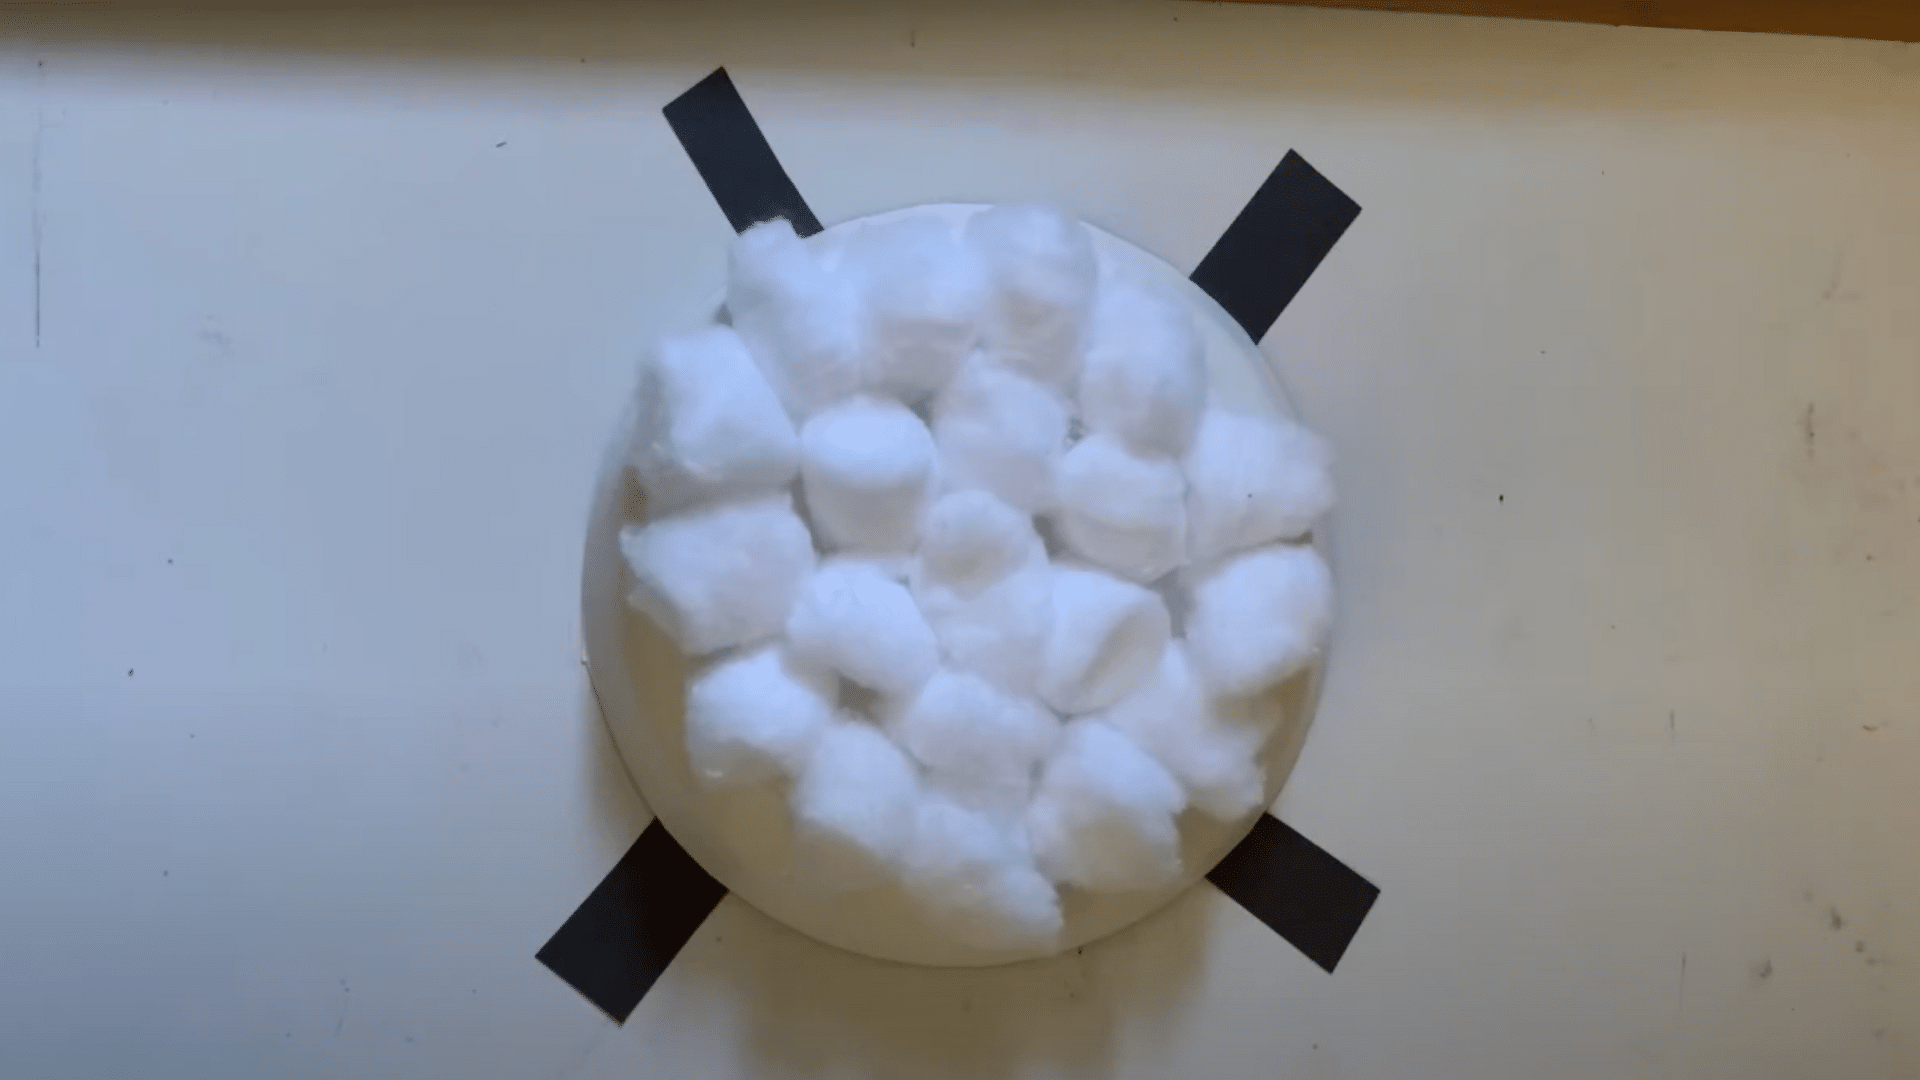
Now it’s time for the fun part – making the sheep fluffy!
Apply a spiral of liquid glue over the surface of the plate. Start from the center and work your way out to the edges. The glue should be spread generously to ensure the cotton balls stick properly.
Once the glue is applied, begin sticking the cotton balls one by one. Fill in the entire top surface of the plate, and feel free to add more cotton balls to the sides if needed.
Step 5: Create the Face
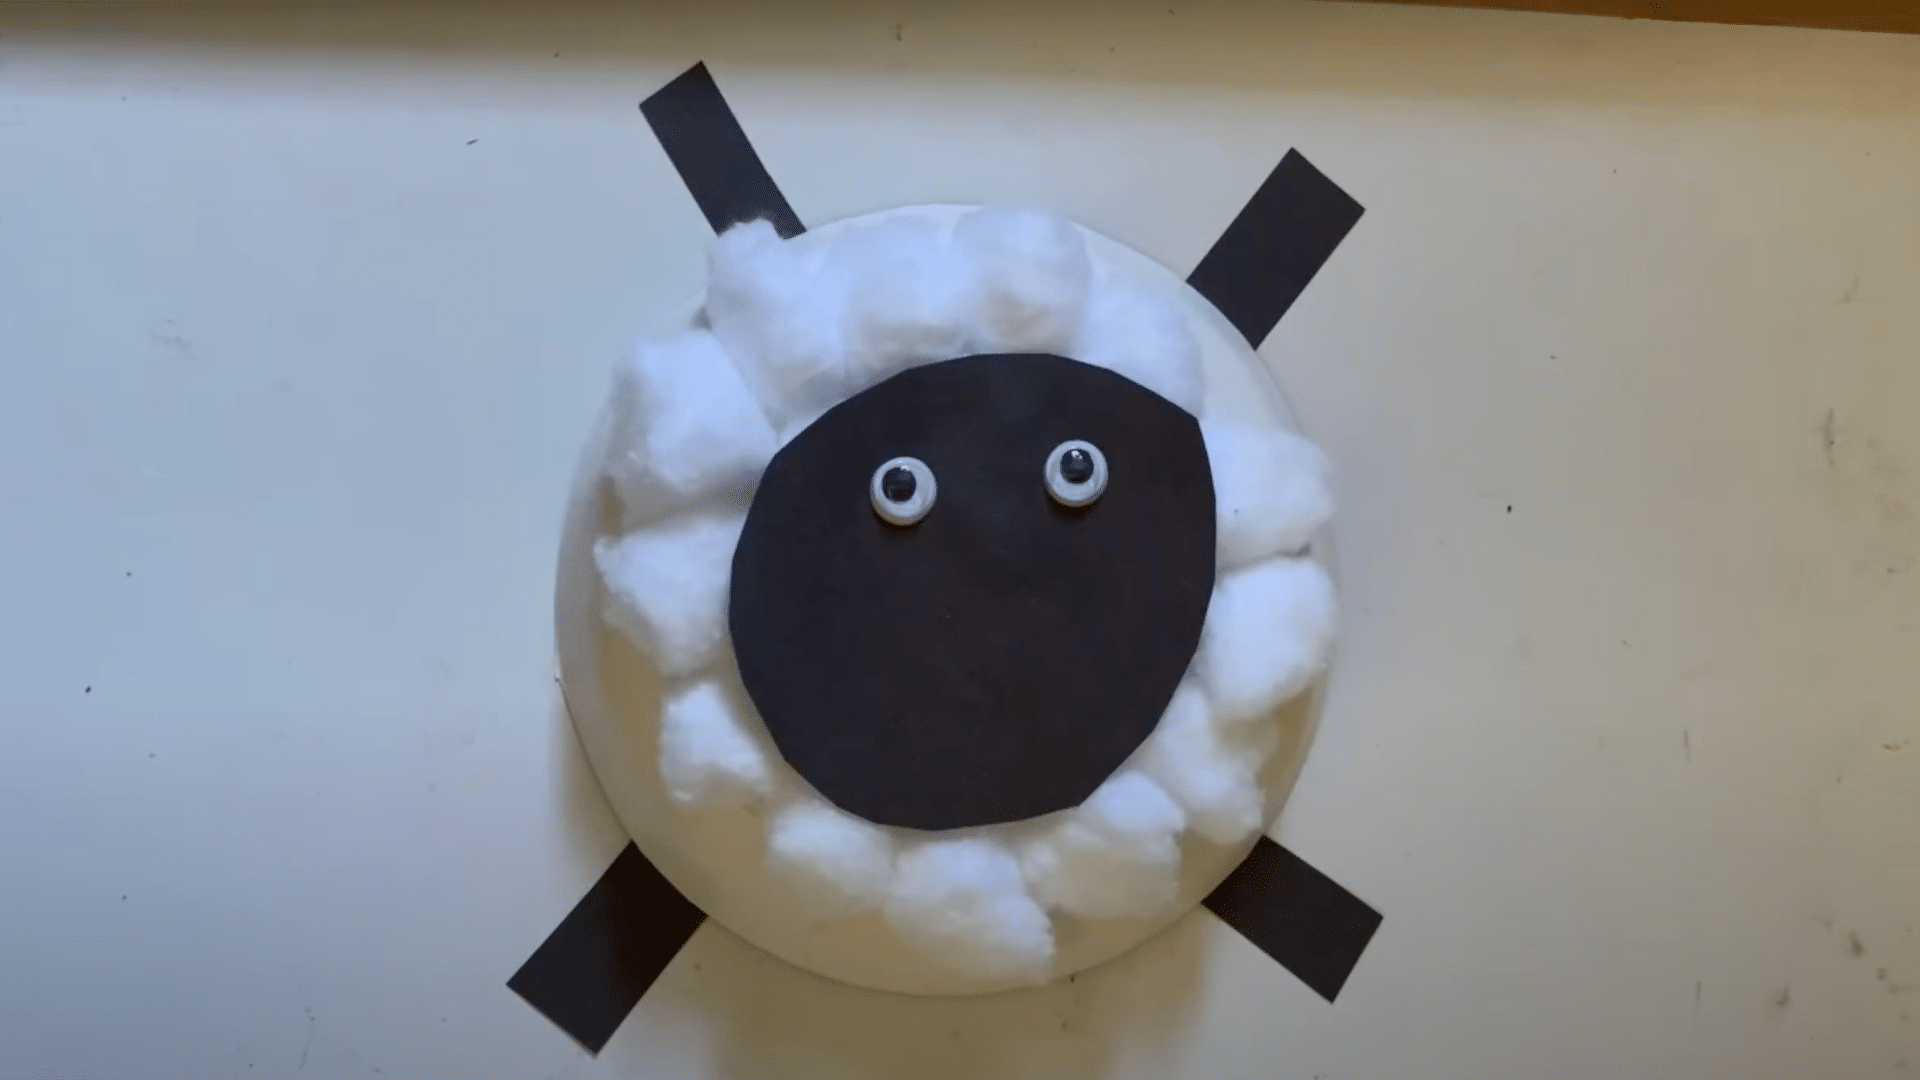
Next, you will make the sheep’s face. Cut out a circle from black construction paper to form the face. Apply glue to one side of the circle, then press it onto the cotton balls.
- Attach googly eyes to the face for a fun touch.
- Alternatively, cut out white and black circles from paper to create eyes.
This will give the sheep a cute and expressive look.
Step 6: Finish the Sheep’s Smile
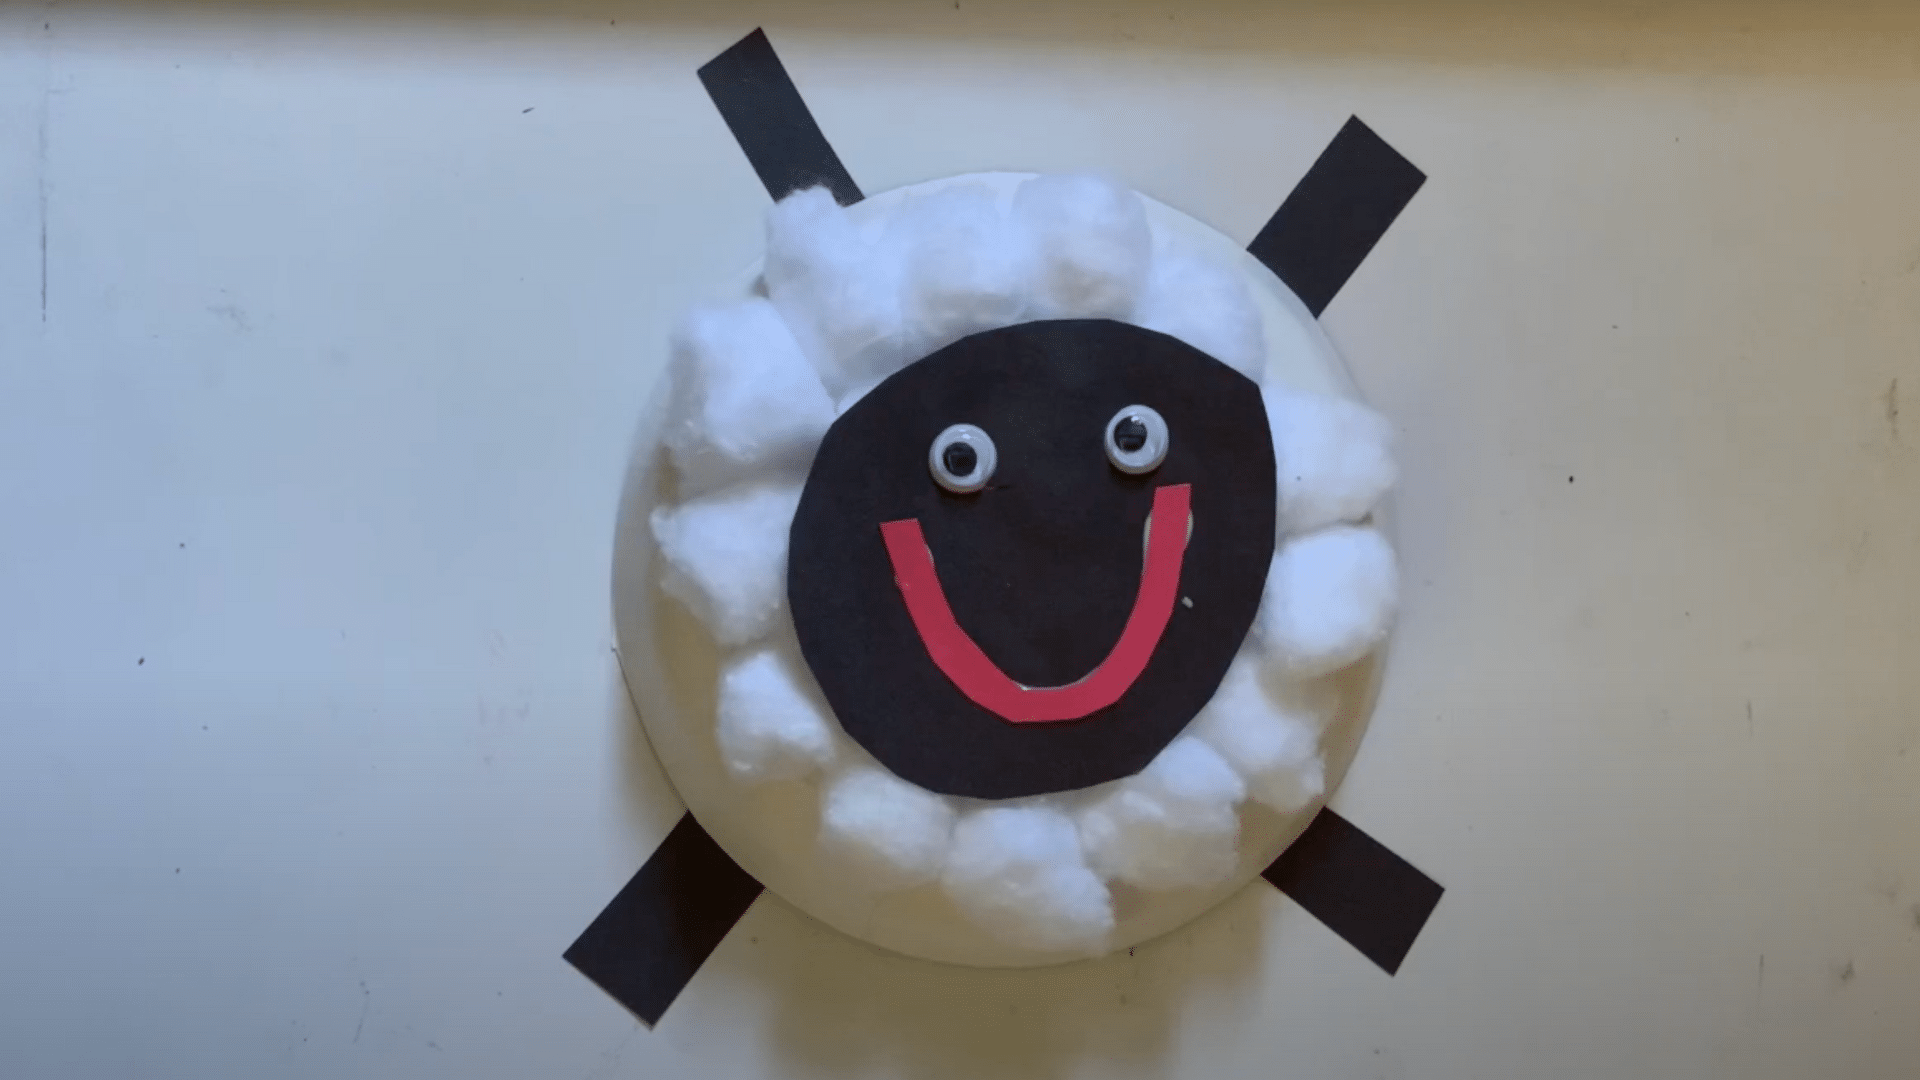
Cut a half-circle shape from red construction paper to form the sheep’s smiling mouth. Apply a small amount of glue to the curved edge of the smile and carefully press it onto the face. Ensure it sticks firmly to complete the sheep’s cheerful expression.
You can adjust the smile’s placement to fit the face, creating the perfect happy sheep.
Now you have your very own cotton ball sheep craft! With its fluffy wool and cute smile, this project is sure to bring a smile to everyone’s face. Enjoy the process and share your creative sheep with others!
For a more detailed tutorial on how to DIY a cotton ball sheep craft, check out the video below:
Fun Cotton Ball Sheep Craft Ideas for Kids
These creative cotton ball sheep ideas for kids are perfect for a fun and engaging craft session. Check out these unique ideas and get ready to make some adorable sheep:
Cotton Ball Sheep Mobile
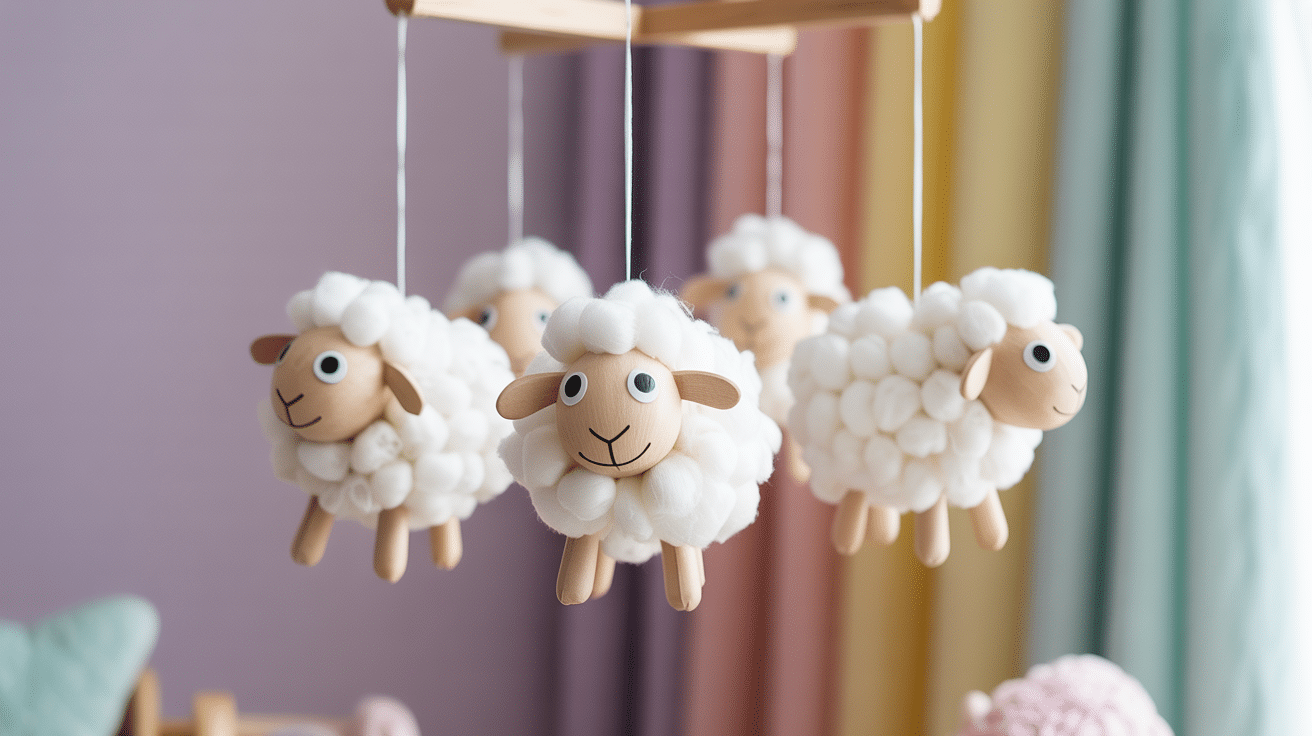
Make a cute mobile by hanging cotton ball sheep from strings! Attach the sheep’s body with strings to create a magical hanging decoration.
- What you’ll need: Cotton balls, cloth fabric or craft foam, string, glue
- Crafting Instructions: Create sheep bodies with cotton balls and craft foam, then attach them to strings to form a hanging mobile.
Paper Bag Cotton Ball Sheep
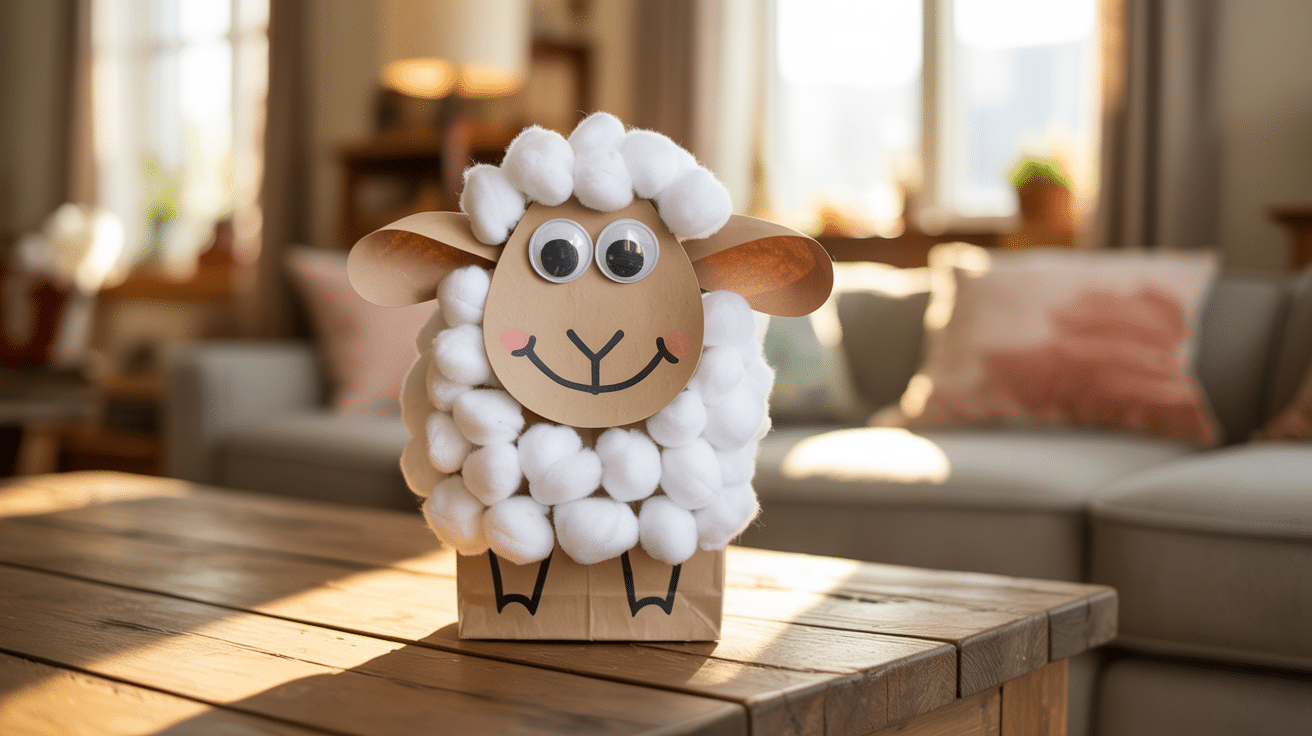
Transform a paper bag into a cute sheep puppet by covering the front with cotton balls. Add googly eyes and a smiling mouth for a fun, interactive puppet!
- What you’ll need: Paper bag, cotton balls, googly eyes, black construction paper, glue
- Crafting Instructions: Cover the front of the paper bag with cotton balls, then glue on googly eyes and a black paper smile to create the sheep’s face.
Cotton Ball Sheep on a Farm Scene
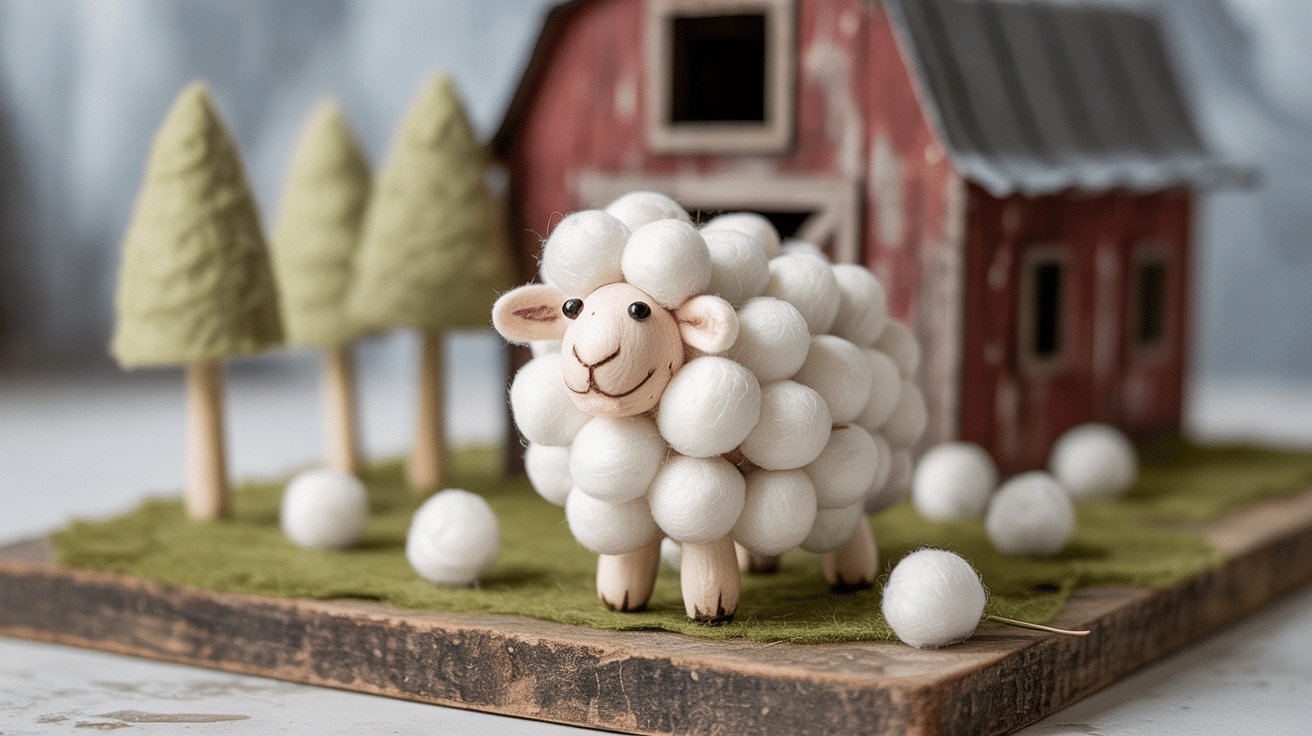
Place your cotton ball sheep in a farm scene, surrounded by barns and trees. Use cotton balls to make the sheep’s wool and create a fun farm setting on a flat surface like a craft board.
- What you’ll need: Cotton balls, cloth fabric or craft foam, wooden baseboard, glue
- Crafting Instructions: Glue cotton balls to a craft foam base for the sheep, then cut out farm elements like barns and trees from construction paper to complete the scene.
Cotton Ball Sheep Ornament
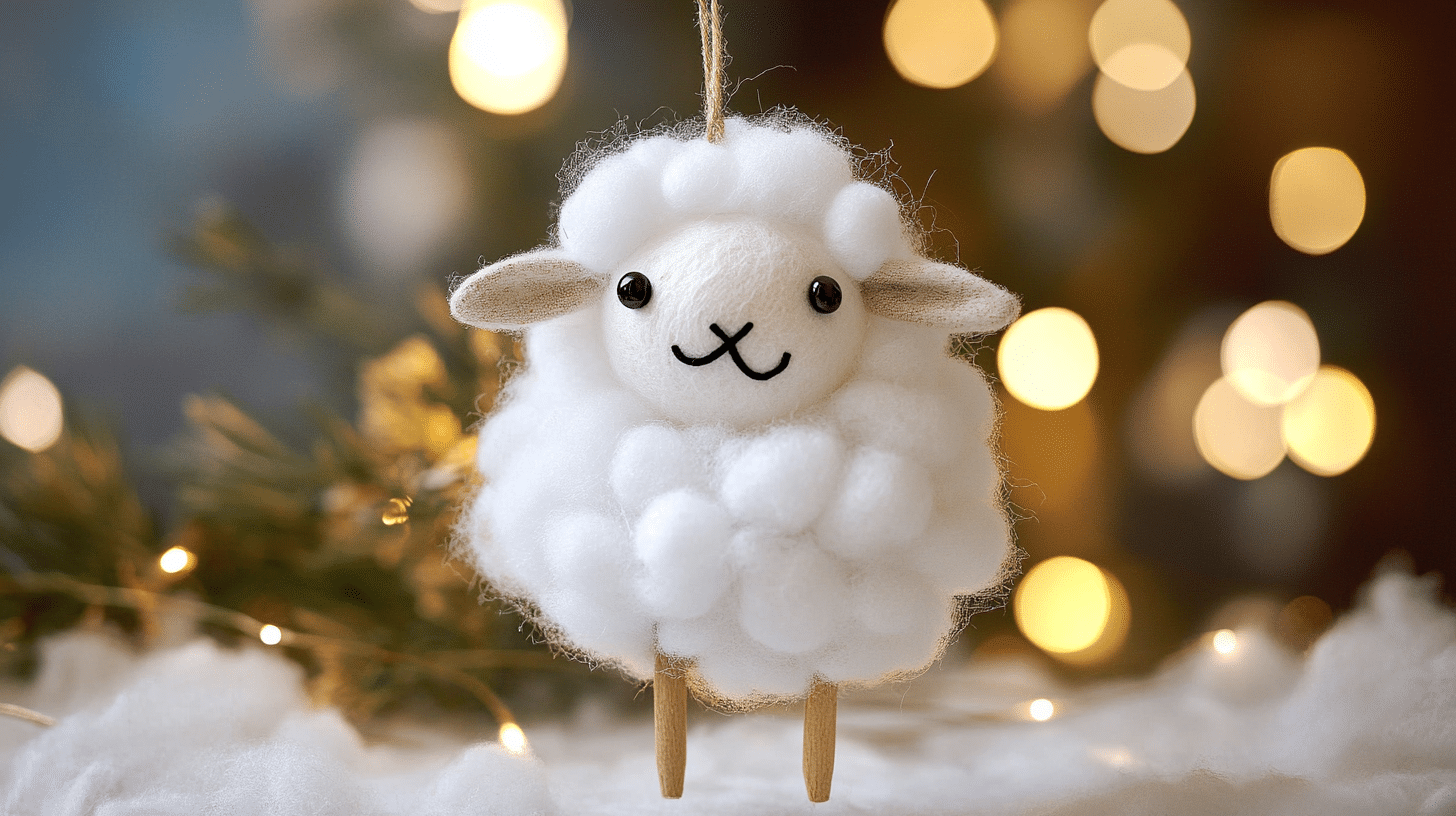
Craft a cute sheep ornament using cotton balls and either wood or craft foam. This makes for a lovely holiday or seasonal decoration for your home.
- What you’ll need: Cotton balls, wood or craft foam, string, glue, scissors
- Crafting Instructions: Shape the sheep’s body with cotton balls and attach it to craft foam. Add a string to the top for hanging and use scissors to cut out legs and face for finishing touches.
Cotton Ball Sheep with a Rainbow
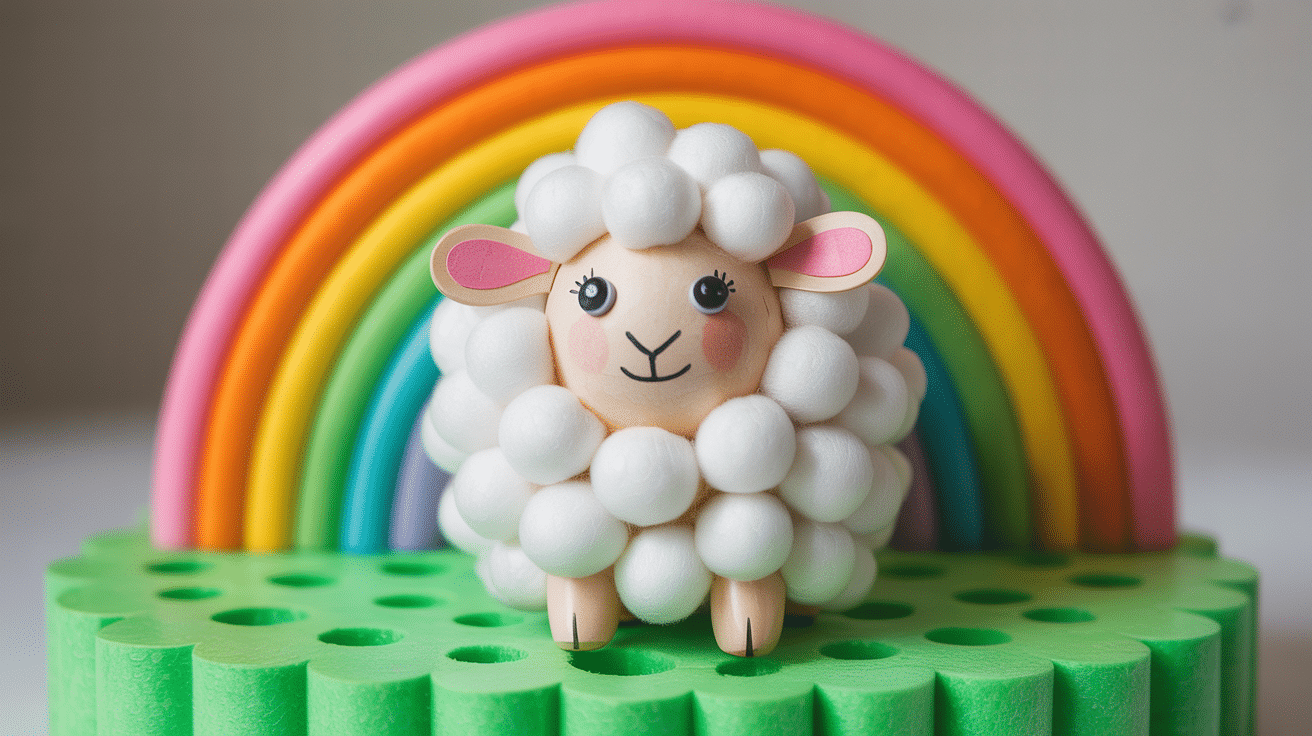
Create a fluffy sheep with a colorful rainbow background! Use a circular base like craft foam, cover it with cotton balls, and add a bright rainbow in the background for a cheerful scene.
- What you’ll need: Cotton balls, craft foam or cardboard, rainbow-colored paper, glue
- Crafting Instructions: Attach cotton balls to the circular base to form the sheep’s body, then glue rainbow-colored paper behind it for a playful, fun look.
Wrapping It Up
We’ve walked through how to make these fluffy friends that bring joy to craft time. This cotton ball sheep craft does more than just fill time – it helps little hands get better at small tasks while having fun.
Now it’s your turn to grab some cotton balls and paper plates to try this with your kids. The best part? You won’t need to run to the store or spend much money.
Have you made this craft with your children? We’d love to hear how it went!
Drop a comment below with your tips or share what your kids loved most about making their woolly pals.

