Is your child ready to start writing their name, but you’re not sure how to help? Whether you’re a parent or teacher, this guide makes it fun and straightforward.
Inside, you’ll find tips, hands-on activities, and free worksheets that turn name writing into something kids enjoy. Discover the ideal age to start, how to identify common challenges, and which tools can assist you.
With some guidance, your child will grow their skills and feel proud of what they can do. Ready to make name writing easier at home or in the classroom? This guide has everything you need to get started.
Why Name Writing is So Important for Early Learners
Learning to write their name helps your child in more ways than one. It isn’t just about putting letters on paper.
Builds Literacy and Independence
Name writing is often the first step toward learning to read. When your child can write their name, they begin to recognize letters and connect sounds to them. It also gives them a sense of ownership and accomplishment.
Supports Fine Motor Skills
Holding a pencil, controlling hand movements, and forming letters all build small muscle strength. This foundation helps with other tasks, such as buttoning shirts and using scissors.
Boosts Name Recognition and Classroom Confidence.
When kids can write their names, they feel more prepared in class. They can label their work, locate their cubby, and participate in activities without needing assistance.
At What Age Should Kids Start Writing Their Name?
Every child moves at their own pace, but here’s a general guide you can use.
General Age Ranges (2–6)
At age 2, your child might start scribbling or recognizing the first letter of their name. By 3 or 4, they may try tracing letters. Most kids can write their full name around age 5 or 6.
Milestones by Year
- Age 2–3: Scribbles, random lines
- Age 3–4: Traces basic shapes and some letters
- Age 4–5: Starts copying and writing short words like their name
- Age 5–6: Writes their full name on their own
Signs They’re Ready
Your child may be ready if they show interest in letters, enjoy drawing, or ask you to spell their name. If they can hold a crayon and follow simple lines, that’s a great start.
How to Teach Name Writing Step-by-Step

Step 1: Start With Name Recognition
Help your child recognize their name in print. Label their belongings, use name cards, and frequently point to their name.
Step 2: Use Tracing Worksheets
Use simple letter-tracing sheets with light outlines to help guide their hand. Keep it fun and low pressure.
Step 3: Gradual Shift to Freehand Writing
Is your child ready to start writing their name, but you’re not sure how to help? Try writing with highlighters so they can trace your example.
Step 4: Reinforce Daily With Creative Practice
Add name writing to your daily routine. Use chalk on the sidewalk, draw letters in the air, or spell names with magnets.
5 Fun Name Writing Activities for Kids

Chalkboards and Whiteboards
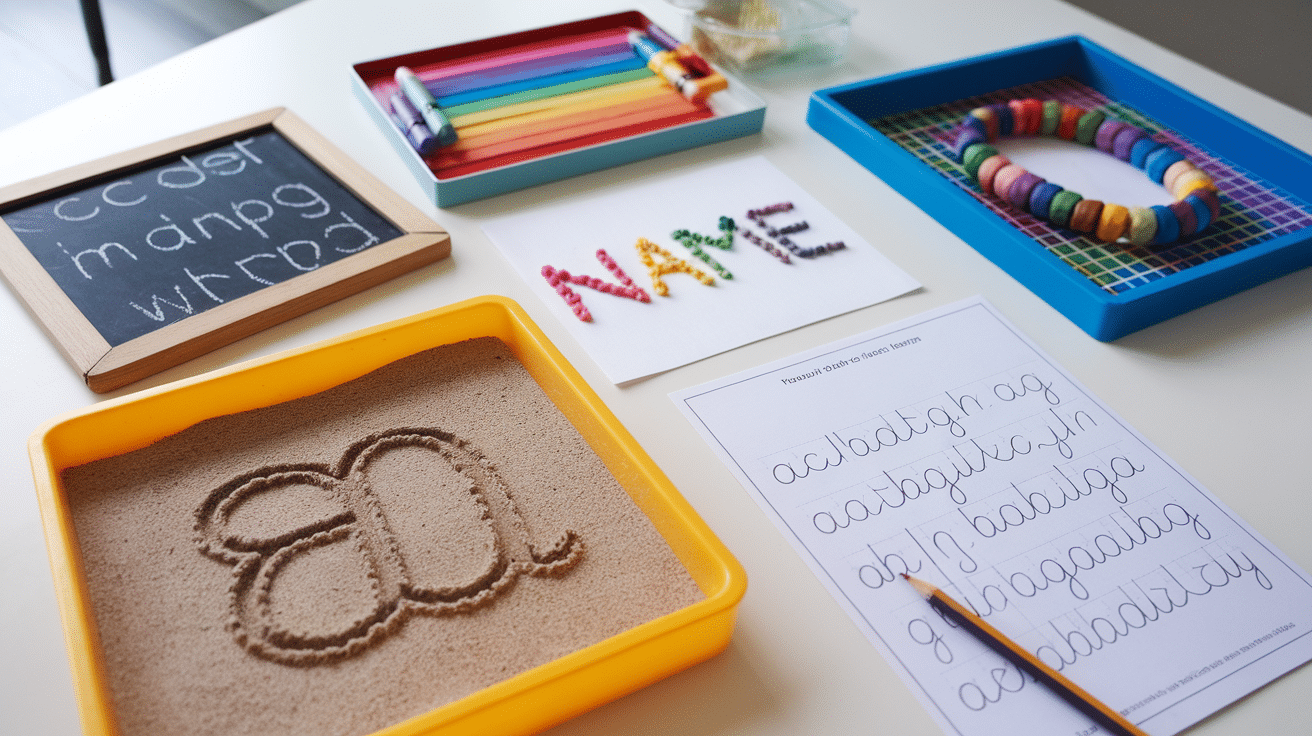
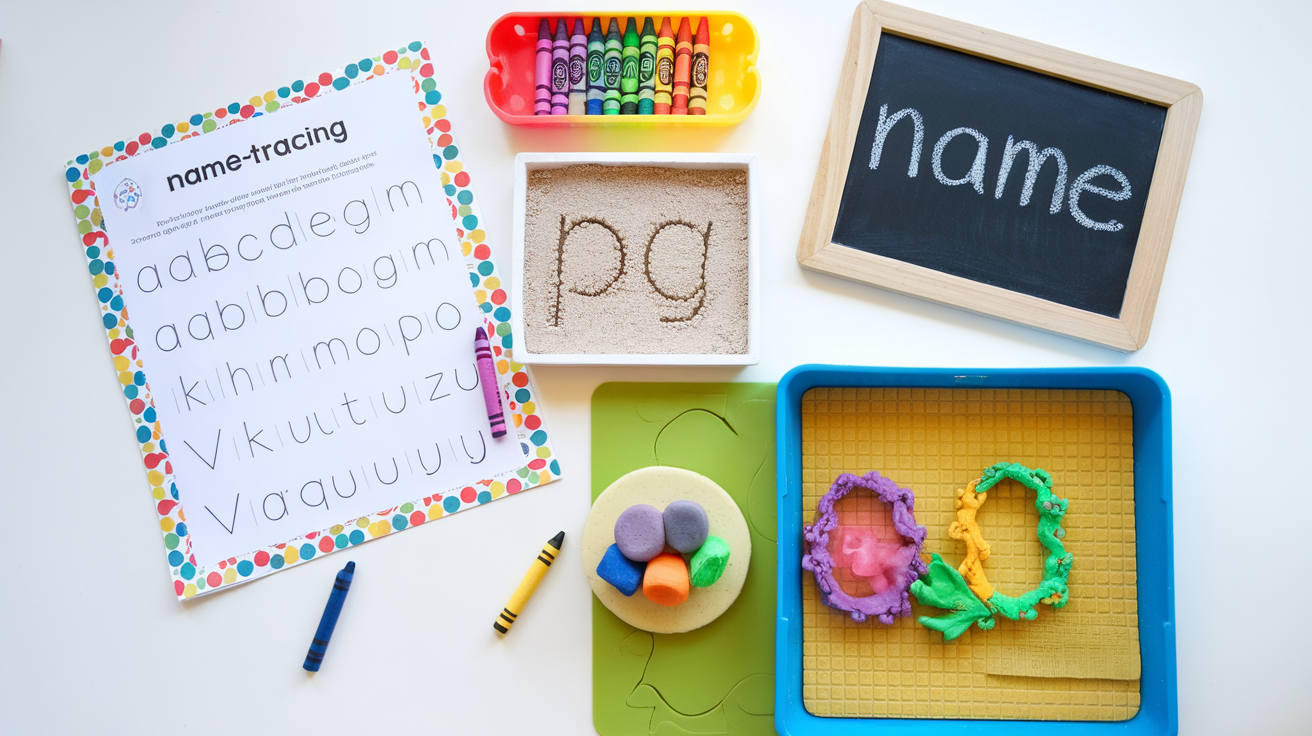
Kids can write, erase, and try again without pressure. These surfaces make writing feel like play while building hand strength and control. It’s perfect for repeated name practice in a fun, low-stress way.
Rainbow Writing
Let your child trace their name using multiple crayon colors, one on top of the other. It’s fun, colorful, and helps build memory through repetition. This activity keeps kids engaged and builds strong letter-shaping habits.
Playdough Letter Mats
Print mats with big letters and let kids roll playdough to form each one. This hands-on method improves fine motor skills and letter recognition while keeping writing practice playful and active.
Finger Tracing in Sand
Pour sand in a tray and let kids trace letters with their fingers. This calming sensory activity helps build focus and reinforces letter shapes through touch and movement, promoting memory retention.
Cursive Tracing (For Advanced Learners)
Once your child is confident with print, introduce basic cursive. Use dotted-line tracing pages and guide their hand slowly. Cursive helps build smooth flow and strengthens writing muscles with a fun challenge.
Cursive vs Print: Which Should You Teach First?

Pros and Cons of Print vs. Cursive
Print letters are more manageable for beginners because they’re simpler to form and easier to recognize. Cursive, on the other hand, helps with writing speed and smooth hand movement.
Some kids find cursive harder at first, so start with whichever style your child feels most comfortable trying.
When to Introduce Cursive
Most children start with print writing in preschool or kindergarten. Cursive is usually introduced in first or second grade, but some schools begin earlier.
Wait until your child has developed strong control over a pencil and feels comfortable with basic letter shapes. Rushing can cause frustration and slow their progress.
Blending Styles Over Time
It’s common for kids to mix print and cursive as they grow. That’s okay! The goal is to help them feel confident about writing, regardless of the style.
As their hand control and confidence improve, they’ll naturally settle into a more consistent way of writing that works best for them.
Common Challenges (and What to Do About Them)
Letter Reversals
It’s common for young kids to mix up letters like b and d, or p and q. These letters look alike, so it can be confusing at first.
To help, use visual aids like charts that show where each letter starts. You can also use tracing pages with arrows that guide their hand in the right direction. Practice slowly and repeat often; it helps.
Grip Issues
If your child holds their pencil unusually, such as gripping it too tightly or using the wrong fingers, they may need a little help. Try giving them chunky crayons, short pencils, or soft pencil grips.
These tools help guide their fingers into the right spots and make writing more comfortable. Holding a pencil correctly takes time and practice.
Lack of Interest or Focus
If writing practice feels boring or hard, kids may zone out or stop trying. Keep each session short, just 5 to 10 minutes. Let them choose a fun marker, gel pen, or colored pencil to keep it exciting.
You can also try writing on fun surfaces like balloons, mirrors, or dry-erase boards. The goal is to make it feel like play, not work.
Encourage Without Pressure
Celebrate their effort, even if the letters aren’t perfect yet. Say things like, “I love how you tried that,” or “Look how neat that letter is.” Avoid correcting every minor mistake; offer gentle guidance instead.
Celebrate small wins, like writing the first letter of their name. Kids learn best when they feel safe, proud, and supported. Give it time, and progress will come.
Digital Tools and Apps for Name Writing
Canva editable sheets: You can create simple name-writing printables in Canva. It’s fast and free.
Educational apps with tracing features: Try apps like LetterSchool or Writing Wizard, which let kids trace letters on a screen.
Parent-friendly design tools: Use tools that let you type a name, pick a font, and print your own tracing sheets at home.
Conclusion
Helping your child with name writing doesn’t have to feel overwhelming. Now you’ve got simple steps, fun activities, and free tools to make the process easier and more enjoyable.
You can start today with just a worksheet, a crayon, or even a tray of sand. The key is to keep it relaxed, make it part of your daily routine, and celebrate progress.
Remember, every child moves at their own pace; what matters most is consistency and encouragement. If this helped you feel more prepared, there’s plenty more to learn.
Looking for more playful learning ideas and helpful tips for early skills? Check out the rest of my blogs and keep the support going. Let’s keep making learning fun and stress-free.
Frequently Asked Questions
Should I use a dotted font or blank lines?
Start with dotted lines to guide them. Once they get the hang of it, switch to blank lines.
How often should we practice name writing?
Aim for a few minutes a day. Keep it short, fun, and part of your daily routine.
What if my child has a long or unusual name?
Break the name into chunks. You can also use a nickname to start, then build up to the full name.


