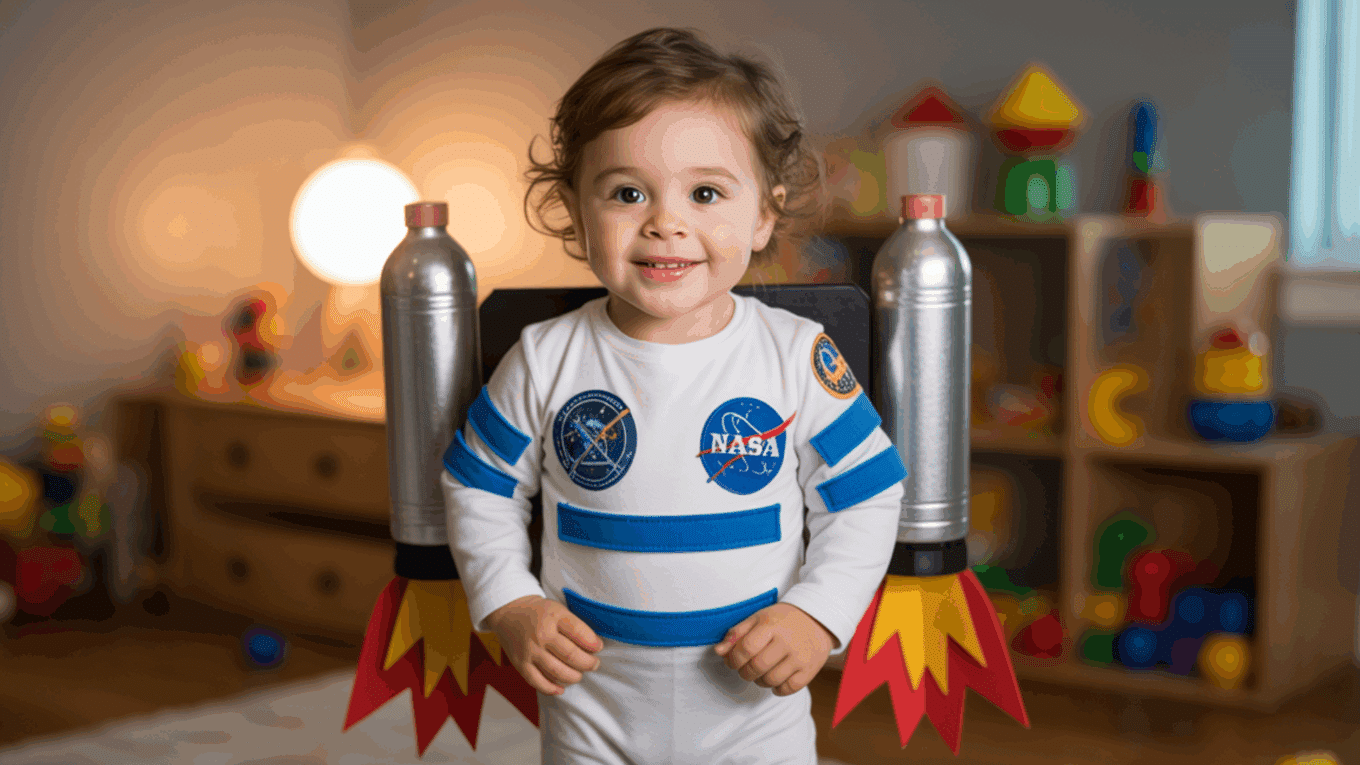
Parents know the stress of last-minute costume needs when their child suddenly wants to be an astronaut. Store-bought options can empty wallets fast, and most fall apart before the night ends.
However, a homemade DIY astronaut costume can look better than anything from a shop.
This costume uses basic items from around the house; no special skills are needed. Kids love the chance to help create their own space suits, and they learn while they craft.
This blog shows how to make a cool astronaut costume that won’t break the bank.
The steps are clear, the materials are simple, and the result will make any child feel ready for a moon walk.
Materials Required for a DIY Astronaut Costume
| Category | Items |
|---|---|
| Clothing Base | White shirt and pants/leggings |
| Fabric & Detail | Felt (black, pink, red, yellow), Black felt (for belt and straps) |
| Adhesives | Hot glue gun or fabric glue, Wood glue (optional), Bowl (for glue) |
| Decoration | NASA or space-themed patches, Aluminum tape (optional) |
| Jetpack Supplies | 2 large empty water bottles, Spray paint (silver/white), Paintbrush (optional) |
| Helmet Materials | Thick paper or cardboard, Balloon (optional), Sandpaper, Razor blade, Masking tape |
| Cutting Tools | Scissors, Razor blade (for helmet) |
| Safety Gear | Gloves (if painting) |
Step-by-Step Instructions to Make a DIY Astronaut Costume
With all your materials ready, it’s time to start building your space suit.
This process is simple enough for anyone to follow, even if you’ve never made a costume before. Just take it one step at a time, and soon your child will be ready for lift-off.
1. Prepare the Astronaut Suit Base
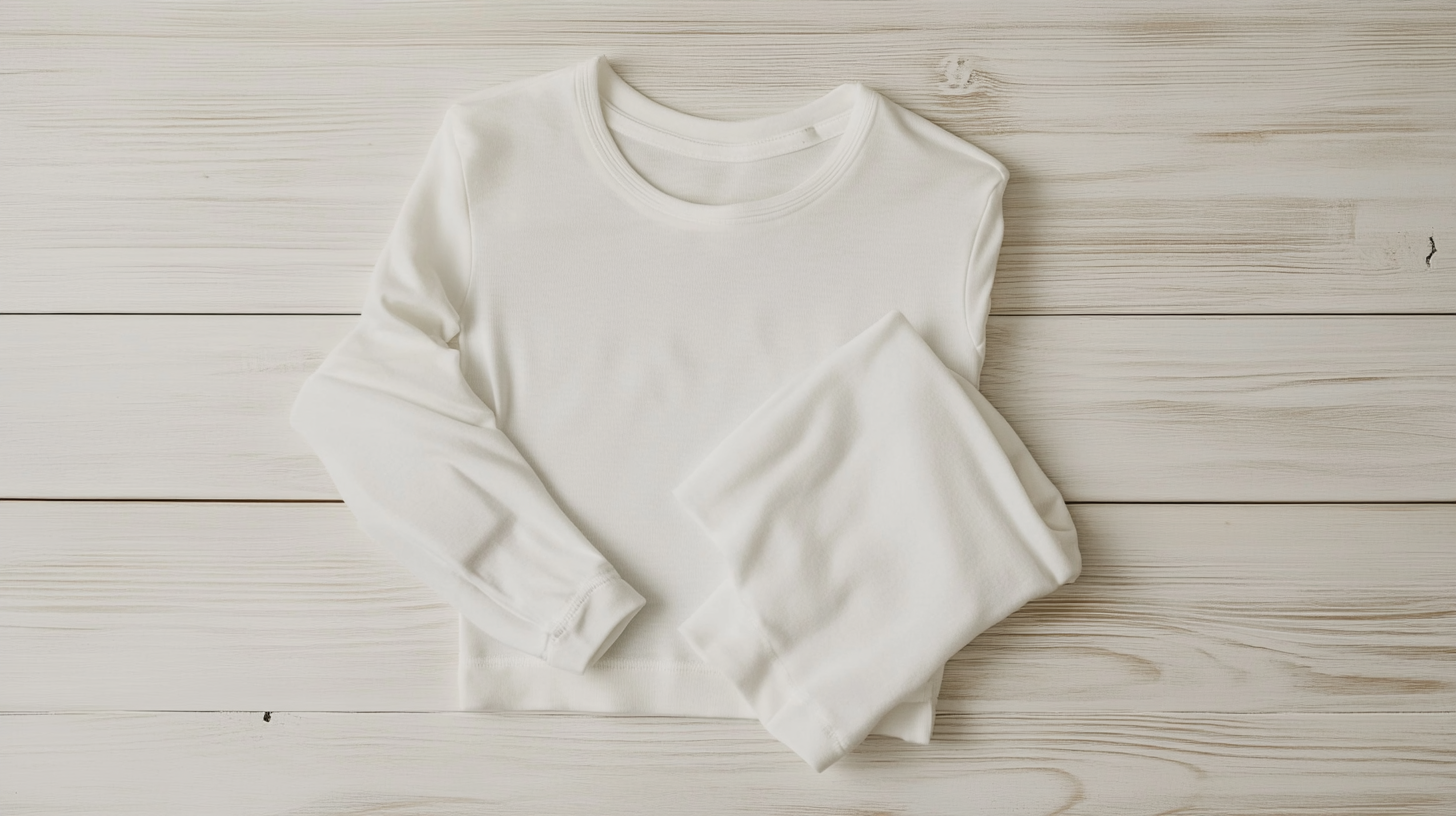
Start with a plain white long-sleeve shirt and matching pants. These will be the main part of your space suit.
If the clothes are too big, you can fold up the sleeves and pant legs or use safety pins to make them fit better. White sweatpants work great, too, if you have them.
2. Add Stripes and Cuffs
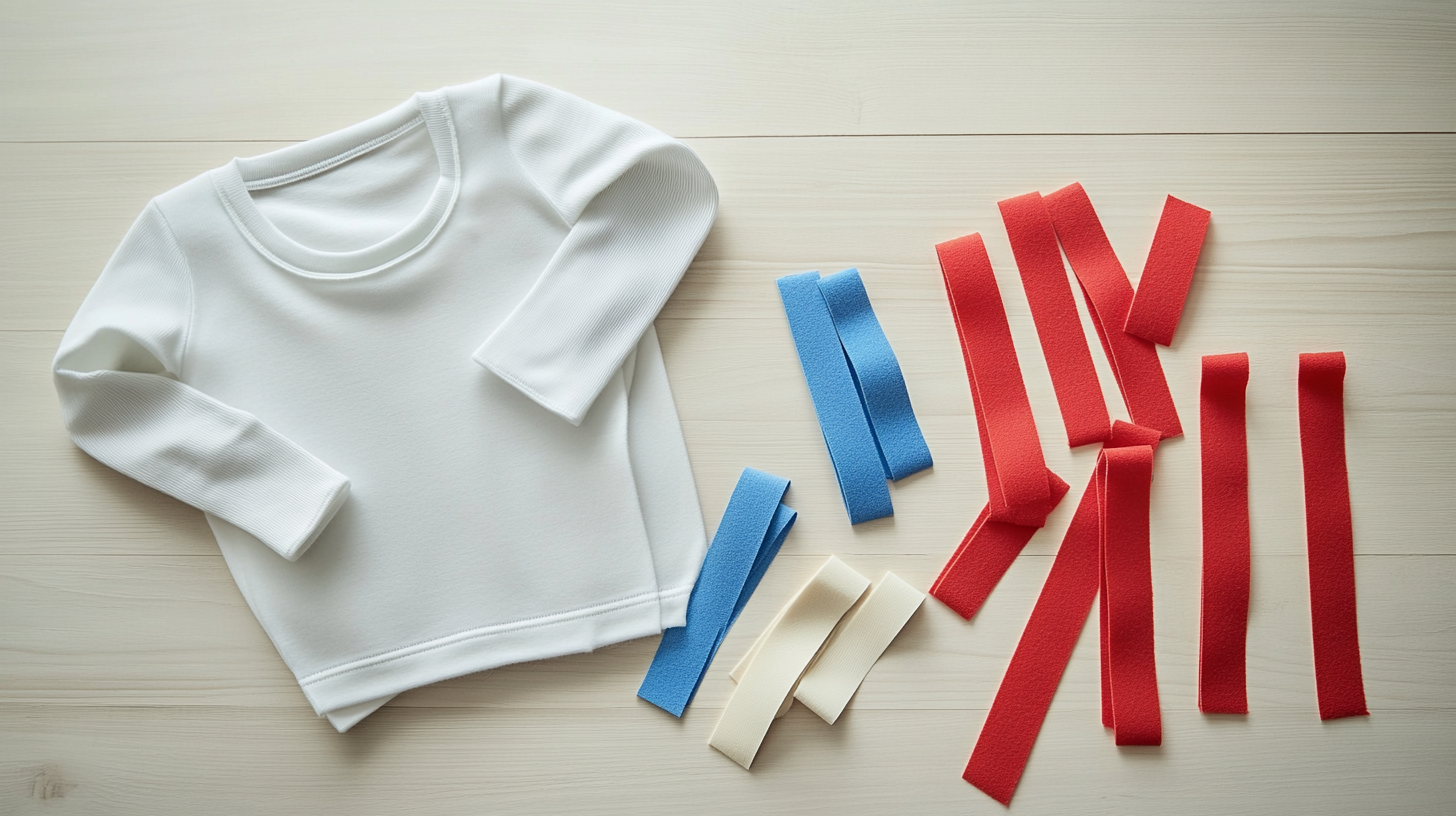
Cut two long strips and four short strips from colored felt. Glue the long strips vertically down the front of the shirt, and attach the short strips around the cuffs of the shirt and pants. This detail adds an original touch, mimicking the real suit’s seams and fasteners.
3. Create a Belt and Add Patches
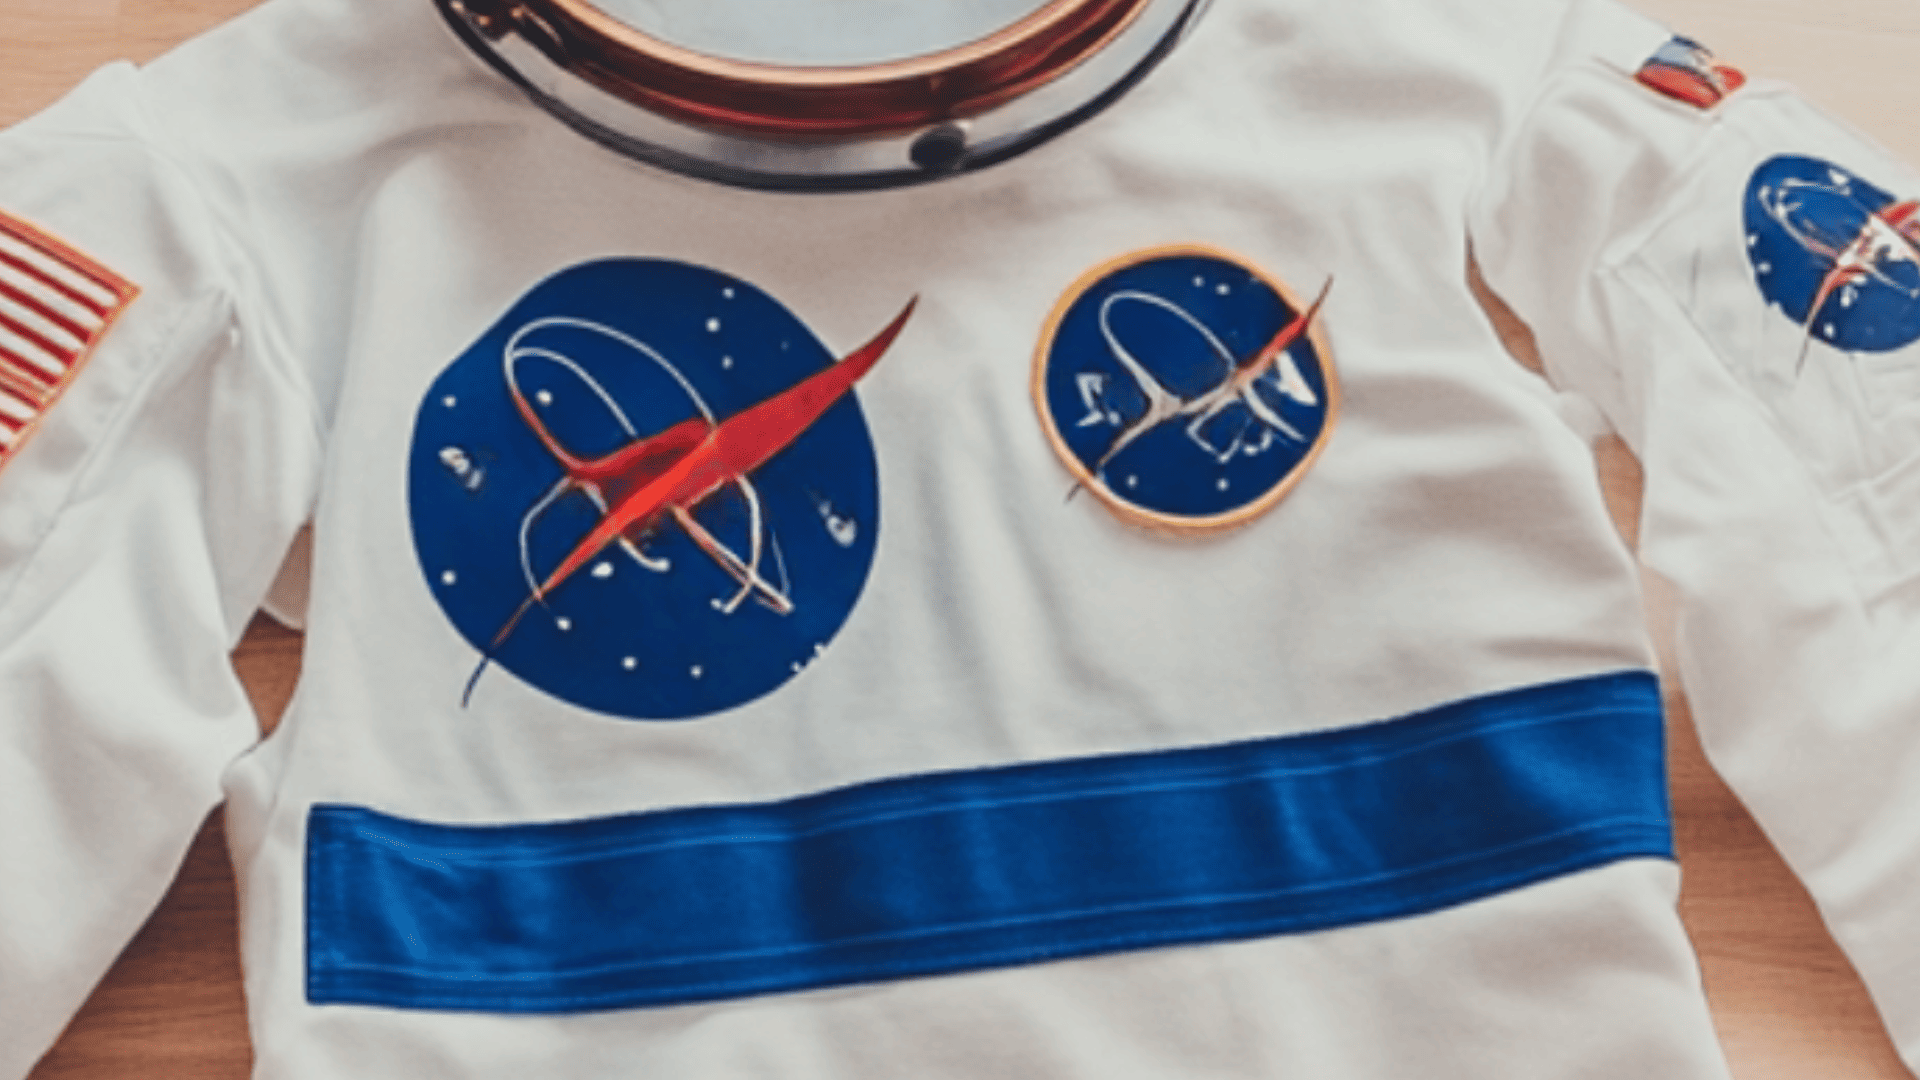
Cut a wide strip of black felt to form a belt around the bottom of the shirt. Secure it with fabric glue, overlapping ends at the back.
Next, glue space-themed patches on the sleeves, chest, and belt. If you do not have patches, you can also print images and glue them on for a budget-friendly option.
4. Make the Jetpack
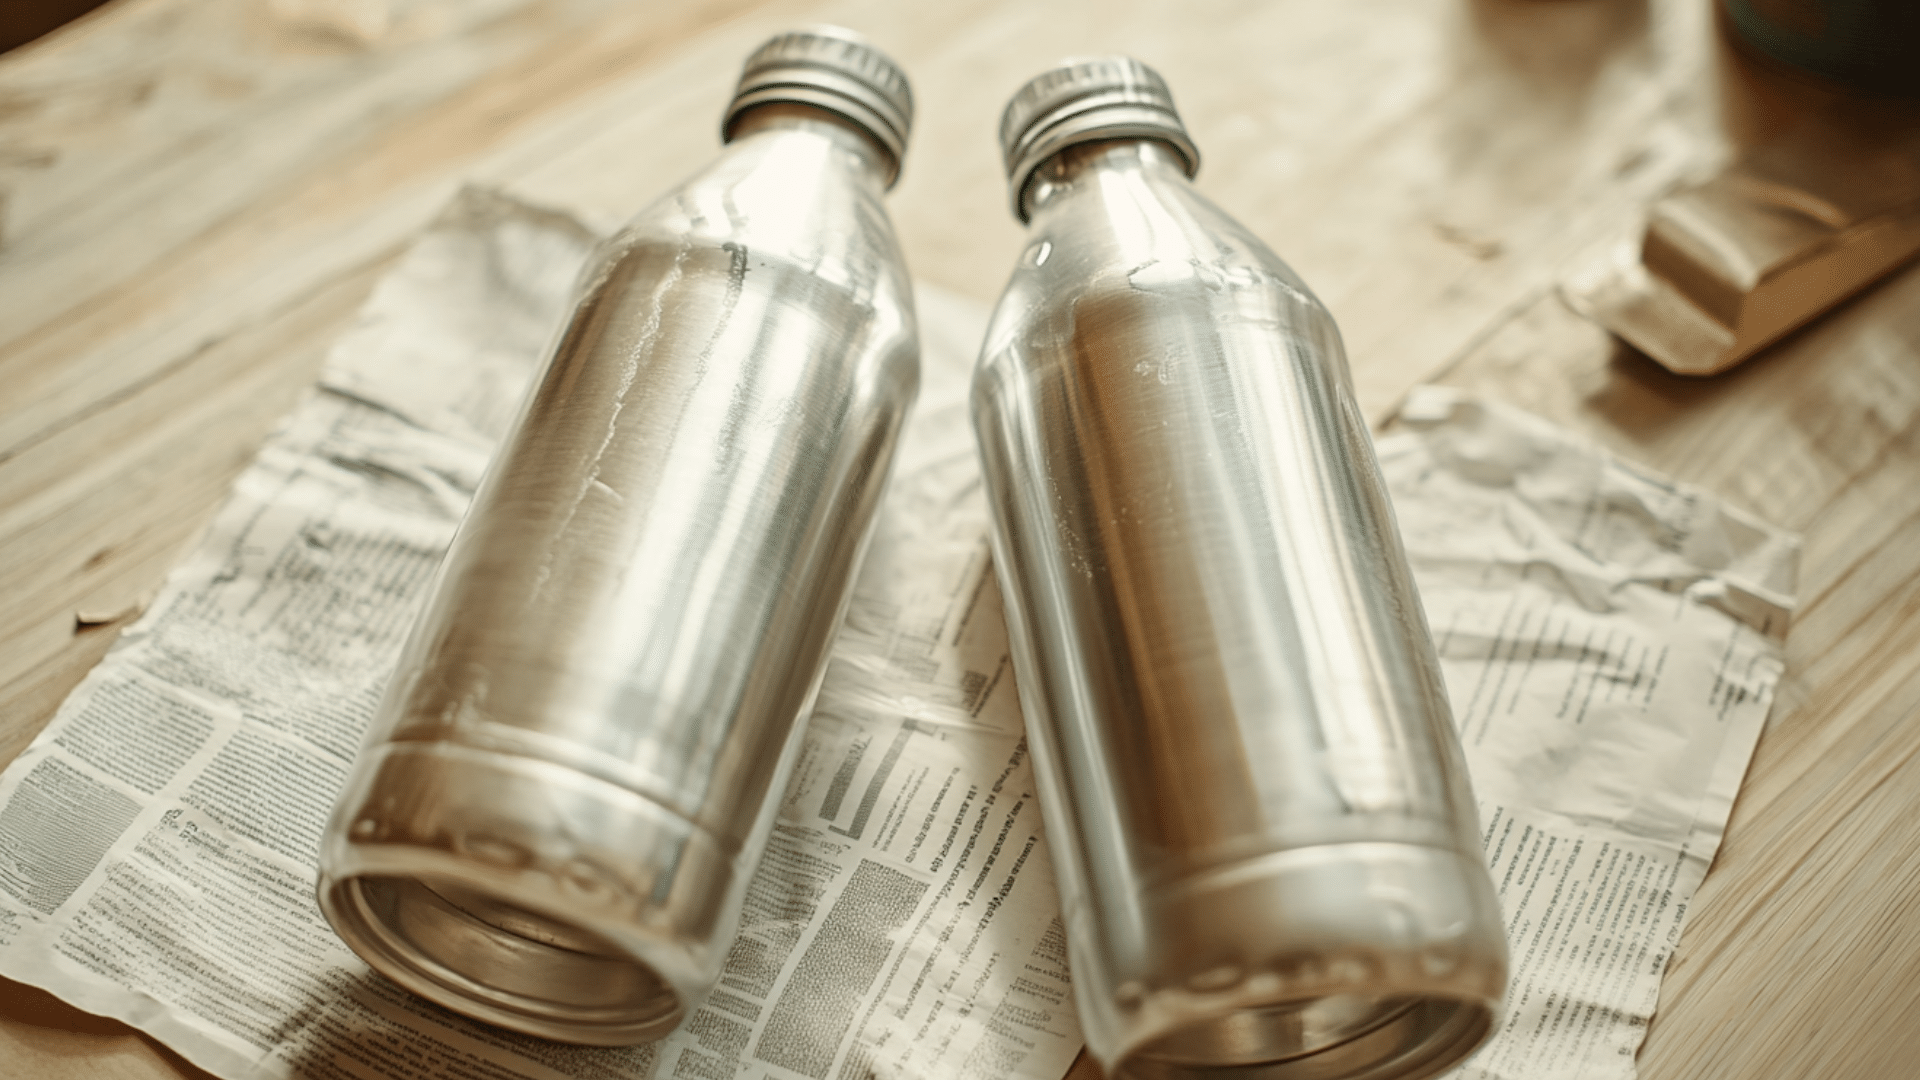
Take two empty water bottles and spray paint them silver or white. Let them dry completely. These will become your astronaut’s jetpack, an exciting accessory that creates innovative play.
5. Add Rocket Flames
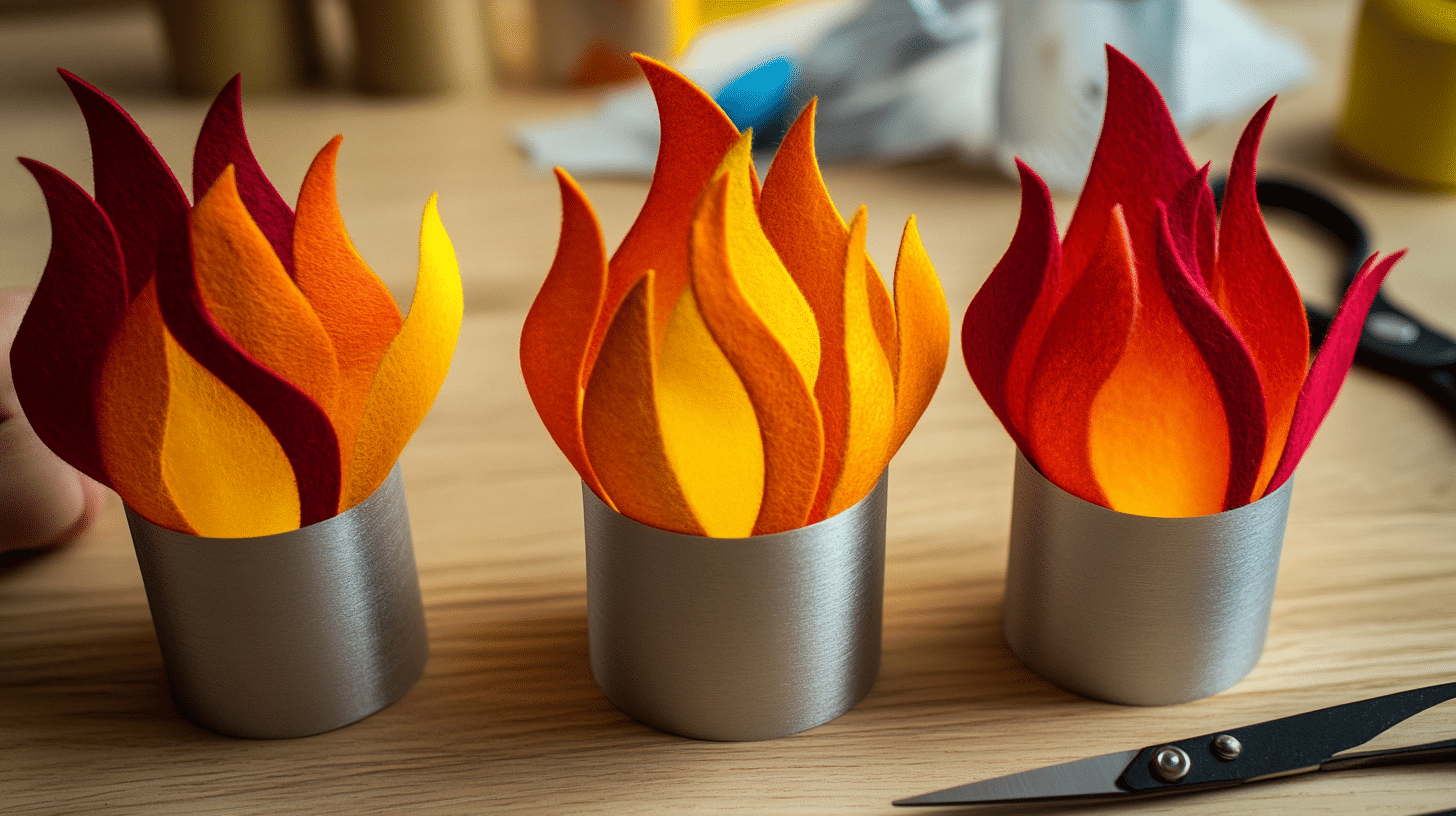
Cut flame shapes from red and yellow felt. Make the yellow flames smaller to layer inside the red. Glue the yellow piece on top of the red for a fiery effect. Attach these to the inside of each bottle’s opening, so they peek out like rocket boosters.
6. Attach Jetpack Straps
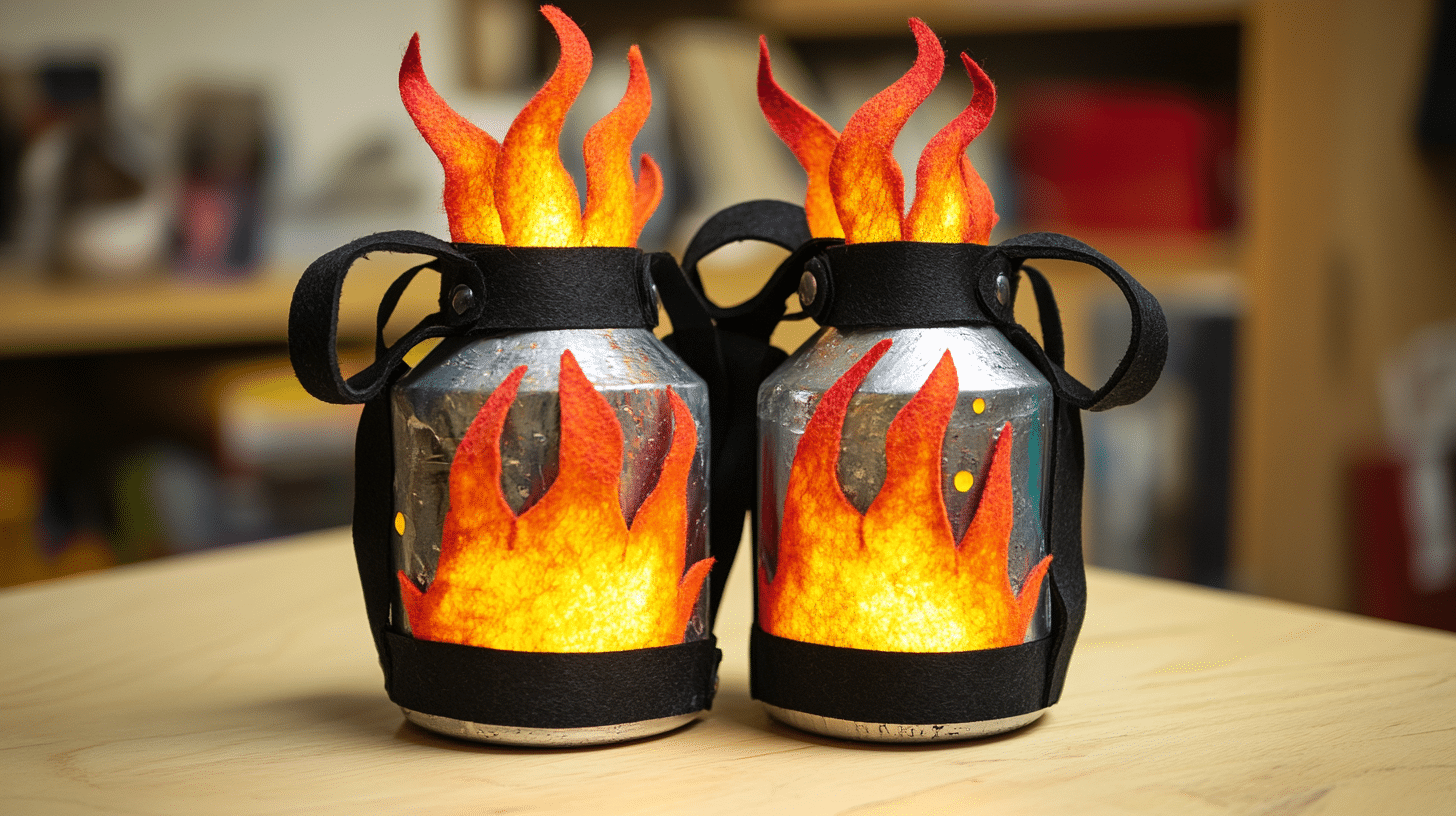
Cut two strips of black felt long enough to fit comfortably over your child’s shoulders like backpack straps. Glue or tape them securely to the bottles, spacing them so the jetpack sits snugly on your astronaut’s back.
7. Craft a Space Helmet
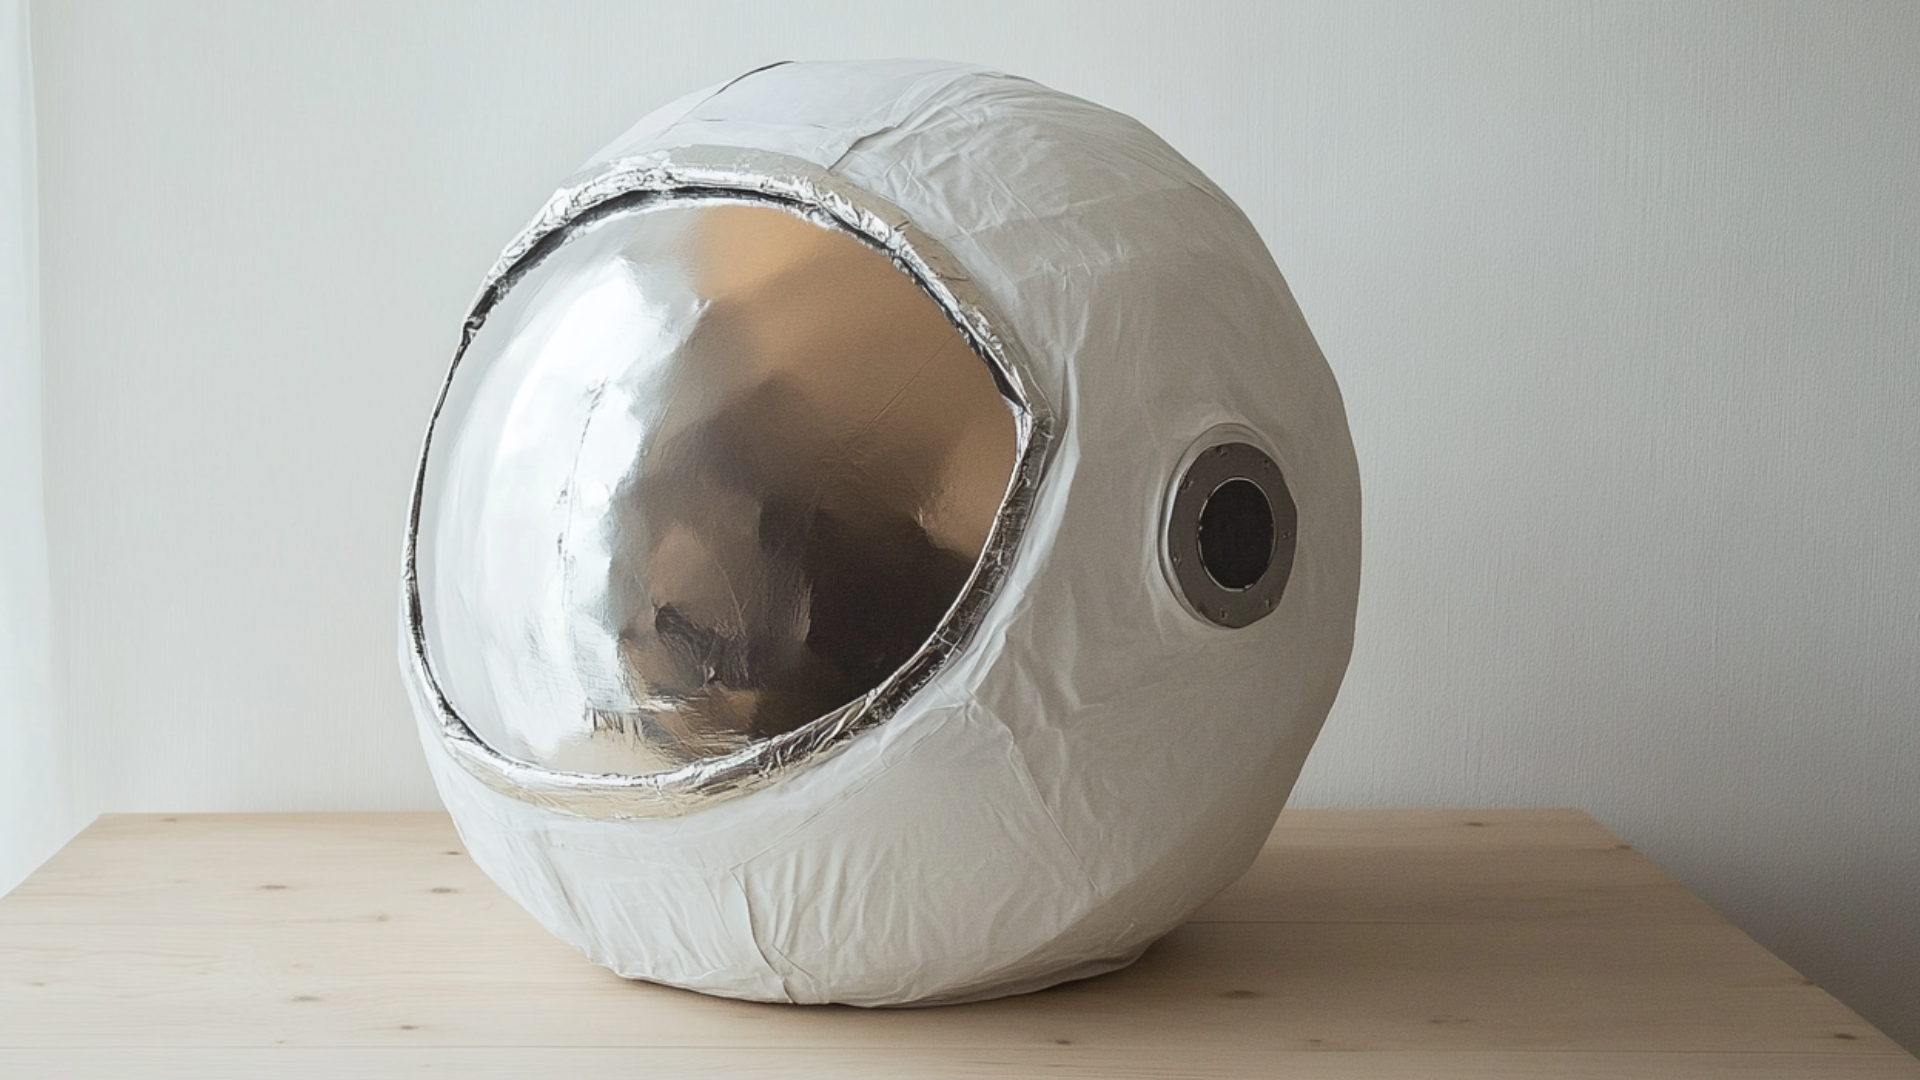
For a classic astronaut helmet, paper mache a balloon using glue and strips of newspaper. Once dry, pop the balloon and cut a face opening.
Paint the outside white and the inside silver. Reinforce the edges with masking tape or wire for comfort and durability.
8. Finishing Touches
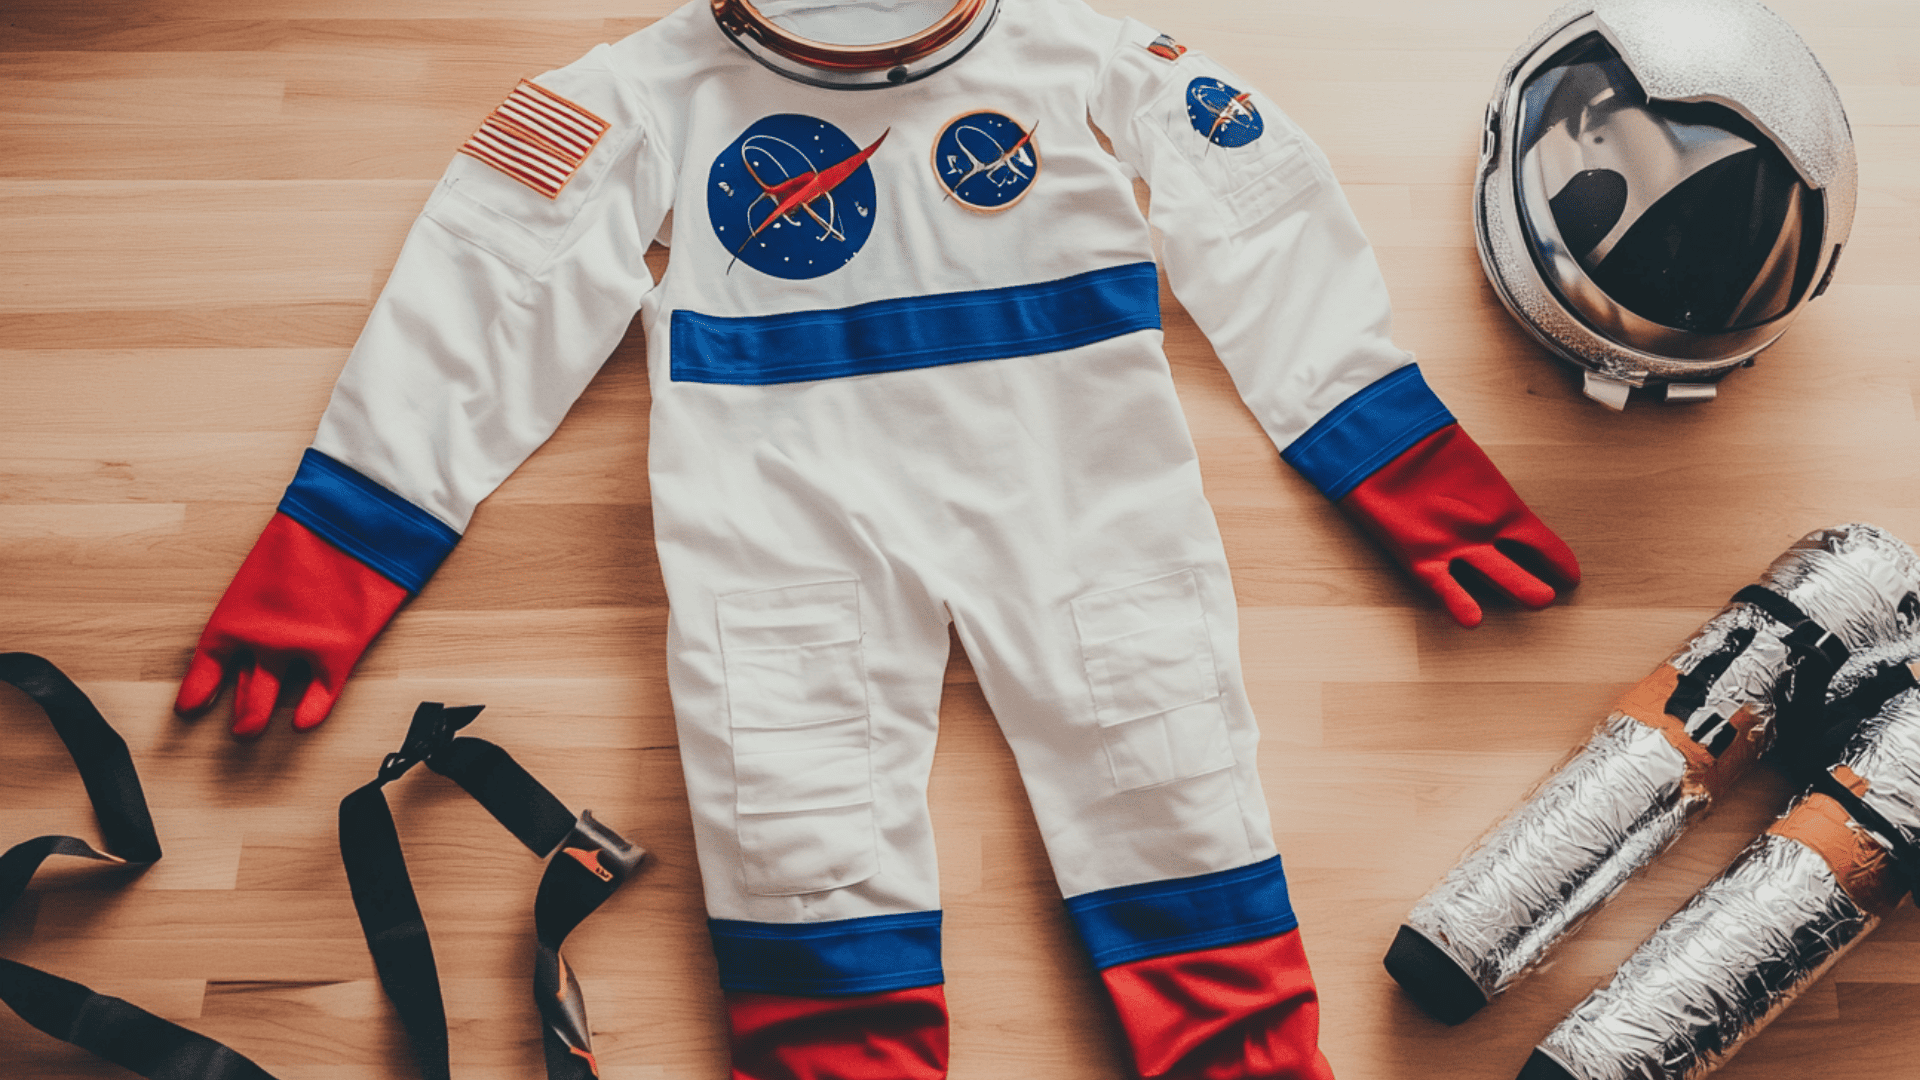
Add shiny tape to the edges of the suit. Wrap some around the wrists and neck area. Use winter boots as moon boots. Add gloves if you have them. Now your child is ready for their space mission right from your living room!
Comfort Considerations for Kids in The Costume
When making a DIY astronaut costume, safety and comfort must come first. Kids need to feel good in their space gear throughout their mission.
With these safety steps, your little astronaut can focus on their space mission without any Earth-bound problems:
- Choose light, breathable fabrics for the main suit parts. Cotton t-shirts work well as a base, letting skin breathe during active play.
- Stay away from small parts that might come loose. Buttons, beads, or tiny decorations can pose choking risks for young space travelers.
- Check that your child can move freely in the costume. A too-tight suit or bulky parts can limit fun and create trip hazards.
- Any helmet design should allow clear vision and good air flow. Cut view holes big enough, and add breathing holes if using closed containers.
- Use kid-friendly fasteners like Velcro or snaps to secure costume pieces. These make bathroom breaks easier, too!
- Do not use hot glue directly on fabric that touches skin. Instead, sew items on or use school glue for paper decorations.
Tips for Making a DIY Astronaut Costume Look Perfect
A homemade astronaut costume can look just as good as store-bought with a few smart touches. These tips will help your child’s space suit look like it came straight from mission control.
- You can find real NASA logos online from official sites if you want. Print these on paper or iron-on transfers and add them to the costume.
- Create that space-age shine with everyday items. Aluminum foil, silver duct tape, or reflective tape can mimic the metallic parts of a real space suit. Wrap these around arms, legs, or the chest area.
- Match the costume to your child’s age. Toddlers need soft, simple outfits with minimal parts. Older kids will enjoy more pockets, gauges, and working parts like a pretend oxygen tank.
- Let kids help make their gear. This turns costume-making into a fun science lesson. They can design mission patches or decide what tools to include on their space belt.
- Add final touches with glow sticks or lights. These make the costume stand out at night and create that futuristic space feel kids love.
The Final Touch
Making an astronaut costume at home brings fun, savings, and a personal touch no store can match. With items you already own, your child gets to be part of the creation process while learning about space.
The best part of DIY costumes is that you can change them to fit your child’s ideas. Add extra gadgets, change colors, or make up mission patches; the choices are yours!
Take lots of photos of your little space explorer. These pictures will mean more later because you made the costume together.

