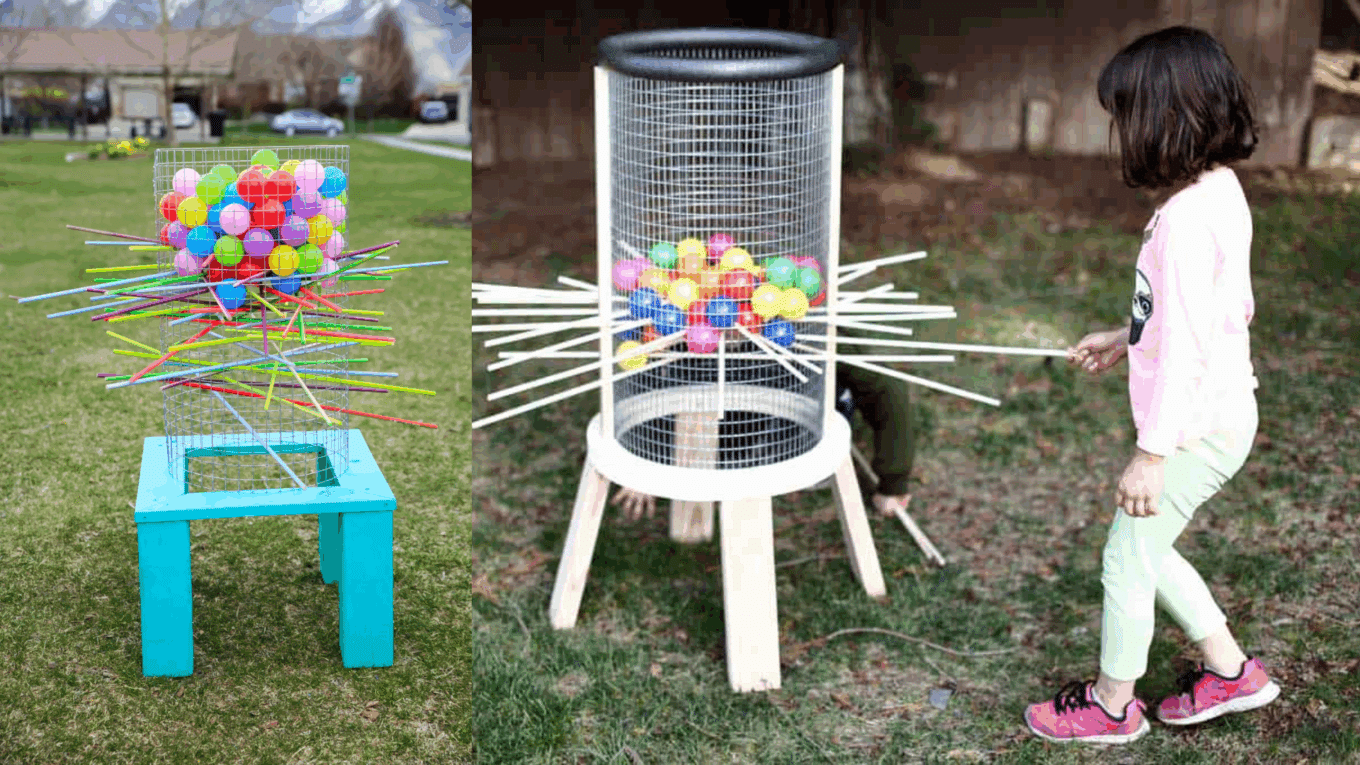
Ever wanted to play a game that makes everyone laugh and cheer? A DIY giant Kerplunk game might be just what you need!
This big version of the classic game is perfect for parties, family get-togethers, or school events. In this guide, we’ll show you how to make your giant Kerplunk using simple items from home or the store.
You’ll learn what materials to get, how to put them together, and ways to make the game your own. By the end, you’ll know how to build a fun game that both kids and adults will love to play again and again.
The best part? Making it costs much less than buying one, and you can change it however you want!
Why Build a Giant DIY Kerplunk Game?
Making your own big Kerplunk game saves money compared to buying one from a store. The large size makes it more fun to play outside with friends and family.
You can change it to fit what you like by using your own colors and materials. It’s a good project that almost anyone can make at home with basic tools.
The finished game is big enough for many people to see and play at once, making it great for parties or school events.
Kids and adults alike will have a great time with this hands-on activity that brings classic fun to life in a bigger way.
How to DIY Giant Kerplunk
Making a big version of the classic Kerplunk game is a fun project anyone can do at home. This jumbo-sized game will bring laughs and excitement to your next party or family game night.
Materials Required
Let’s look at the materials you will need for the Kerplunk game. These items are easy to find and won’t cost too much to put together.
- Large plastic container (e.g., mayonnaise tub)
- Mesh screen
- Wooden dowels or skewers
- Plastic balls (e.g., ball-pit balls or ping-pong balls)
- Electrical cable ties
- Jigsaw or hand saw
- Drill
- Sandpaper
- Scissors or cutting tools
Now, let’s begin with the steps.
1. Cut Openings in the Container
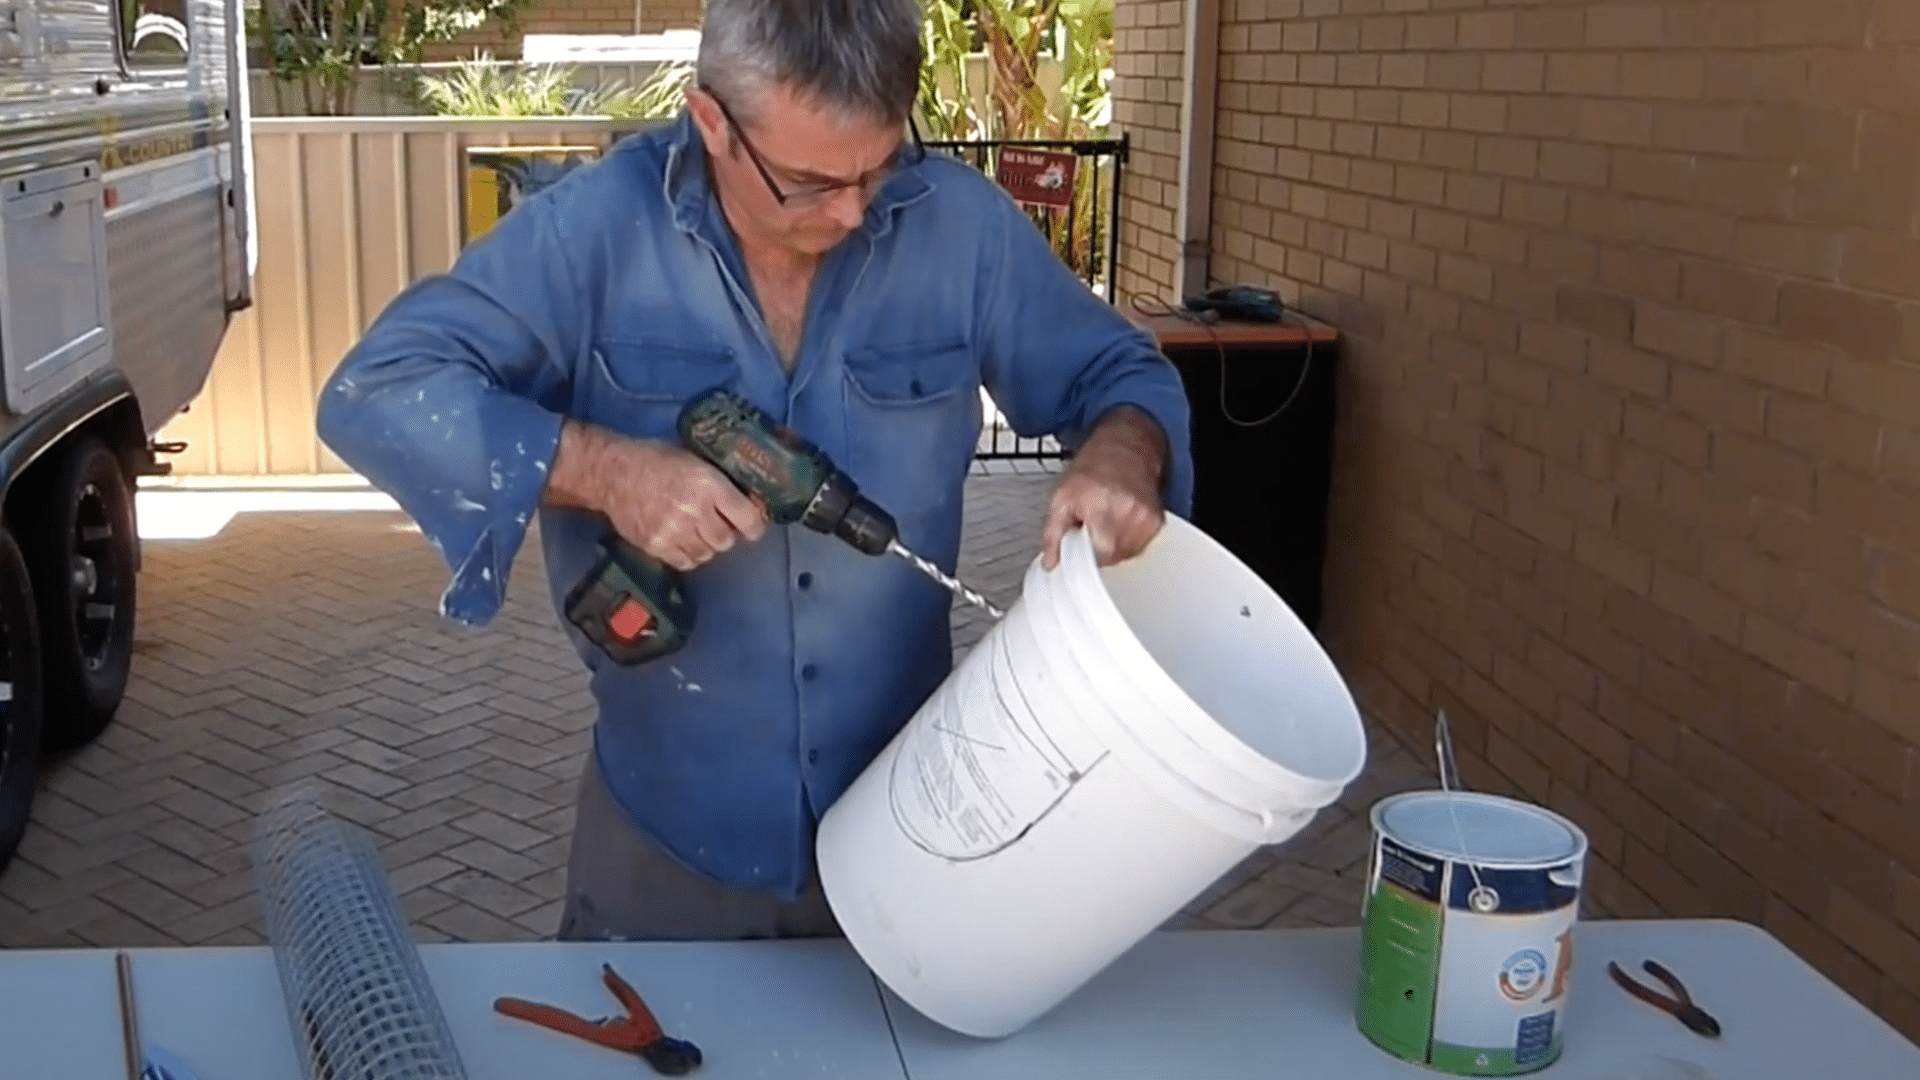
Make a hole at the top of the container where you will put the balls in. Cut an opening on the side so players can grab the balls after they fall down.
Use sandpaper to smooth all edges to keep everyone safe, especially kids. Check for any rough spots that might hurt fingers. The top opening should be wide enough for easy ball loading.
You might need to test a few times to get the right size for both openings. Make sure the container keeps its strength after cutting these holes.
2. Attach the Mesh
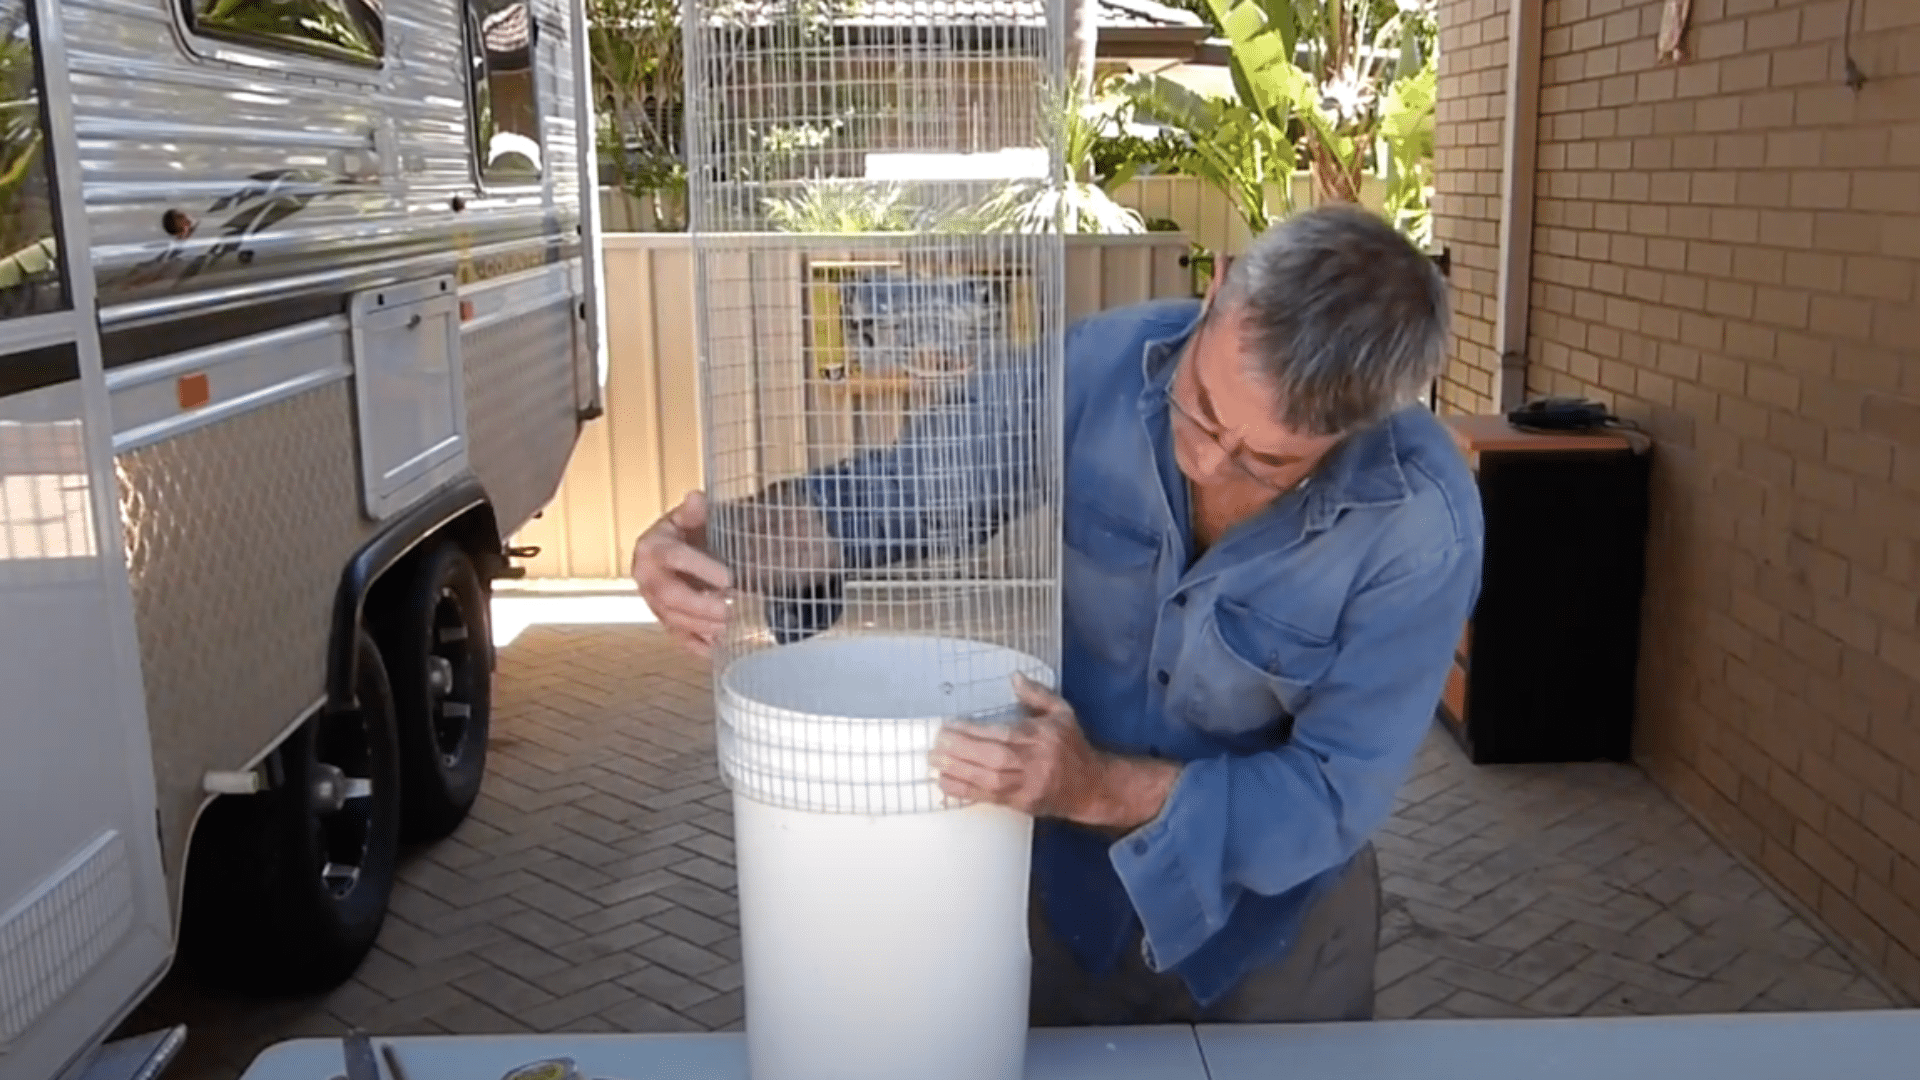
Get some mesh and cut it to fit inside the middle of your container. Bend the mesh to form a curve inside the container. Use plastic ties to hold the mesh in place.
Make sure the mesh is strong enough to hold the balls. Check that it sits at the right height above the side opening. The mesh needs to catch the balls when they fall through the dowels.
Try to use mesh with small enough holes that balls cannot slip through, but big enough that players can see through it.
3. Create the Dowels Grid
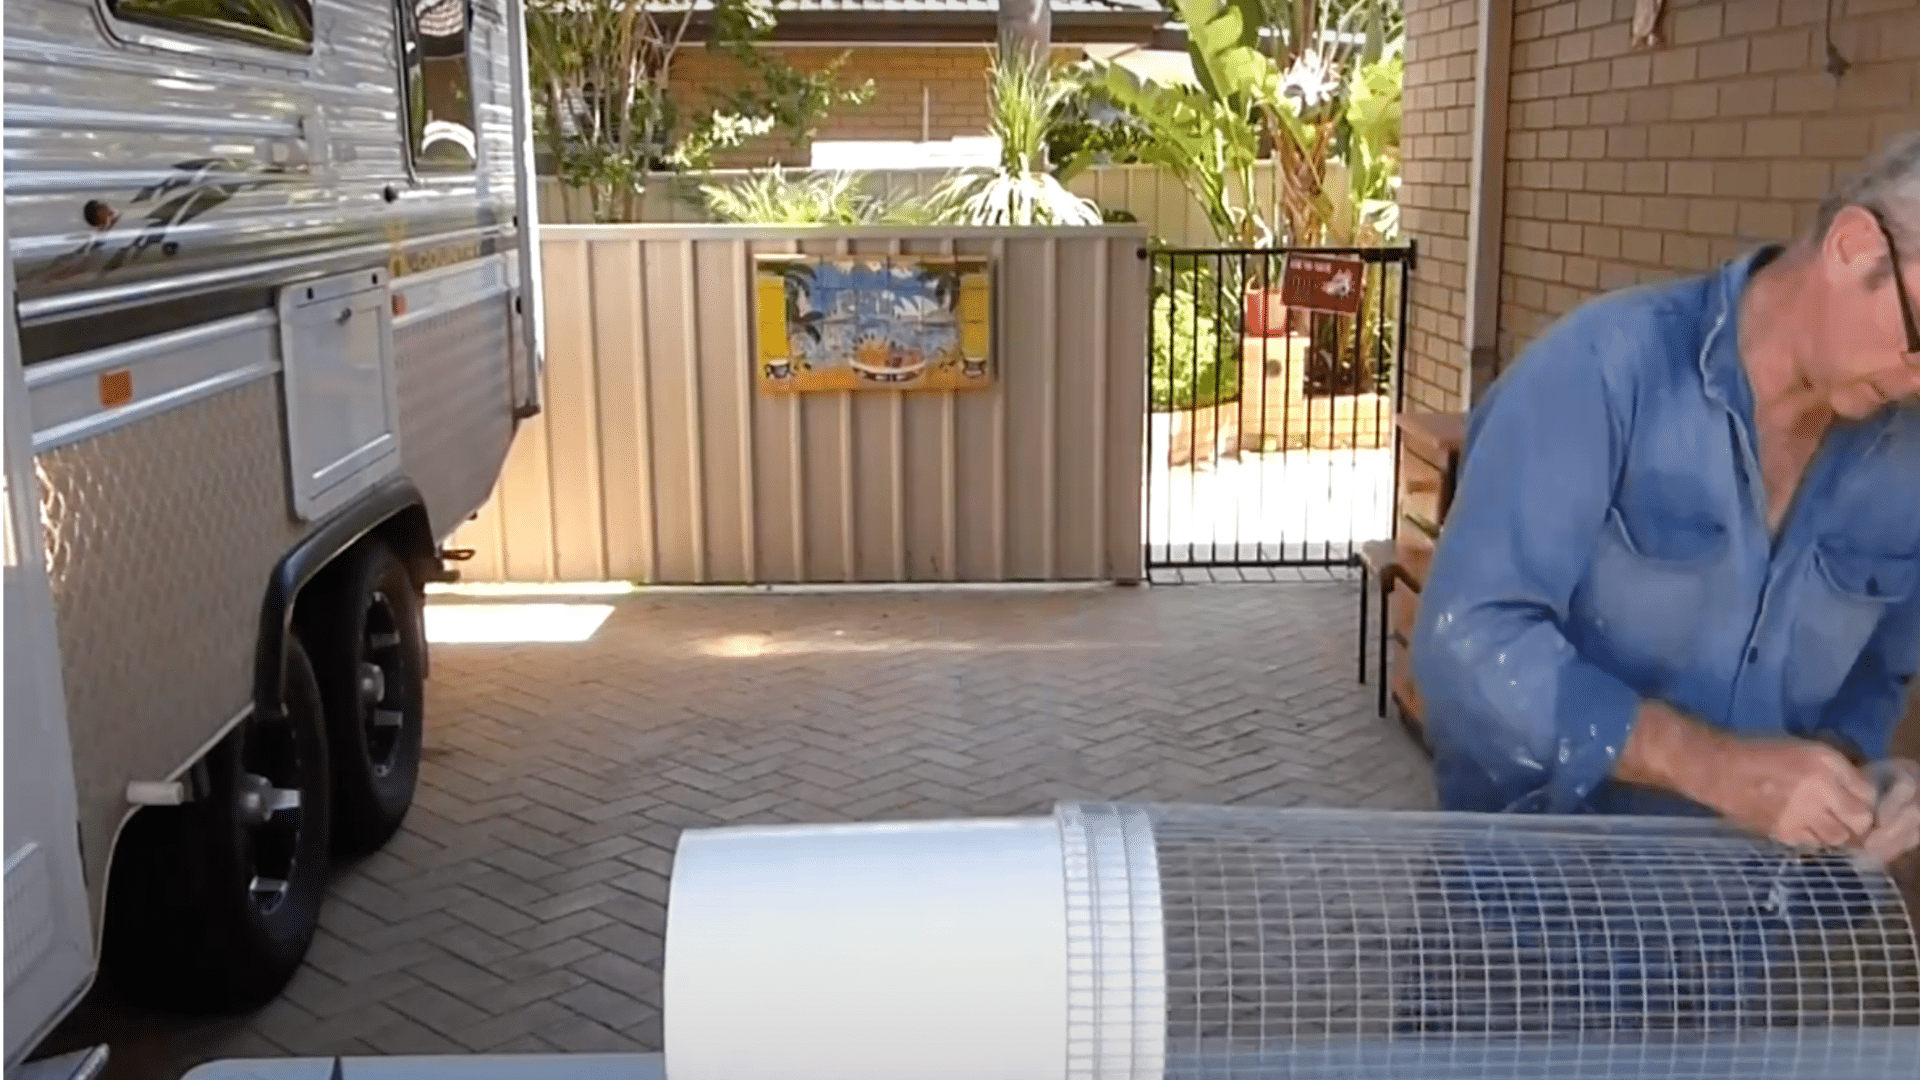
Make holes around the container just above where you put the mesh. Space the holes evenly so the dowels will cross each other.
Push wooden dowels through these holes to make a grid pattern. Do not glue the dowels as they must come out when players pull them.
Test that the dowels fit snugly but can still be pulled out. The grid should be tight enough to hold the balls but loose enough that the game is not too hard to play.
4. Fill with Balls
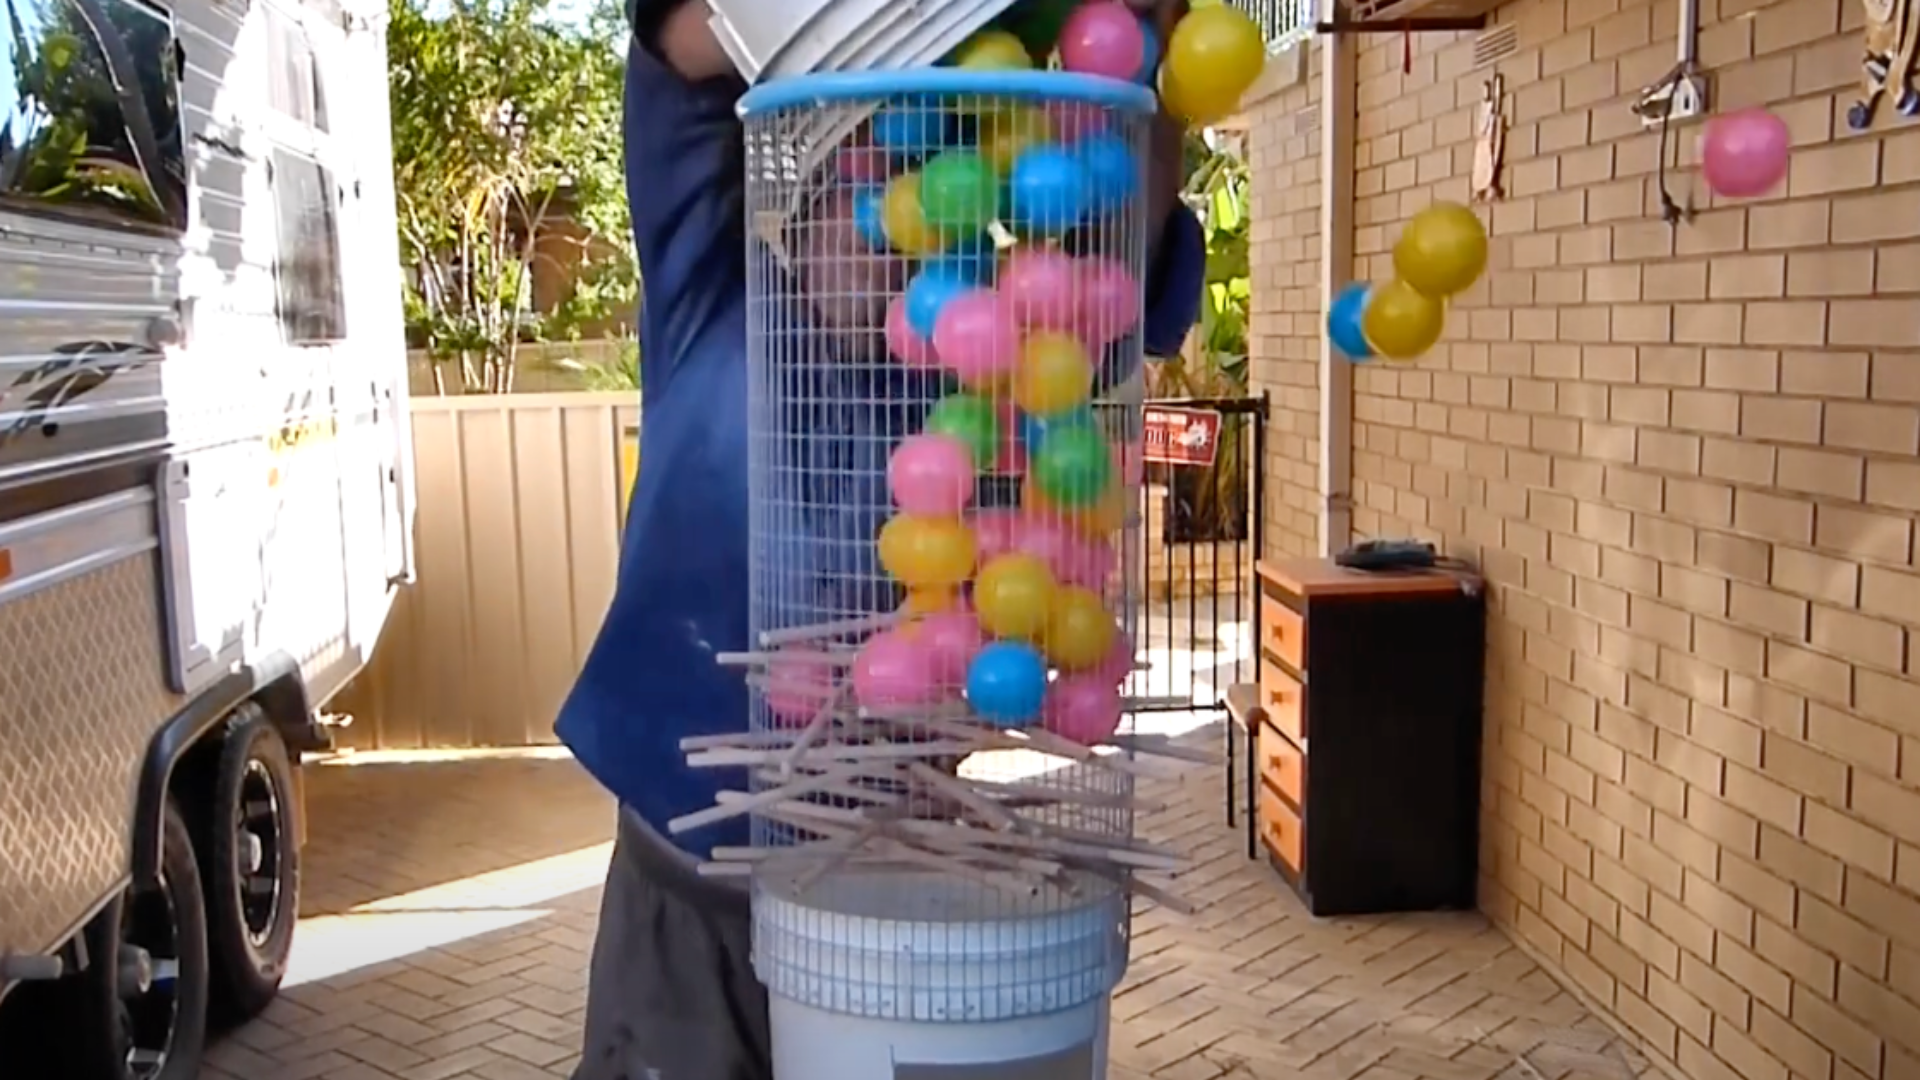
Place plastic balls on top of the dowel grid. Add enough balls so players cannot see which dowels are the key ones. Make sure the balls are light enough to fall easily.
Use balls that are big enough not to slip between the dowels. Check that all balls rest on the dowels, not on each other.
You might want to use balls of different colors to make the game look more fun. The number of balls you use will change how hard the game is.
5. Secure and Test the Game
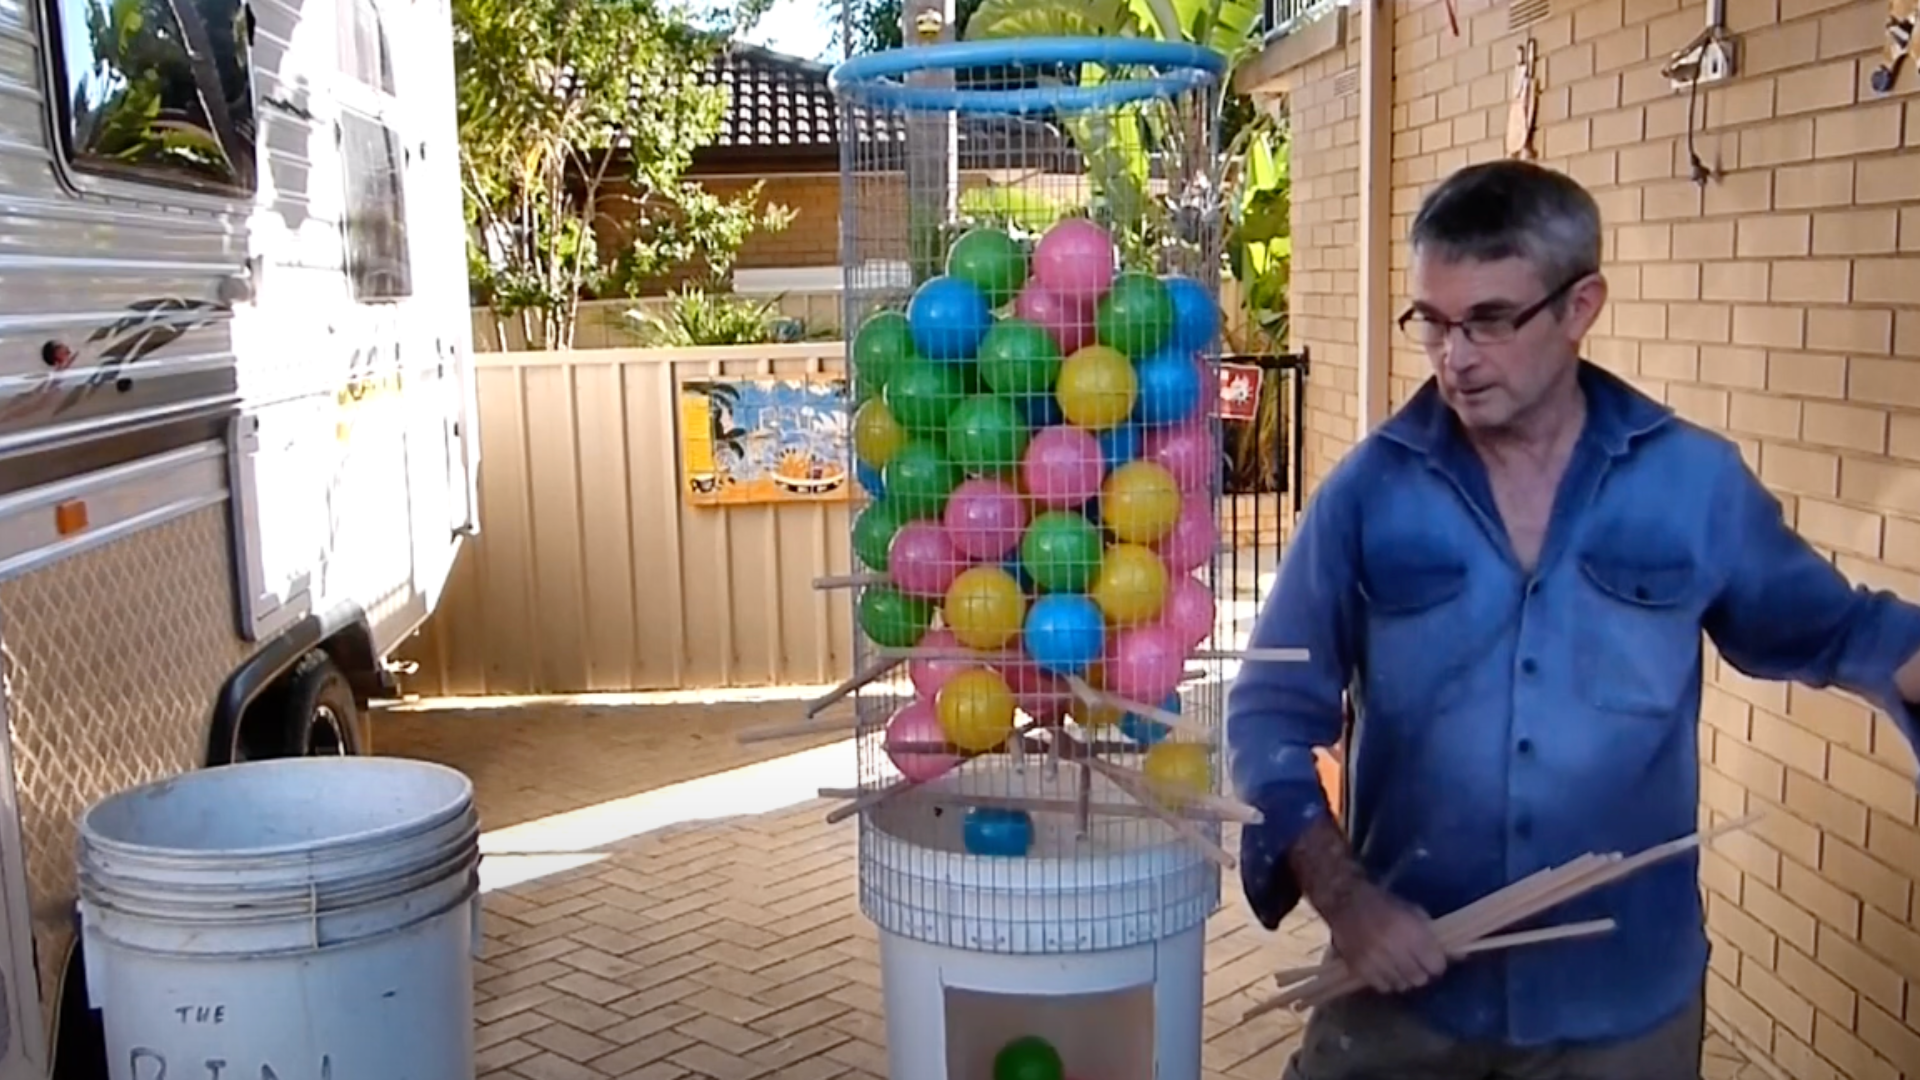
Set the container on a flat surface to check its balance. Pull out a few dowels to see if the balls drop as they should. Fix any spots where balls get stuck.
Make sure the game is solid and won’t tip over during play. Test with different numbers of balls to find the best amount. Ask friends to try it and give tips.
If some dowels are too easy to pull, you might want to place them in new spots or add more balls on top.
For a detailed explanation, watch the YouTube video of Gavin Klark DIY below.
Game Rules and How to Play
The goal is to pull sticks without making balls fall. Each fallen ball counts as one point against you. The player with the lowest score at the end wins.
- Players take turns pulling one stick at a time
- You must use only one hand to pull the sticks
- Count how many balls fall during your turn
- If no balls fall, your score stays the same
- Do not shake or bump the game container
- Keep all pulled sticks in front of you
- The game ends when all balls have fallen
- The player with the fewest points wins
Customizing Your Giant Kerplunk Game
Making your game special is easy and fun. Here are some ways to change your game to fit what you and your friends like. Try these ideas to make your ball drop game more exciting.
Safety First
Keep everyone safe while playing by checking and fixing any parts that could cause cuts or other injuries.
- Sand down rough wood spots on dowels until smooth to the touch
- Cover the cut container edges with tape to remove sharp parts
- Use bigger balls for games with children so they can’t be swallowed
- Choose only non-toxic paint for all decorations
- Test the game before play by pulling dowels to ensure nothing breaks
Themed Games
Make your game match special days by adding colors and designs that fit the event. This makes play more fun and fits with your party.
- Use red and green balls for Christmas or orange and black for Halloween
- Paint the container with shapes like hearts, stars, or sports items
- Add colored tape to the dowels to match your theme colors
- Write funny tasks on the balls for grown-up parties
Educational Twist
Turn game time into learning time without losing the fun. Write math problems on the dowels – players must solve them before pulling.
Put letters on balls and have kids spell words with the ones that fall. Use different colored balls for a color-matching game with young children.
For science class, label dowels with planets or animals for kids to name facts about.
History teachers can write dates on dowels and events on balls to match them up. This makes learning active and exciting.
Wrapping Up
Now you know how to make a DIY giant Kerplunk game that will bring hours of fun to any gathering.
This project is easy enough for most people to complete in an afternoon. Once you’ve built your game, try playing it at your next party or family game night.
You can even make more than one and hold a tournament. Change the game based on who’s playing – add math problems for kids learning numbers or funny tasks for a grown-up party.
The joy of your DIY giant Kerplunk is that it can be whatever you want it to be. So gather your materials, follow these steps, and get ready for big smiles and good times with your very own handmade game!

